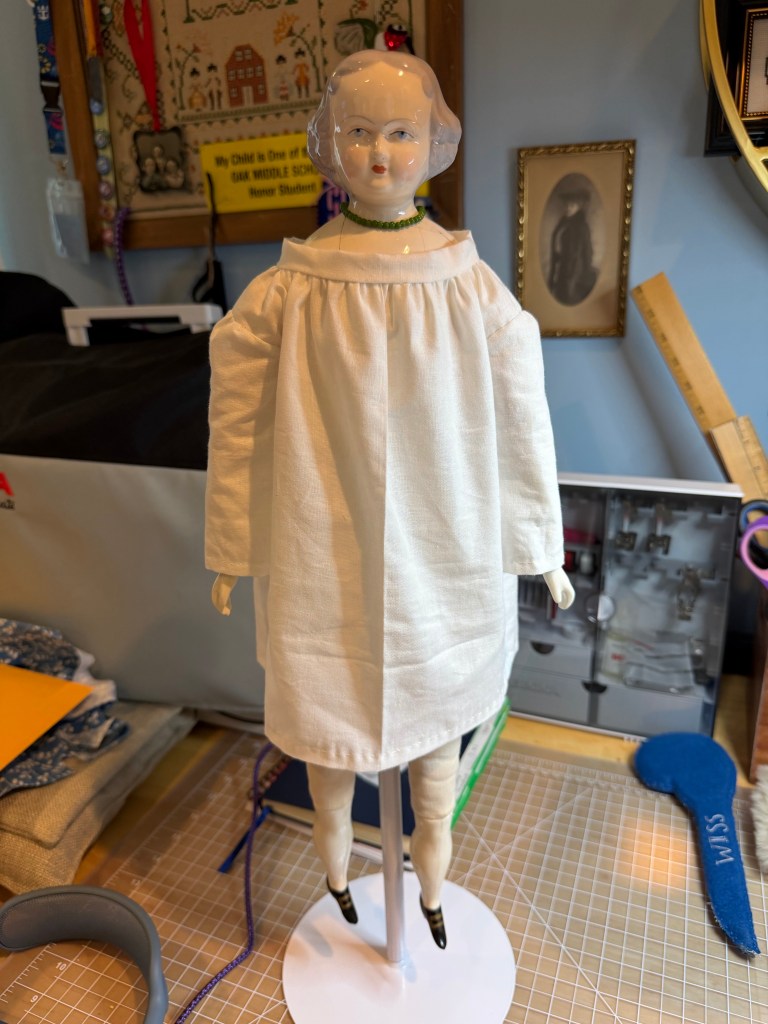
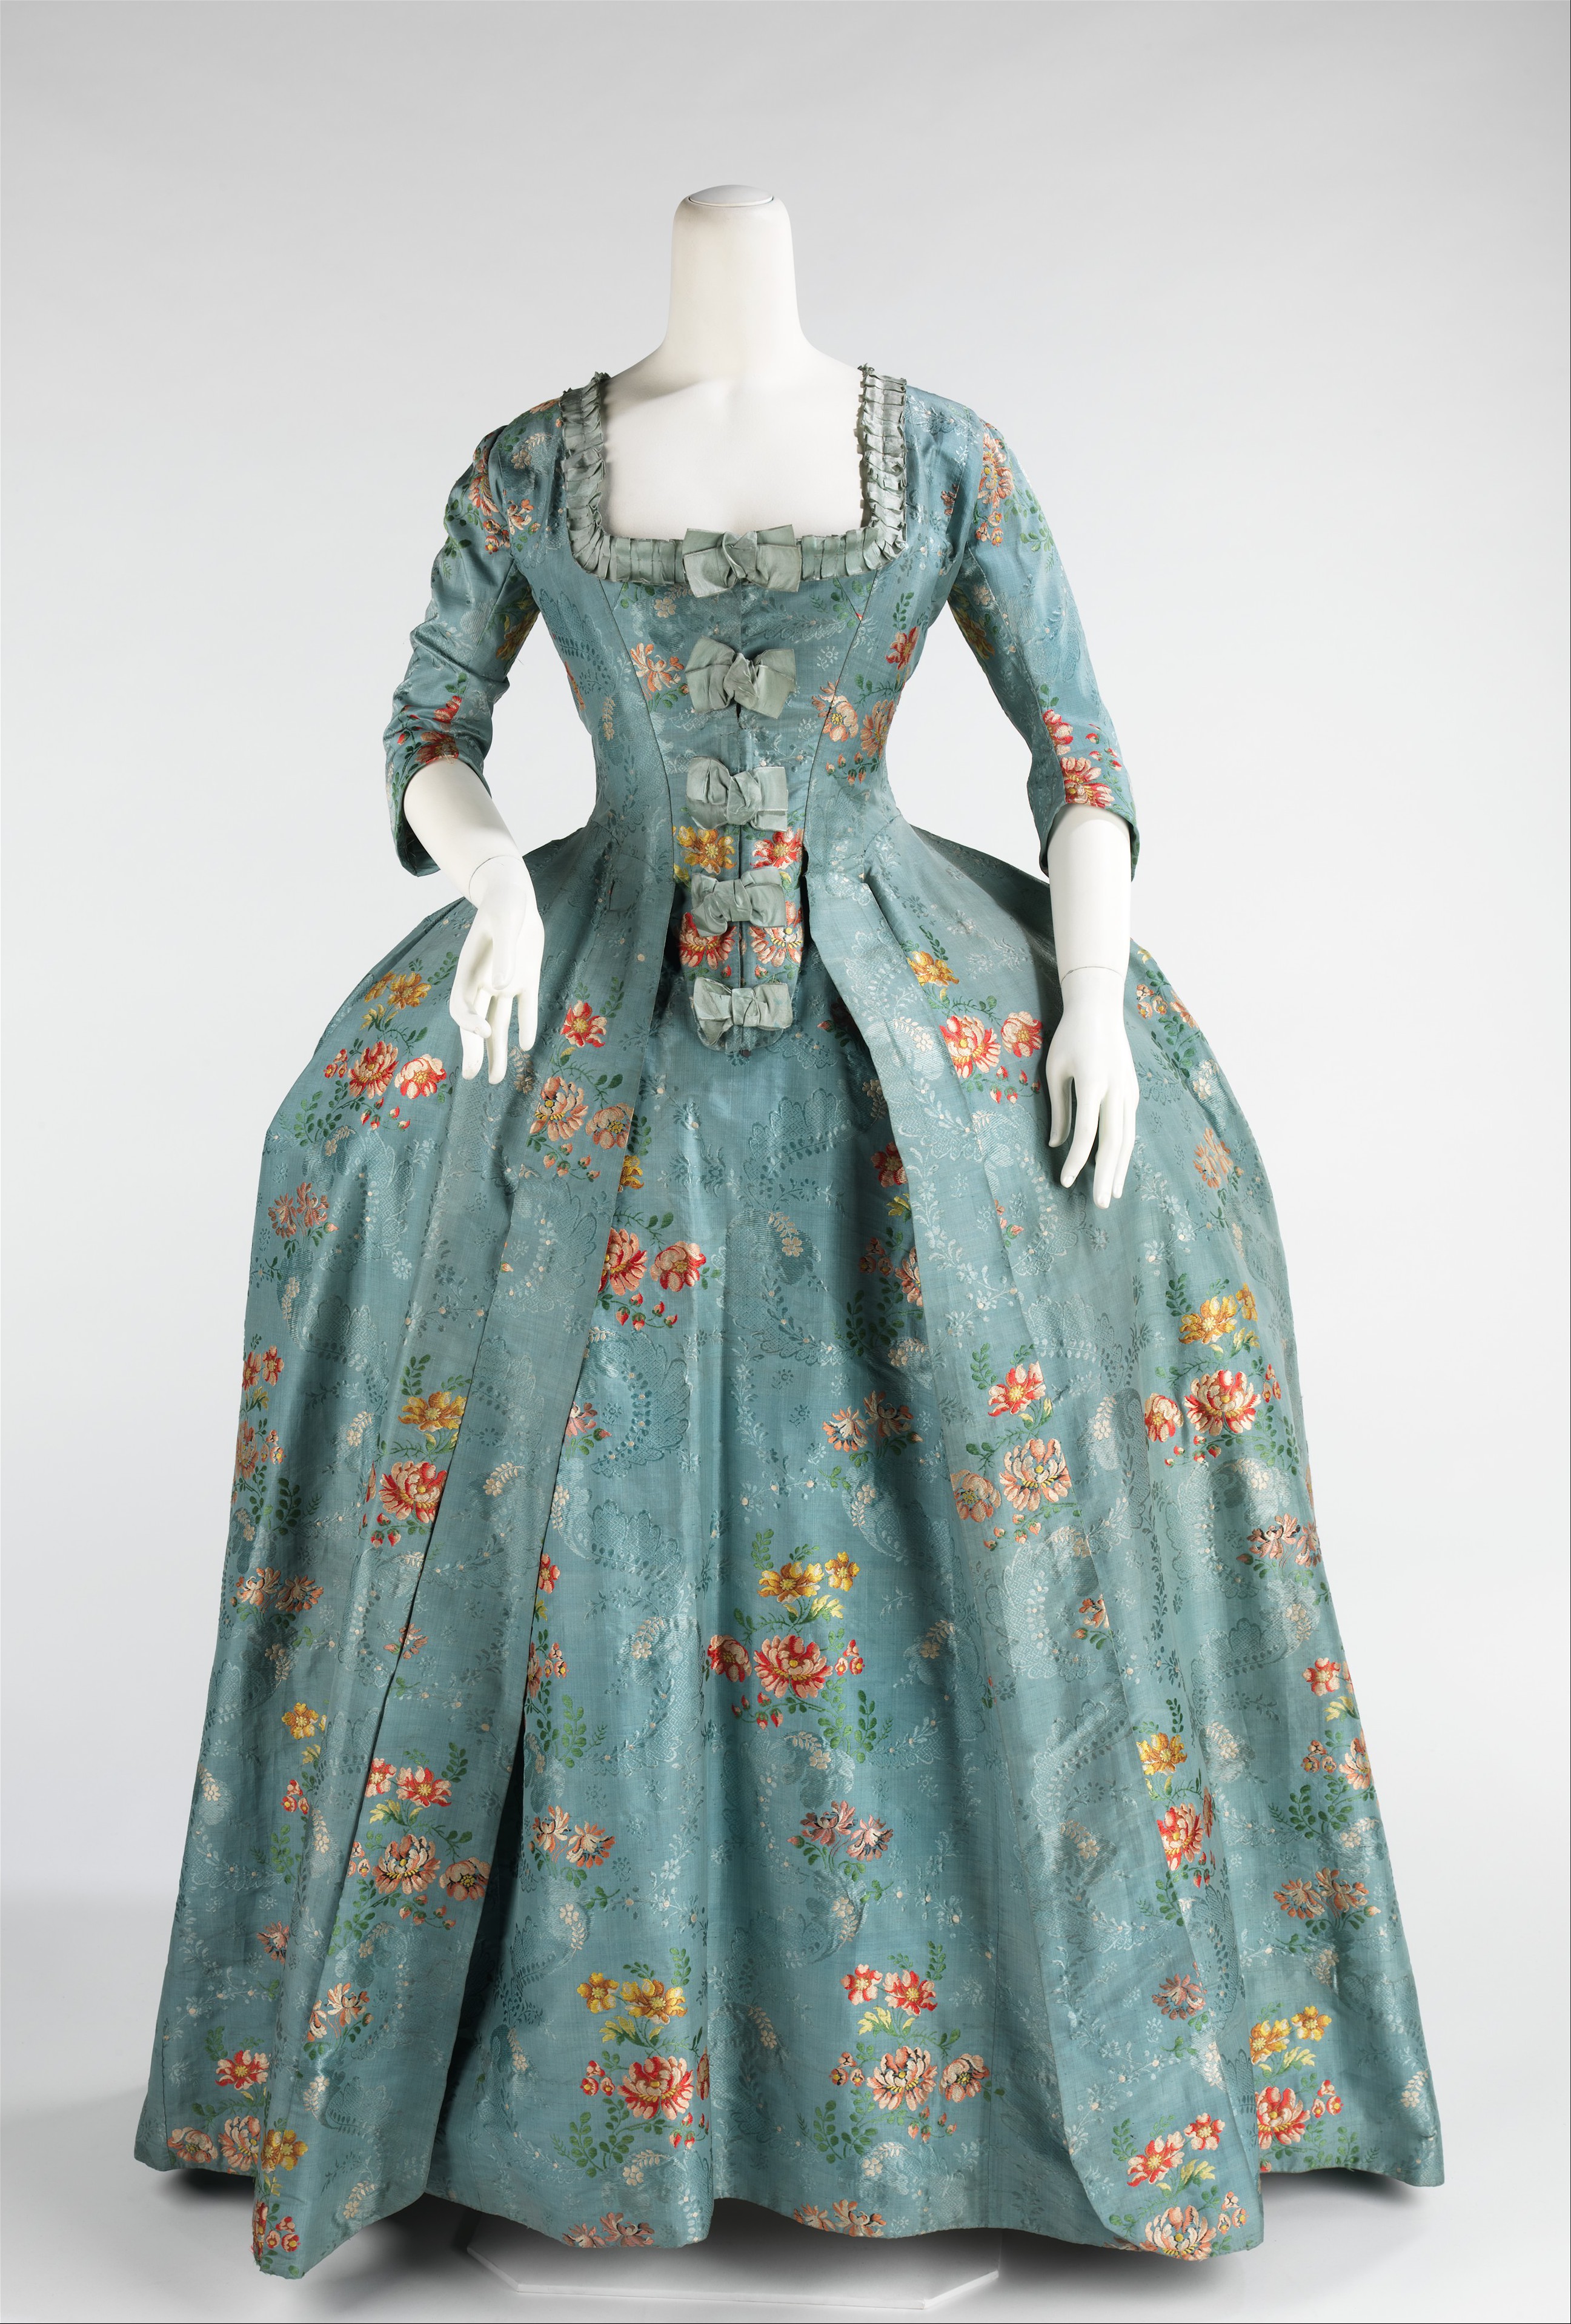
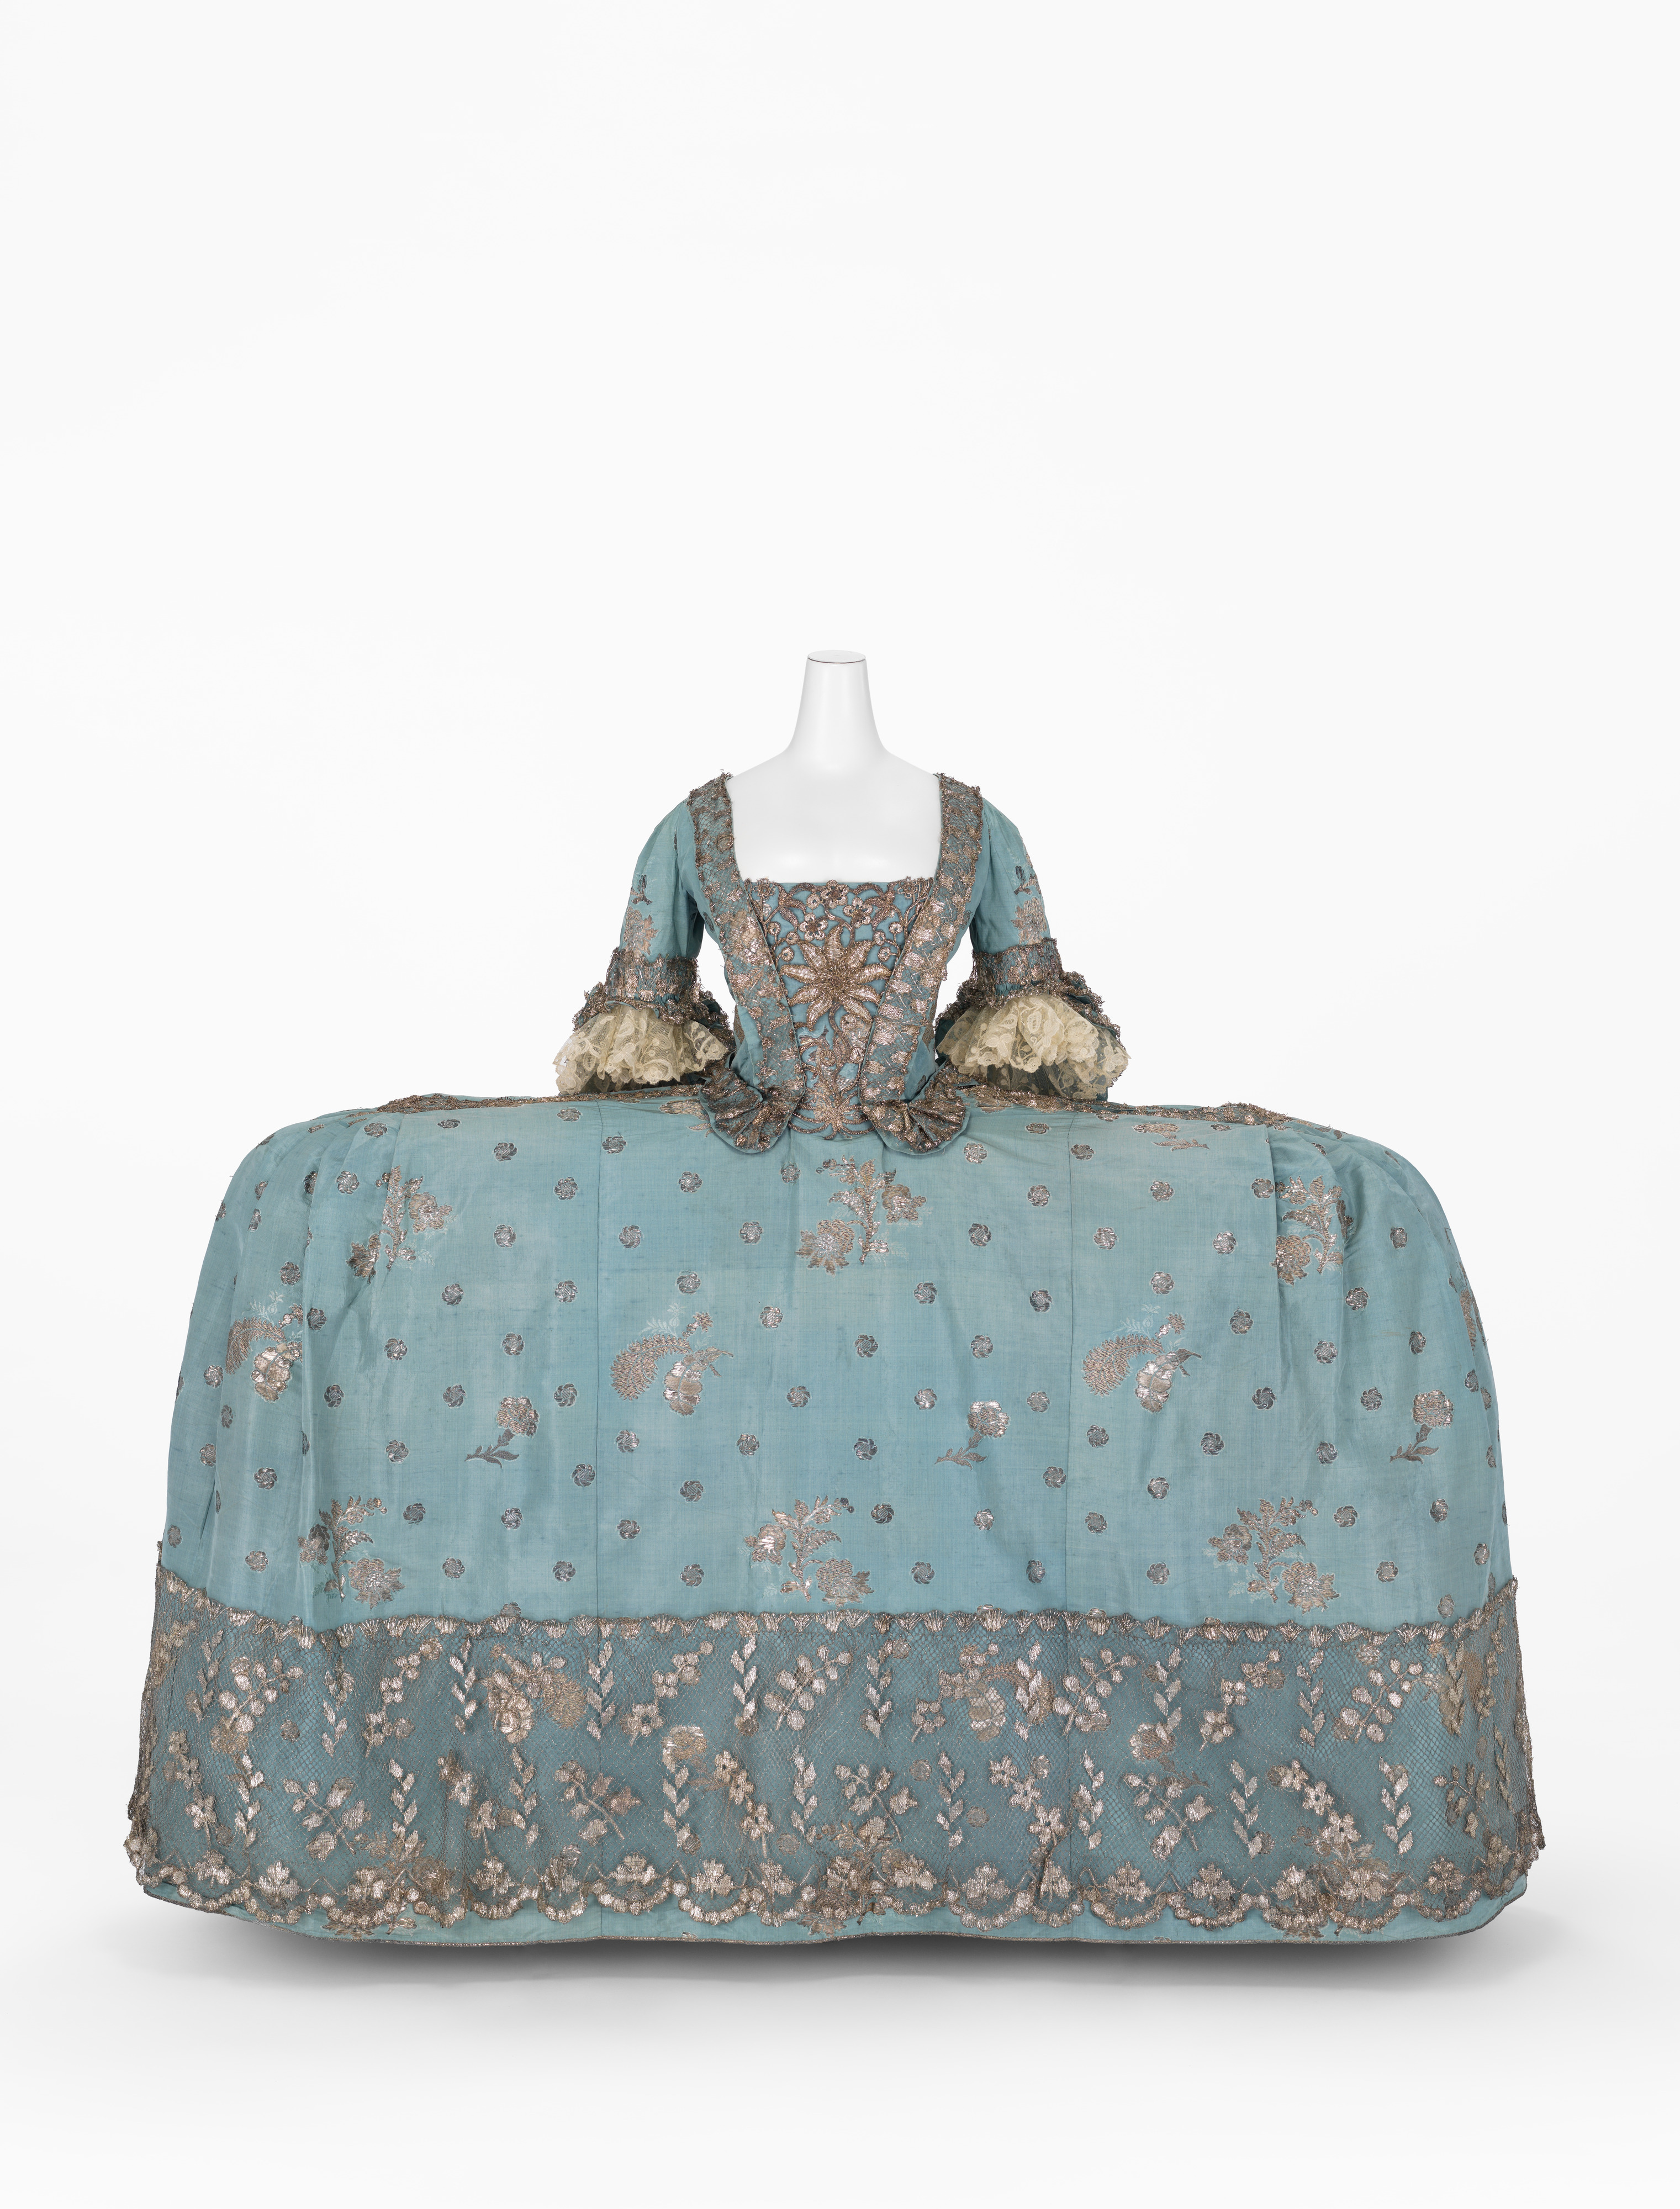
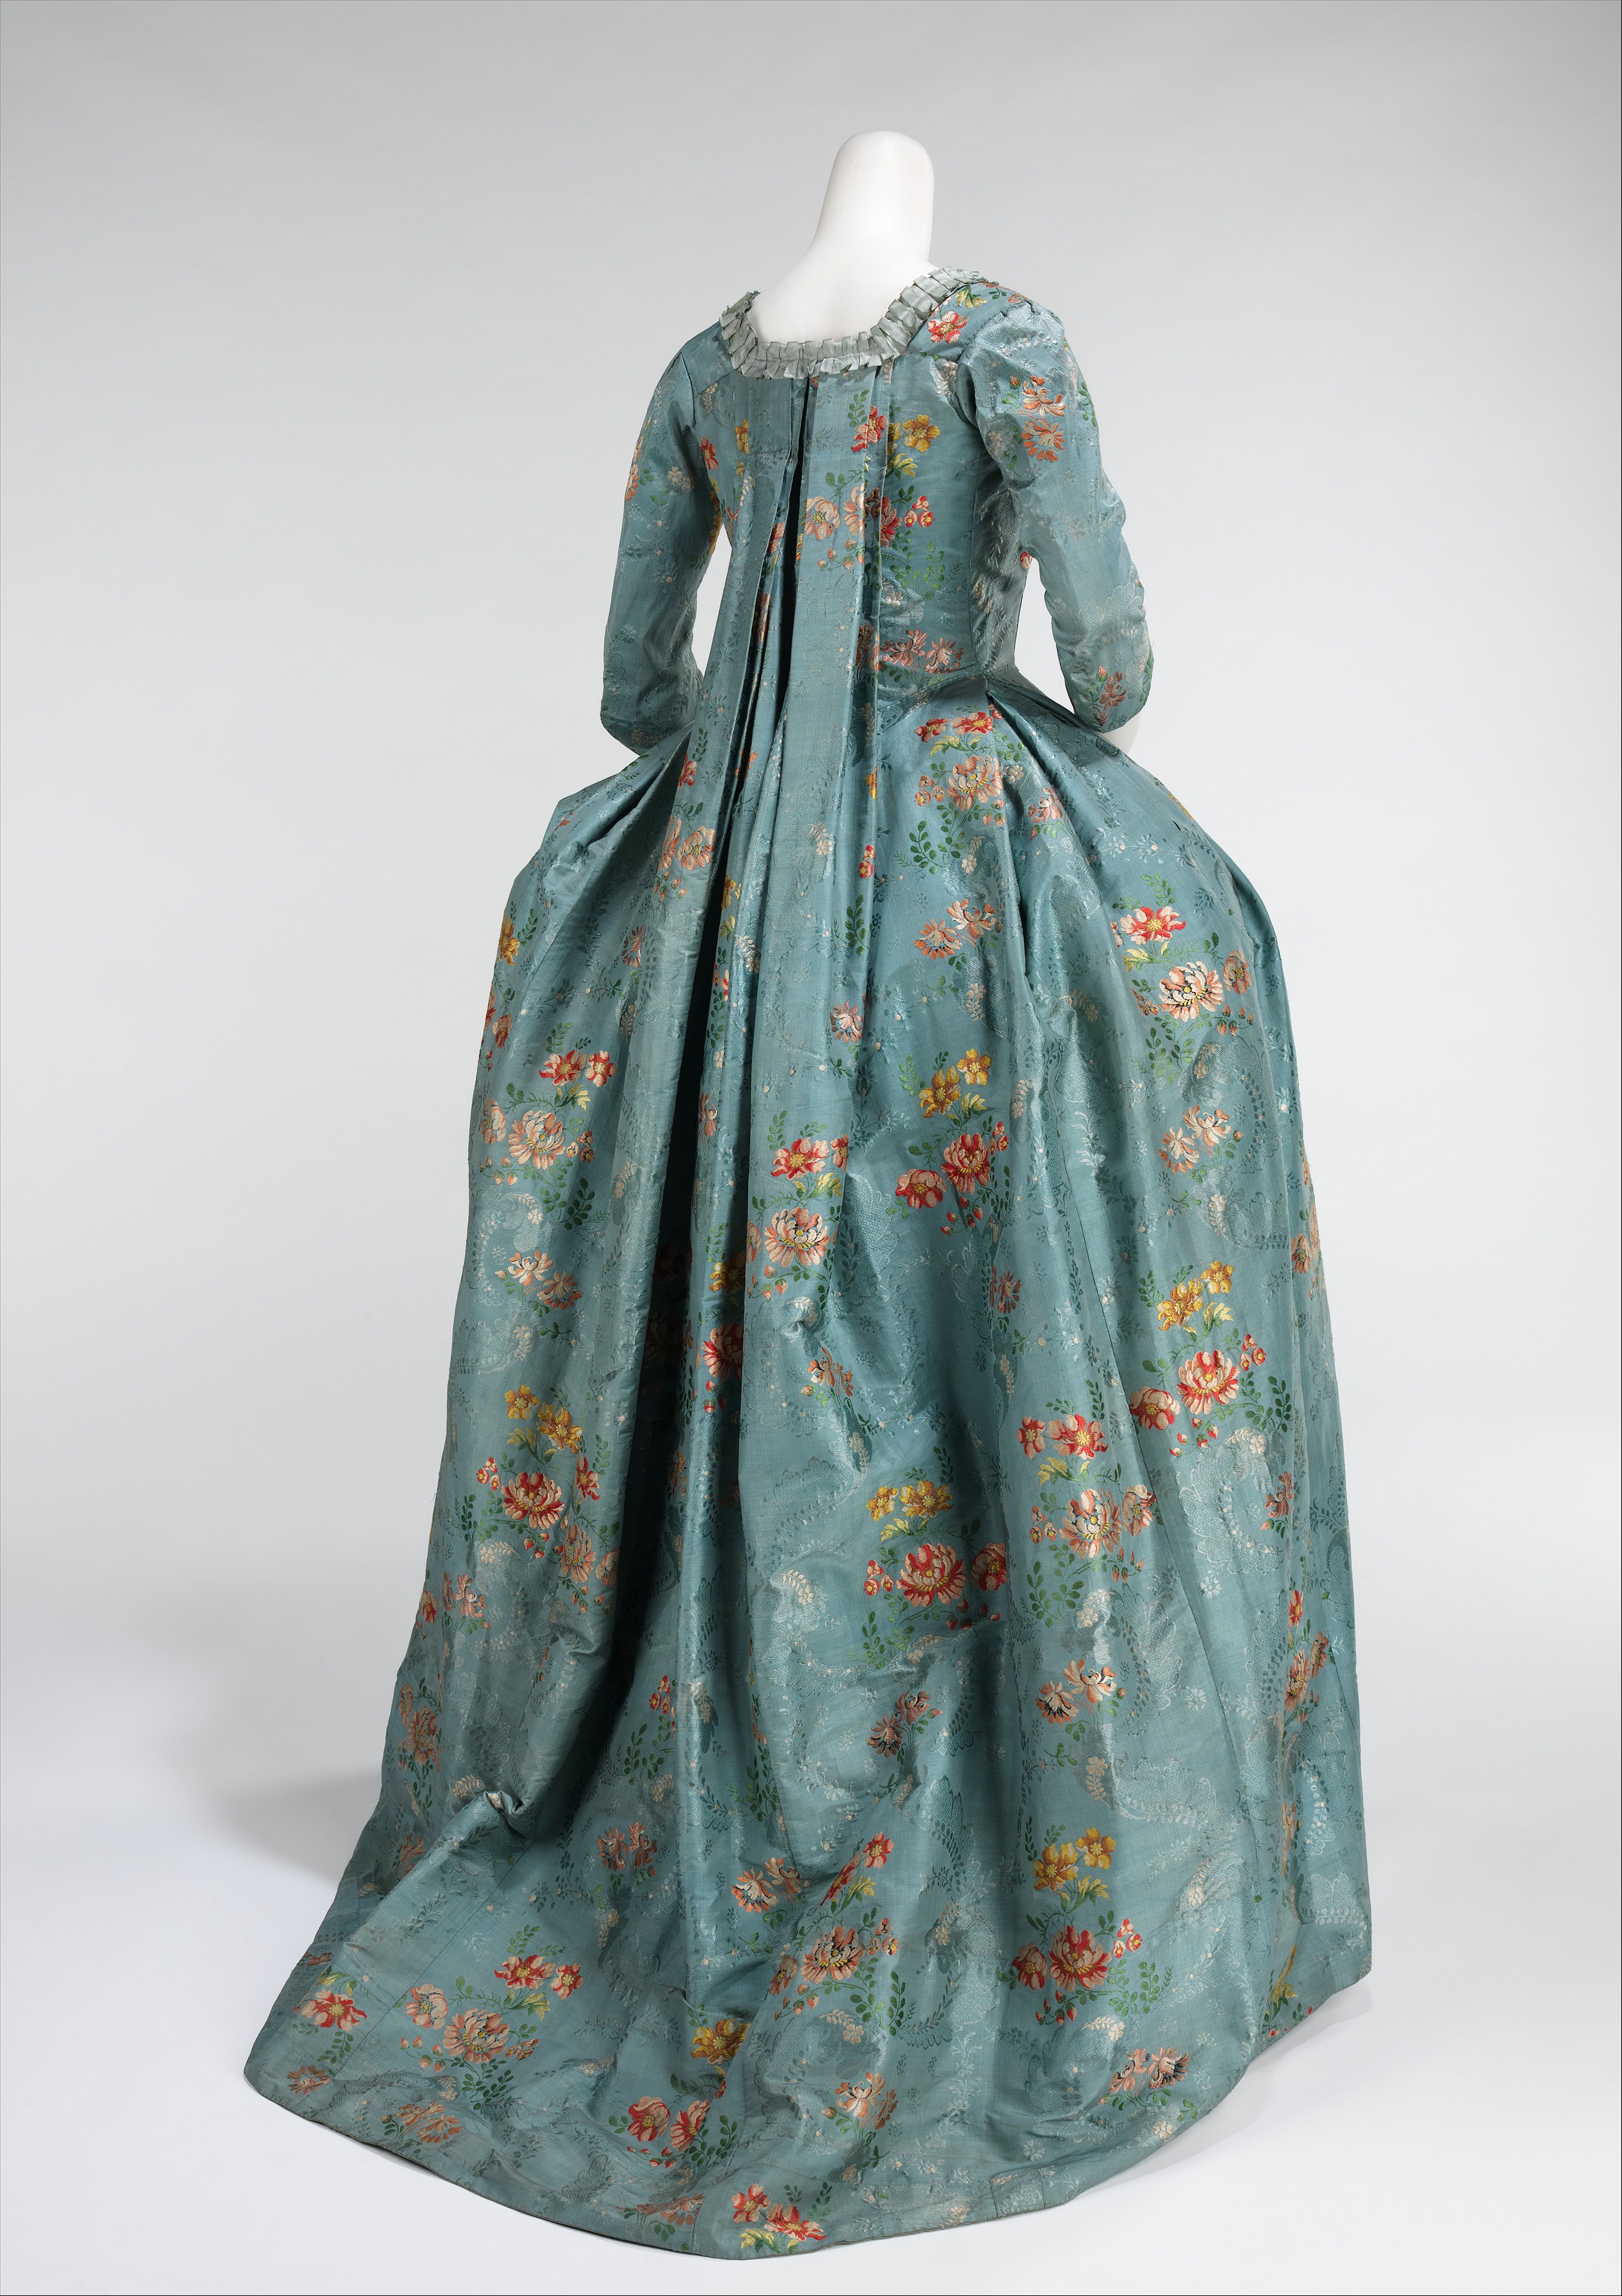
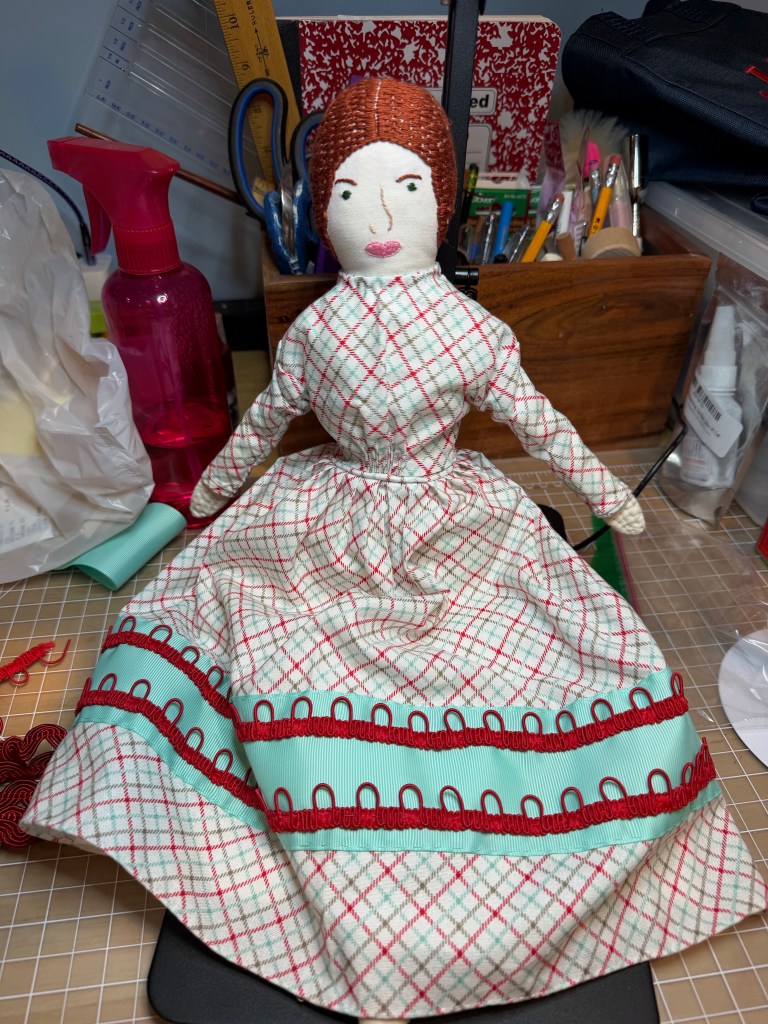
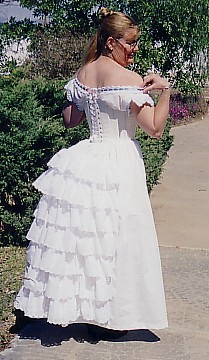
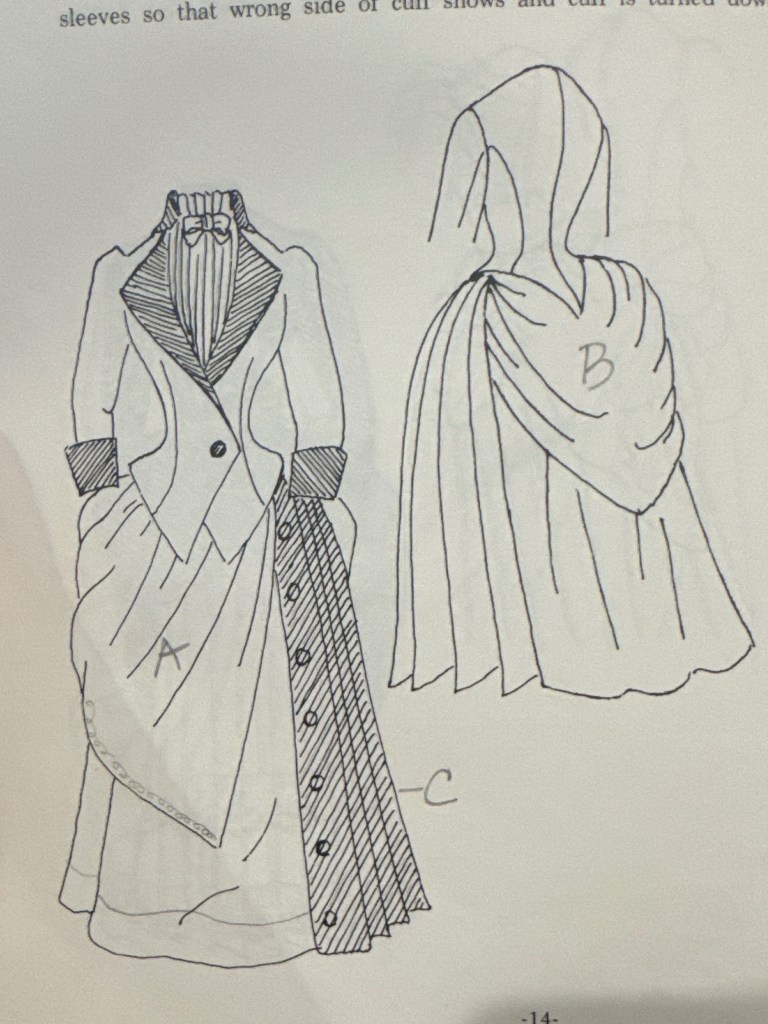
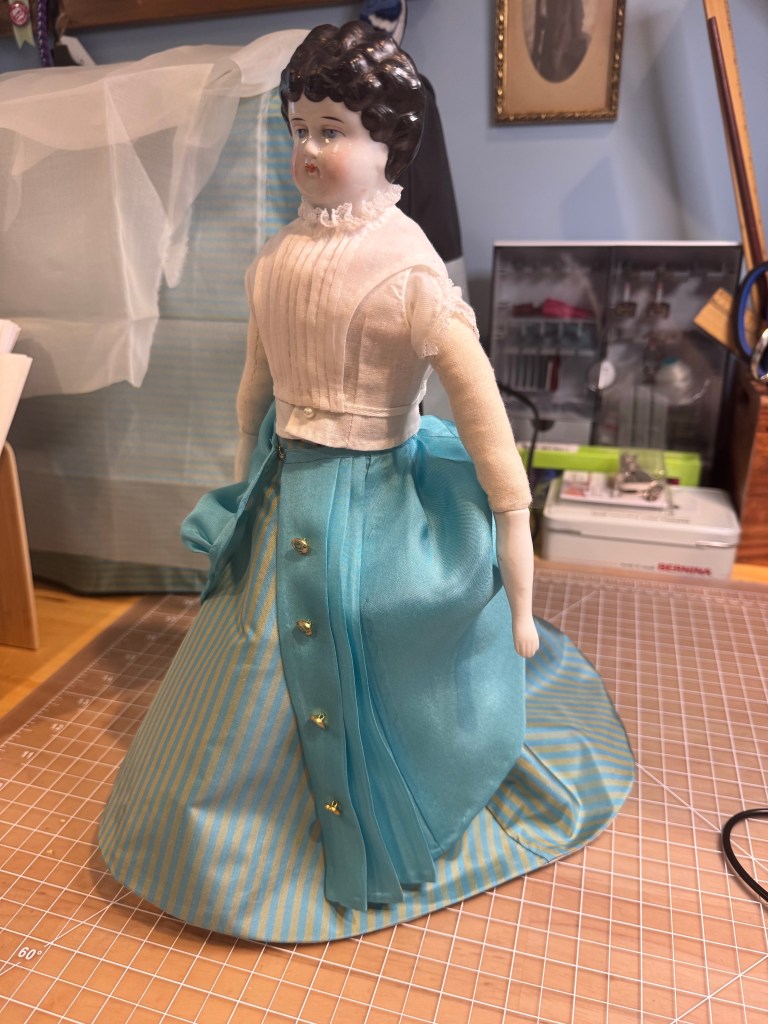
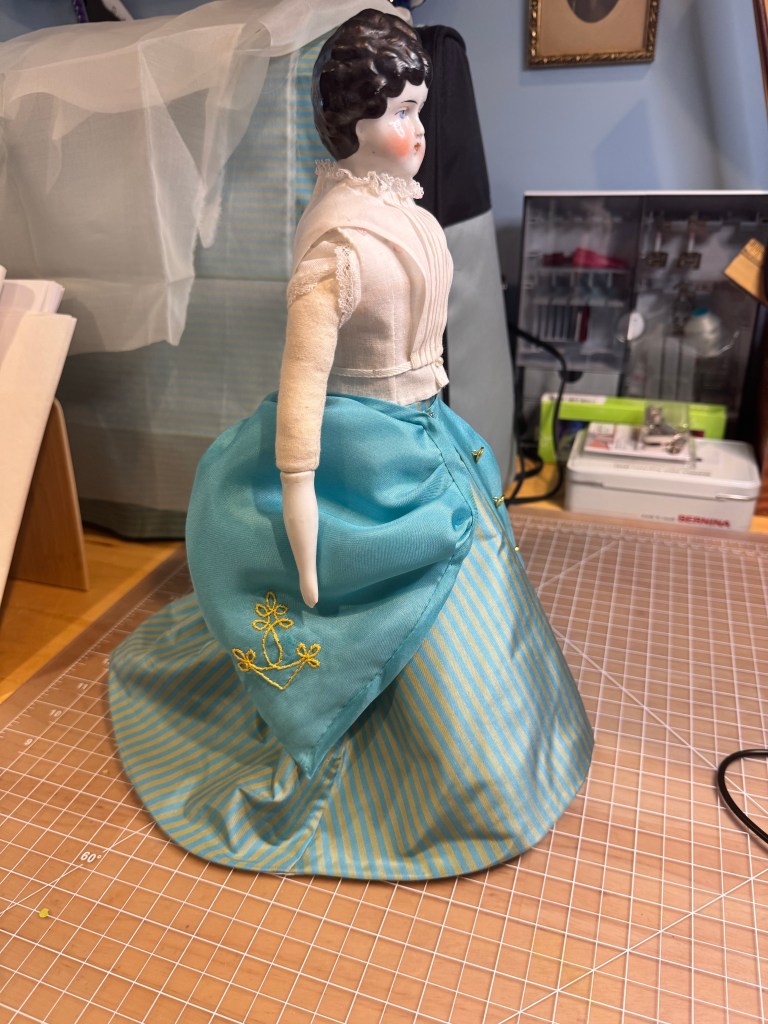
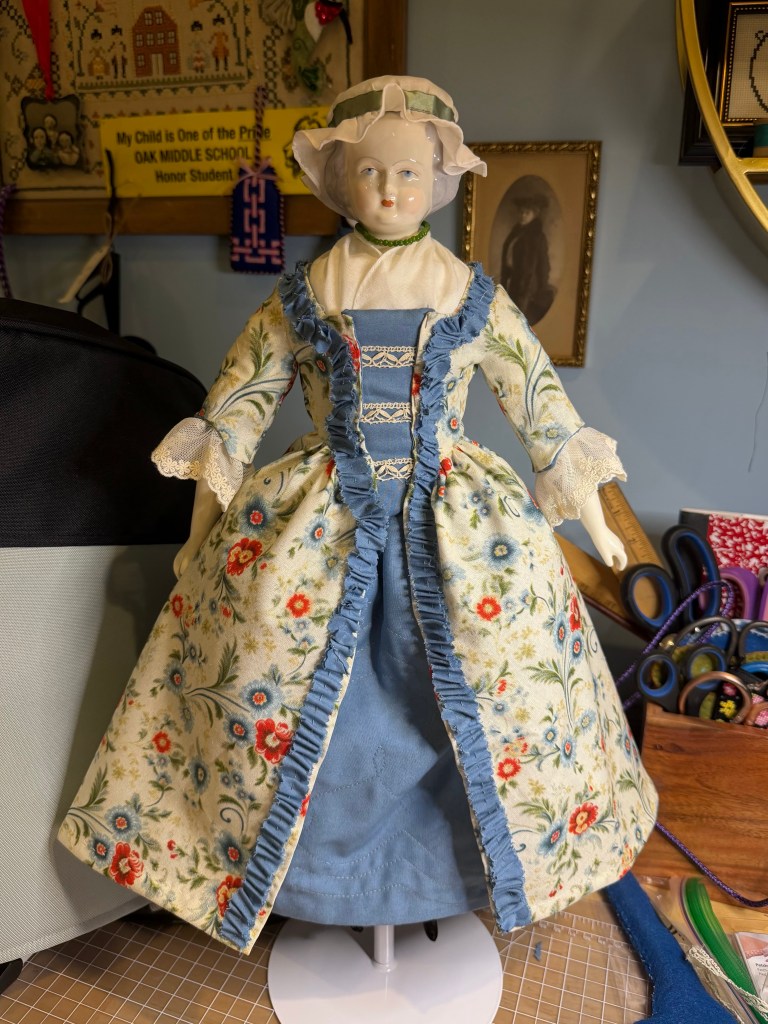
The last time I posted, Martha Tudor was in her undergarments. I’ve made tremendous progress and she now has a lovely robe à la francaise for the spring.
The fabrics are cotton, which was popular in the 18th century.
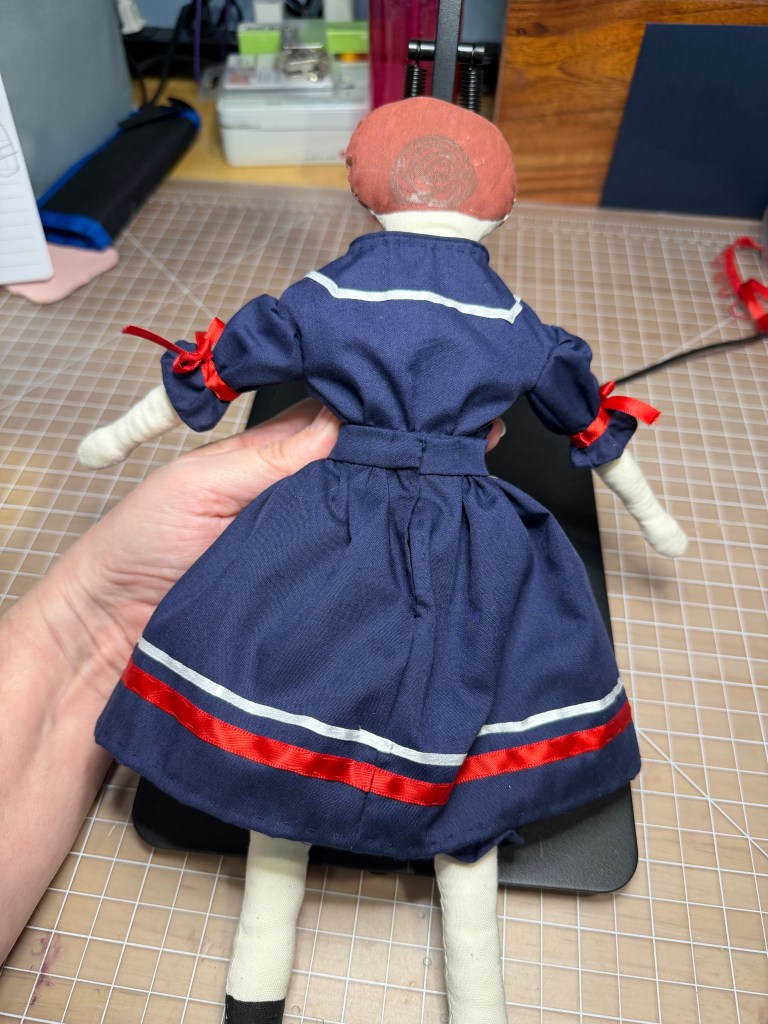
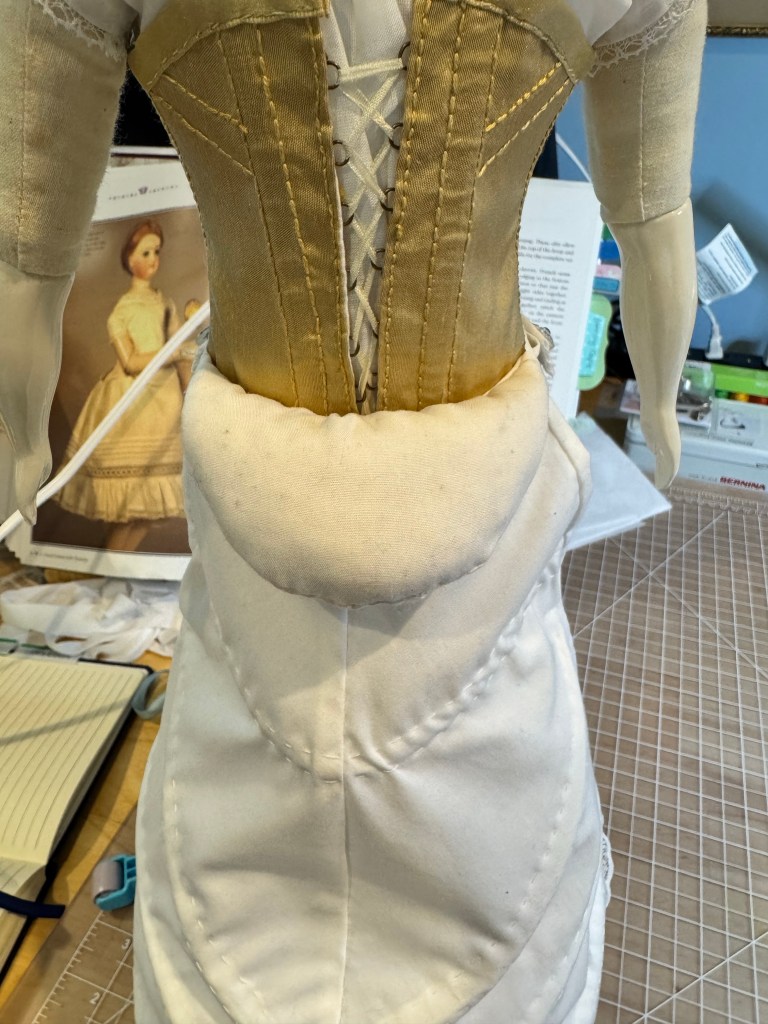
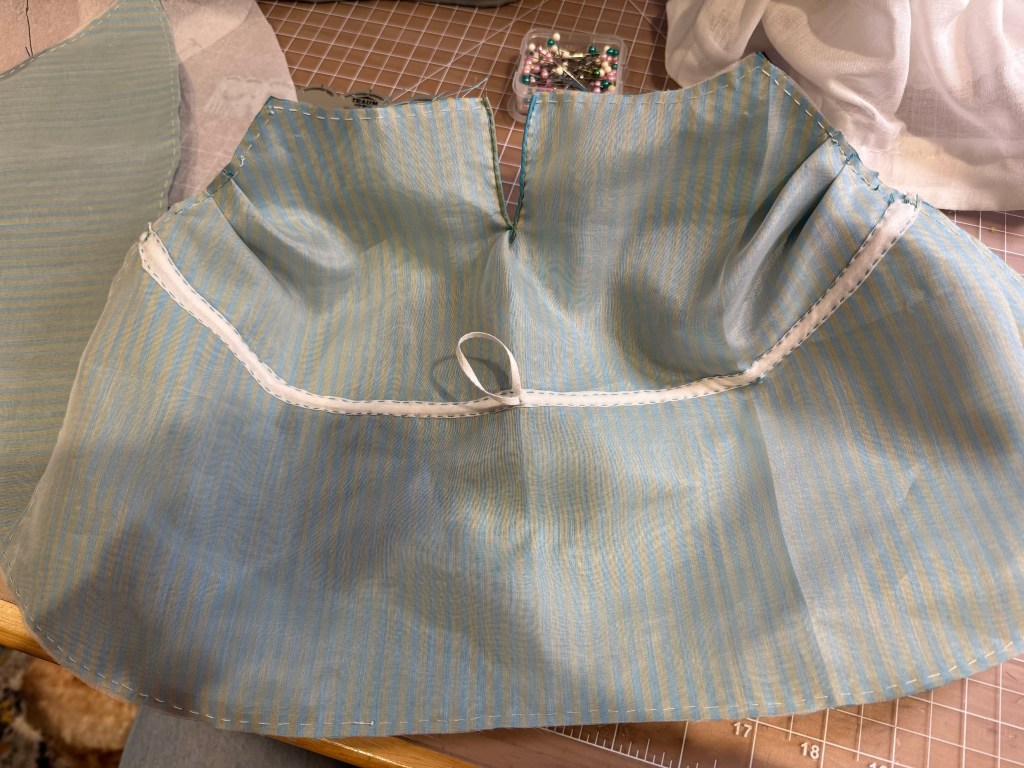
The robe à la francaise is characterized by pleats at the center back of the gown. I found the instructions from The Doll Book downright confusing so I drafted my own pleats.
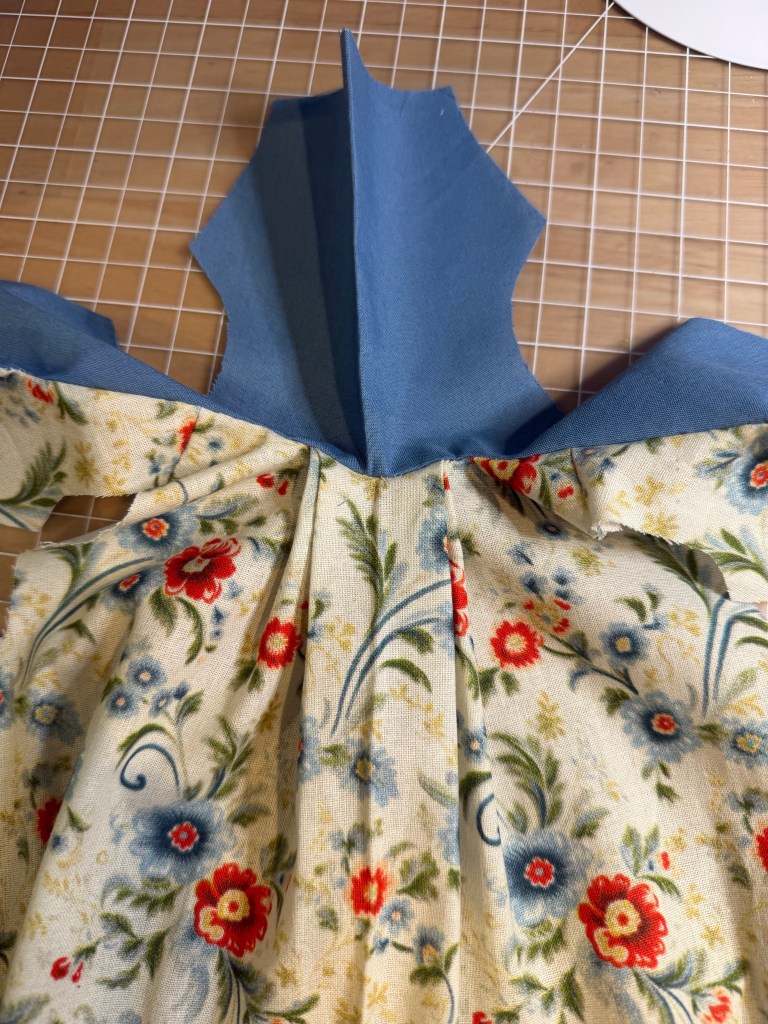
The bodice also includes a lining that is separate from the outer fabric. I do not know if this is historically accurate but it did allow for lovely draping of the pleats in back.
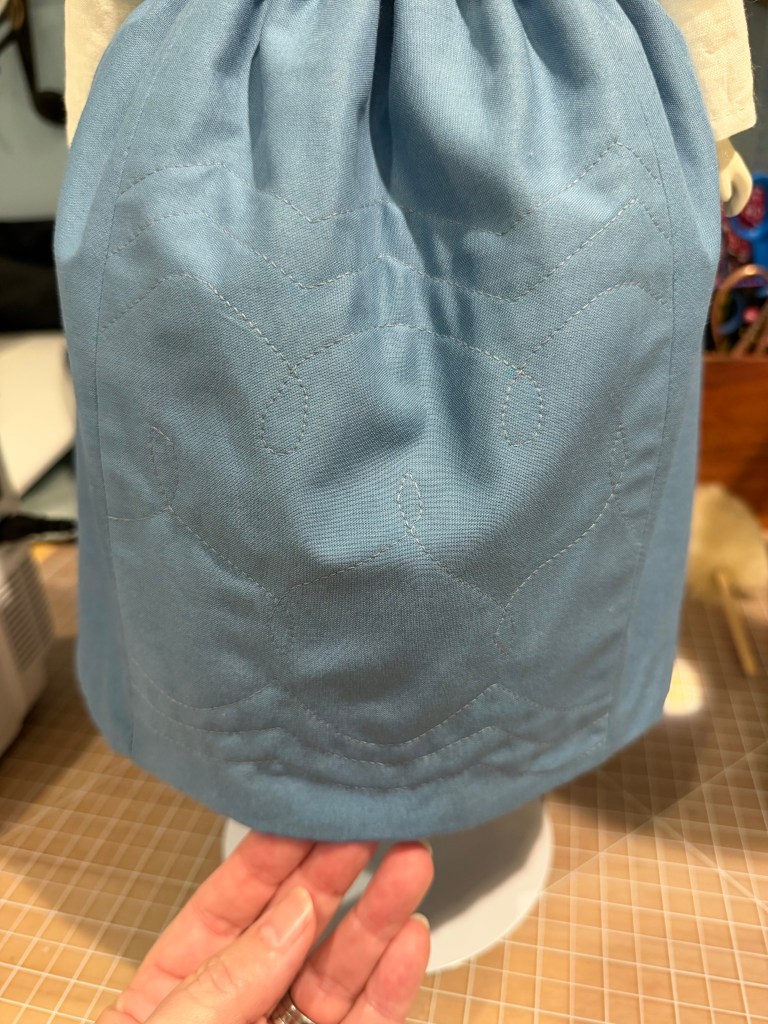
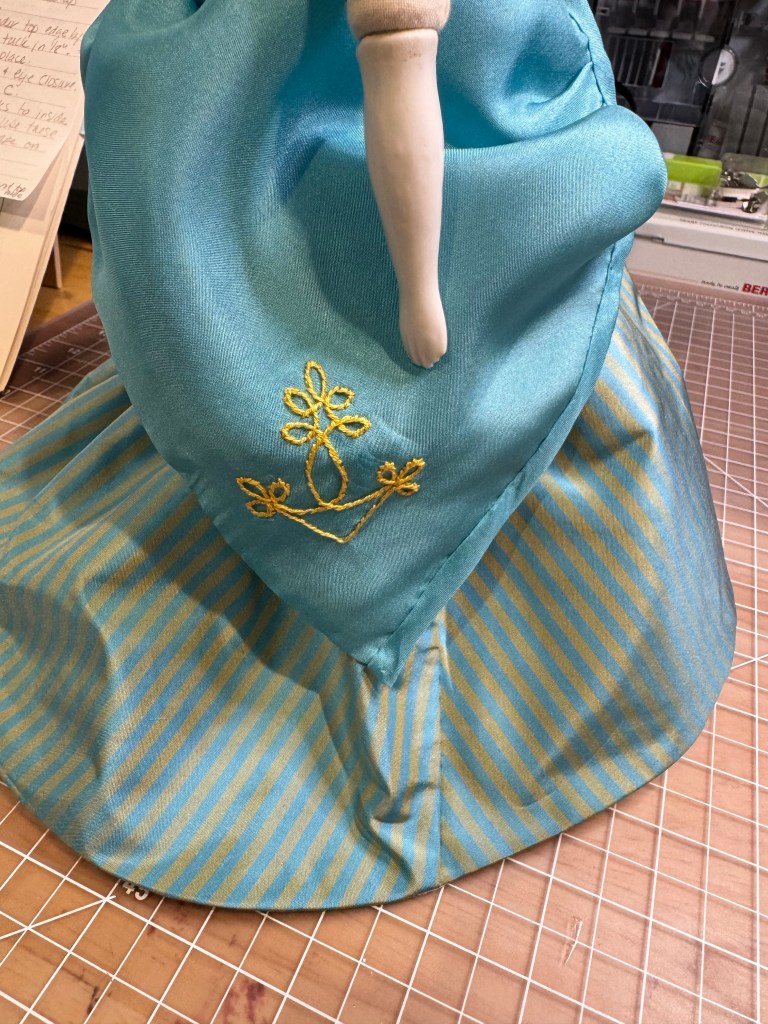
Here you can see the quilting on the front panel of her petticoat. This was sewn by machine and is backed by a piece of plush flannel to give dimension.
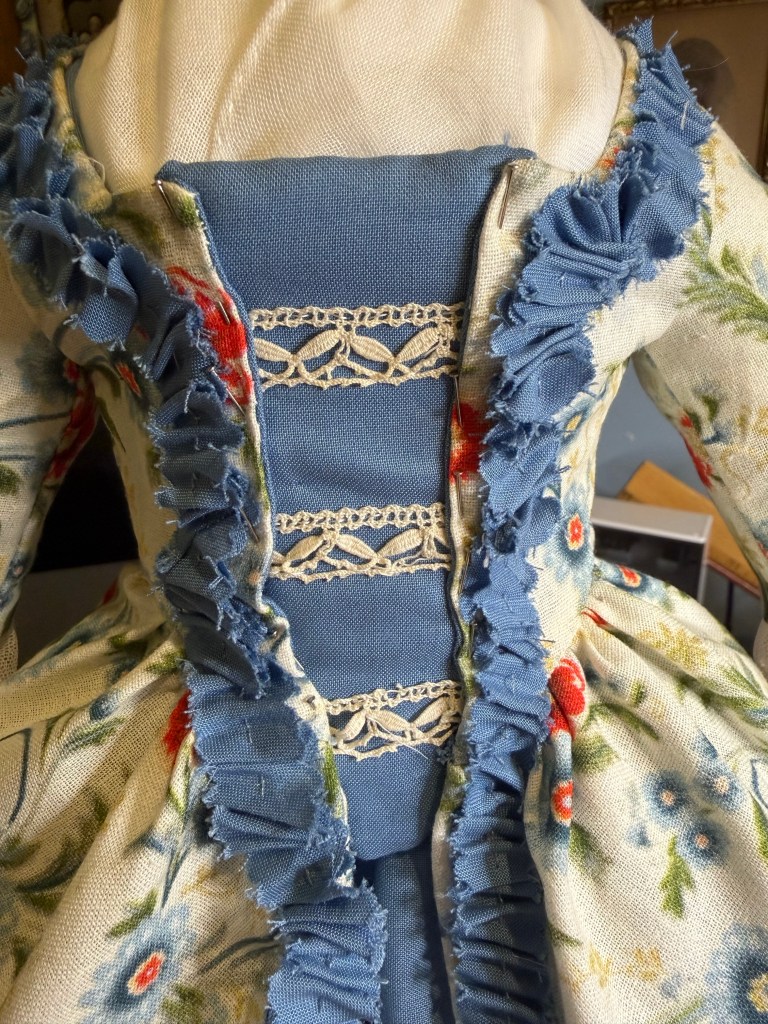
This center piece of the bodice is called a stomacher. It is a firmer piece that is pinned in between the two sides of the bodice. In this case, I cut the base from the back of a notepad, then made a “pocket of the blue and also added a piece of the flannel to soften the front. The lace decoration is vintage tatting I had in my stash.
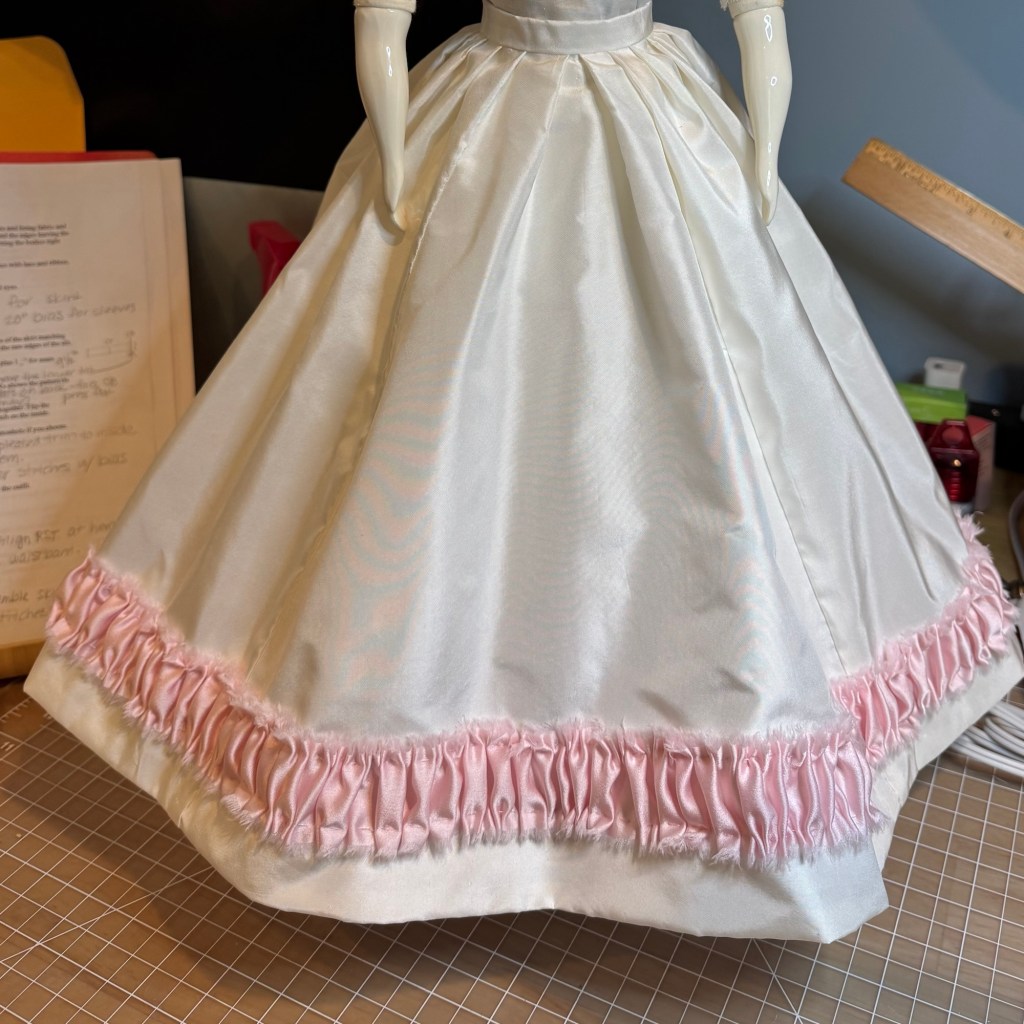
Yes I hand gathered all the trim. It was more of a pain to stitch it down than it was to make it, honestly!
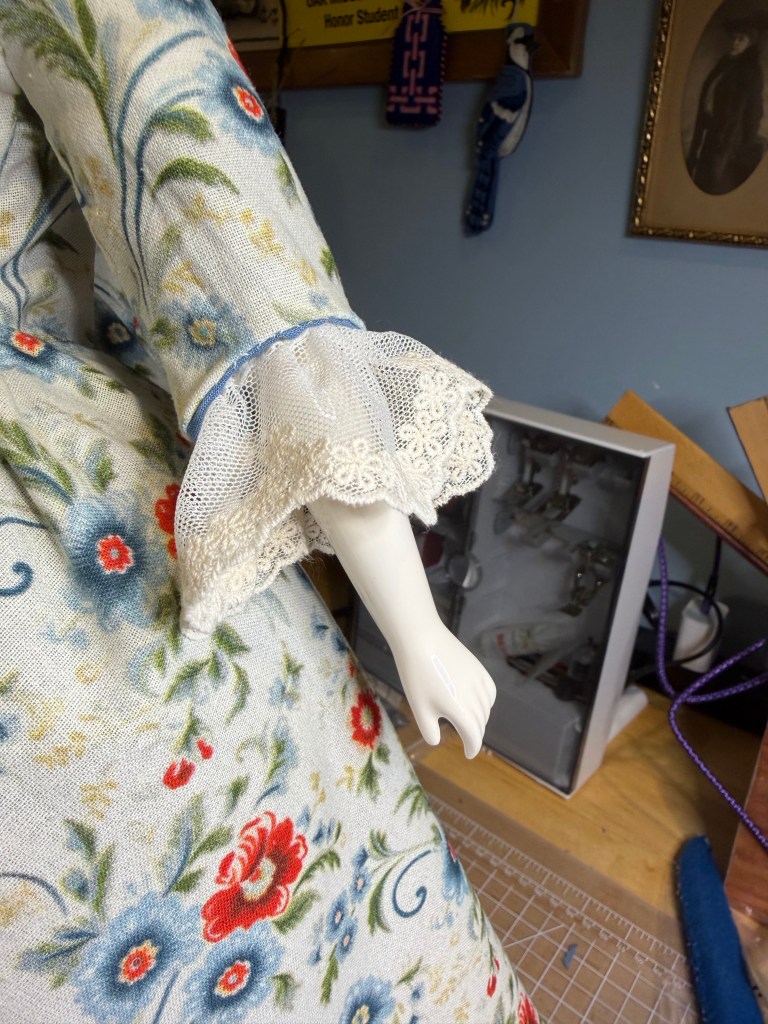
These are the 3/4 sleeves with French lace. This was a popular style of sleeve in the 18th century apparently.

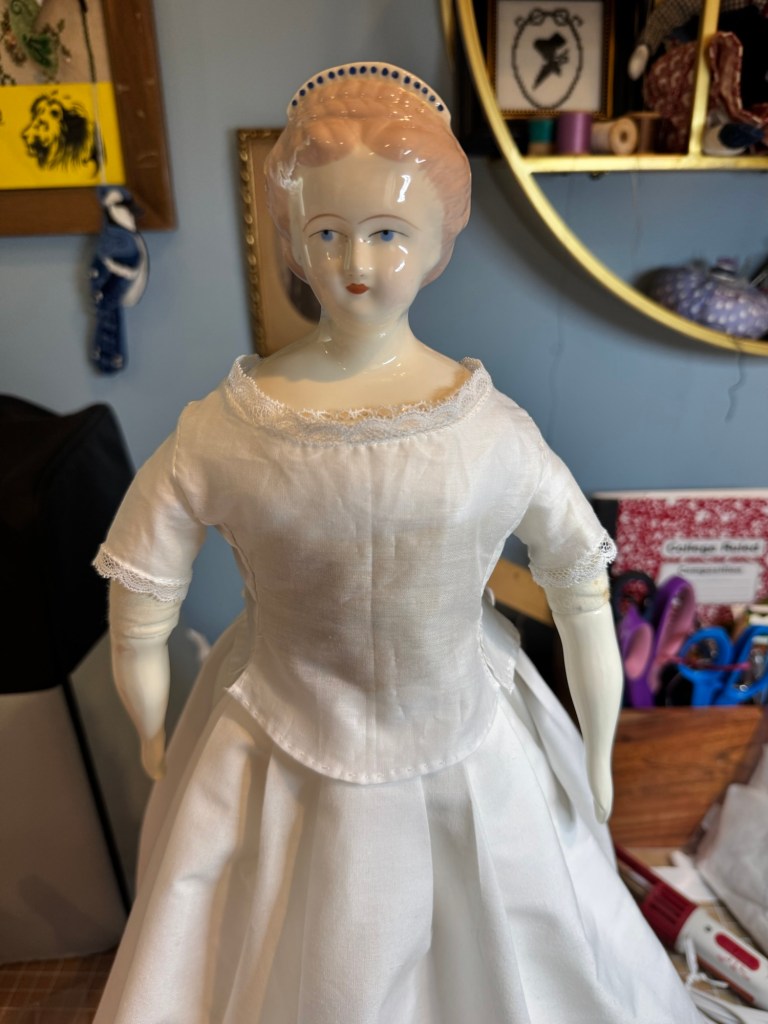
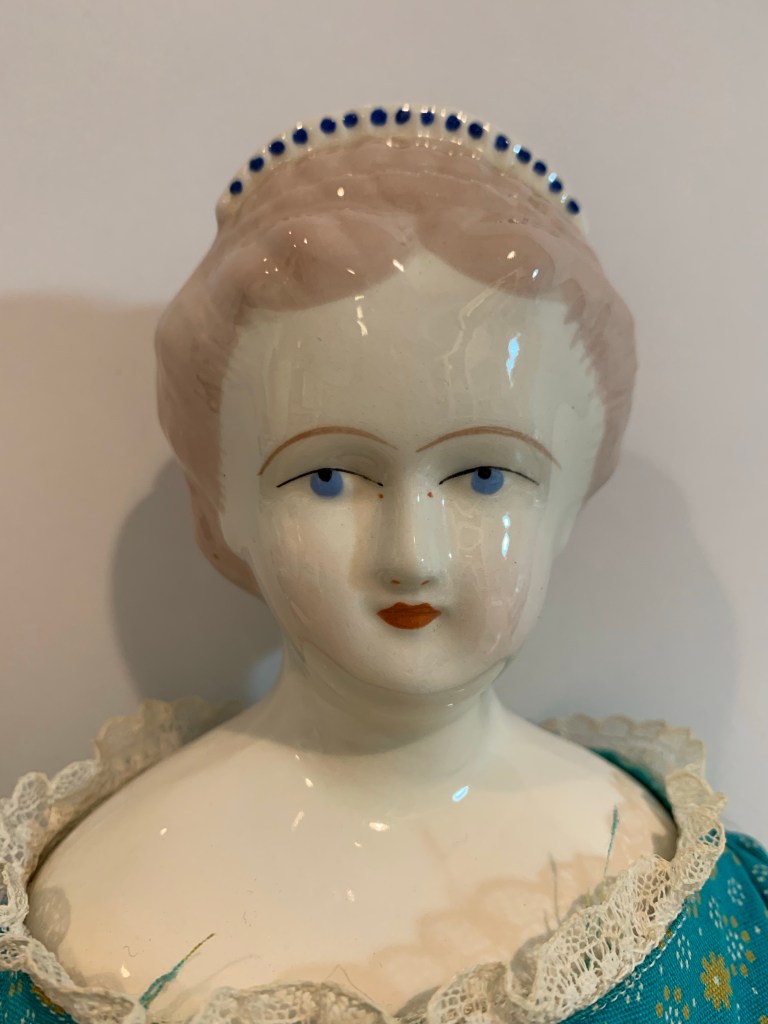
Modesty dictated a fichu be placed in the neck opening of a gown, like this. This piece is batiste and I hand rolled & whipped the edges. It took forever but it’s perfect for such delicate fabric. The fichu here also hides all the repairs where Martha’s chest plate had been broken. The green beaded necklace came with her.
I also made the mobcap. I measured the distance from ear to ear over the top of her head and then added an inch. I used my compass (thank you high school geometry!) to draw the circle and also an outer circle for the brim. The mobcap is made from lawn, which is a little more still than batiste but still a fine and delicate fabric.

I painted on shoe buckles. My thinking here is that Martha Tudor is already broken and repaired, so changing her feet isn’t going to destroy some collector’s value. Unless it’s 100 years from now. In which case I won’t be around. :-)
I quite like the results! I’m not sure who is next in the project list – I have several to choose from. Stay tuned to find out!