Skip to content
About me
Archives
Dolls
Tasha Tudor Dolls
Search
Notes from the Melody Maker
Archives
Menu
Close
About me
Archives
Dolls
Tasha Tudor Dolls
Category:
Activities
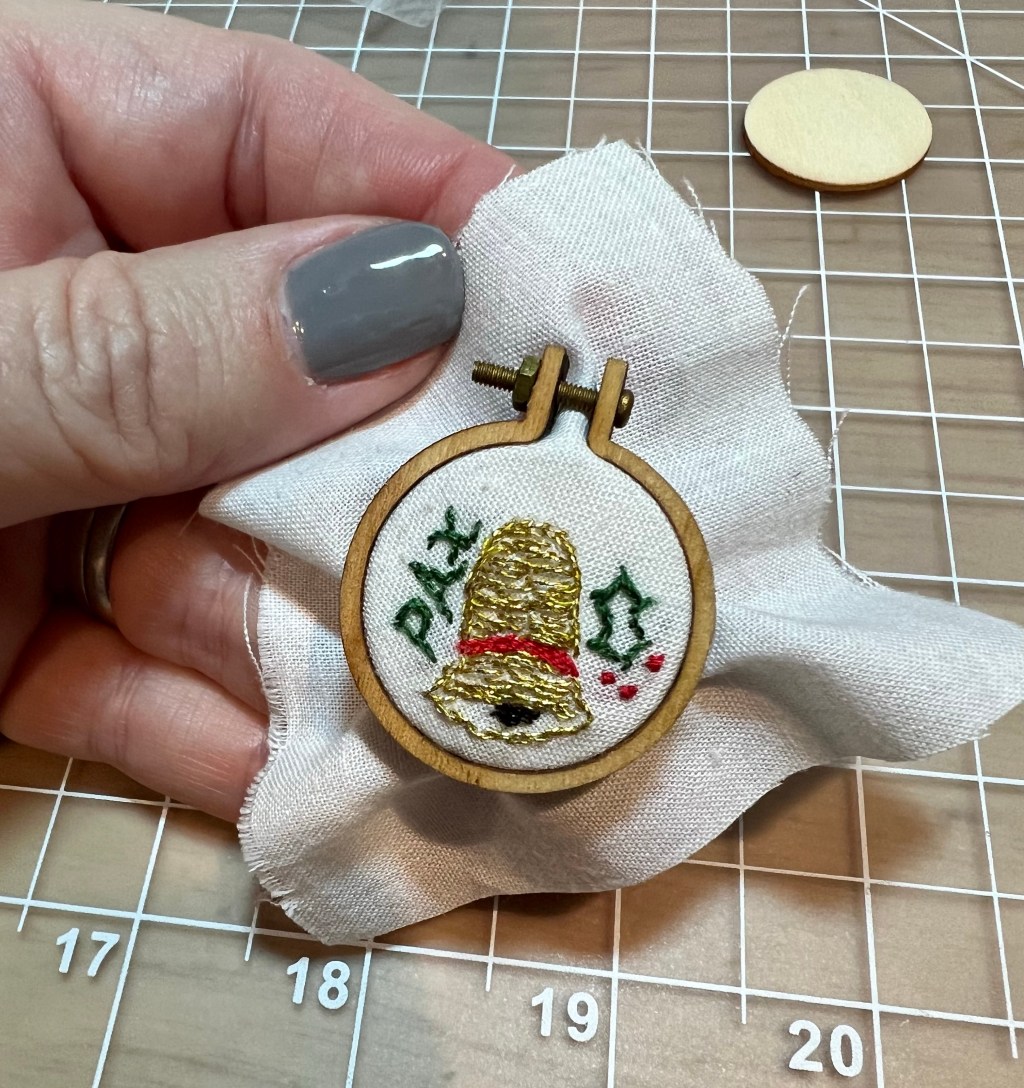
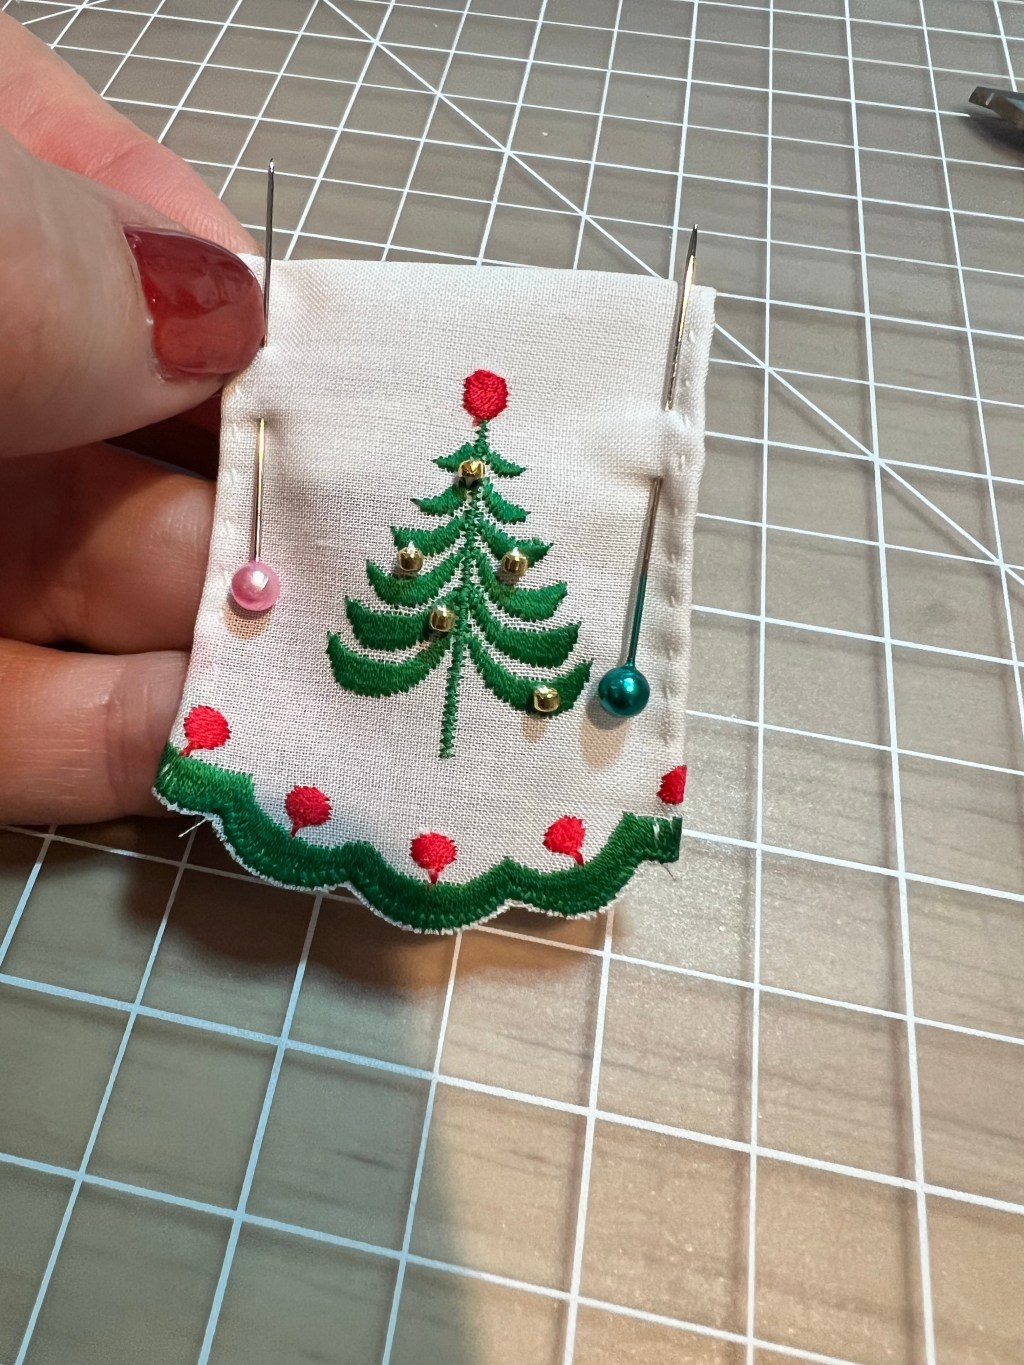
A tiny bit of handwork
A Fancy Apron
What’s new for Inez?
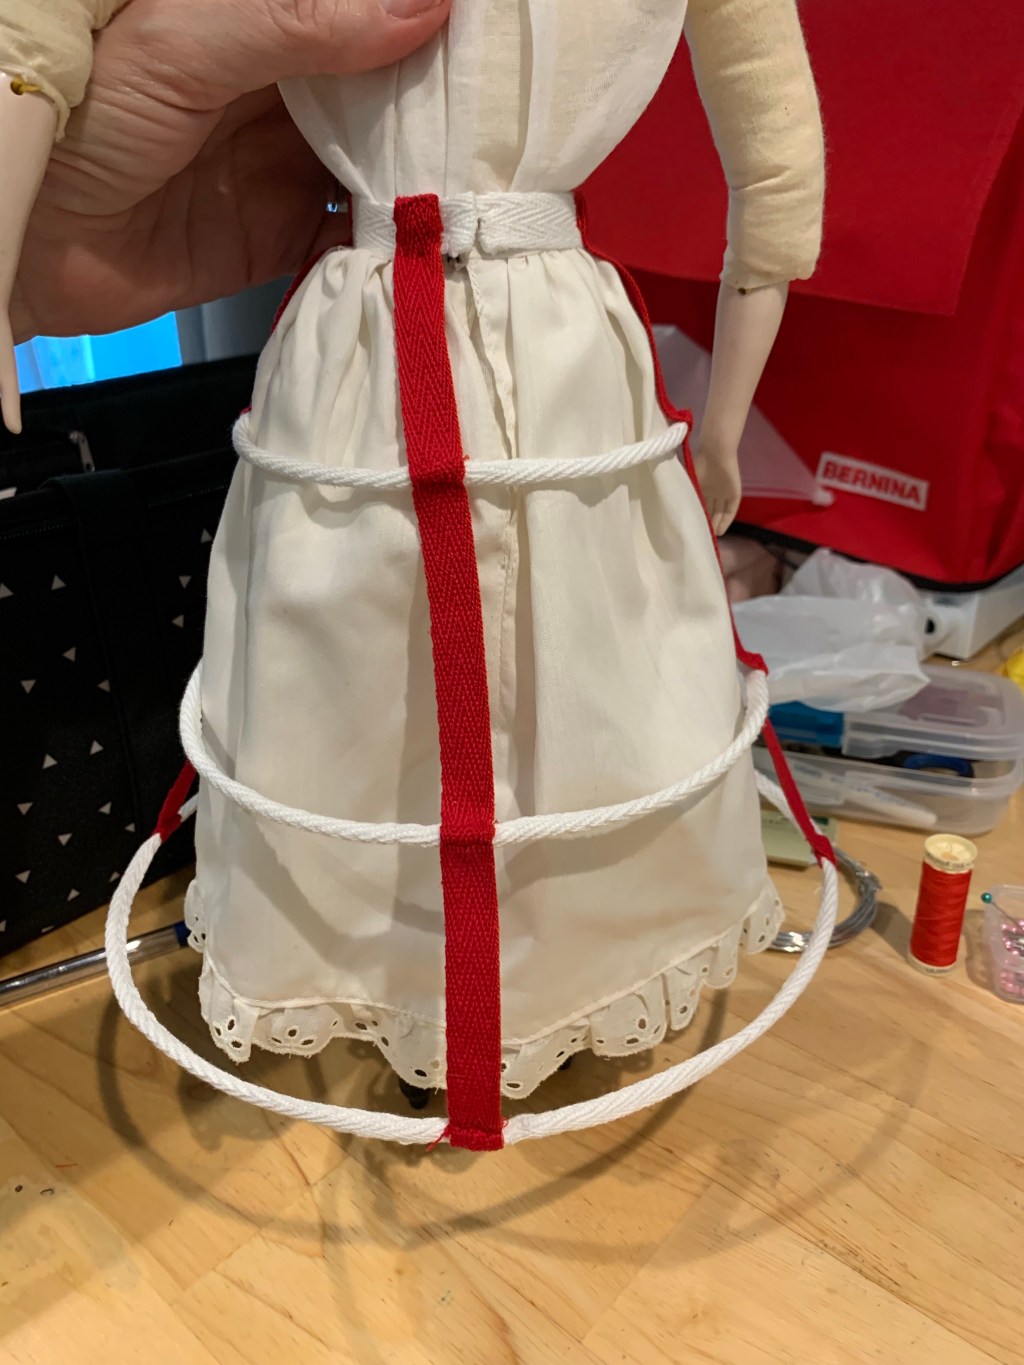
Making a cage crinoline for your doll
Nell’s 1866 Promenade Dress
Dottie
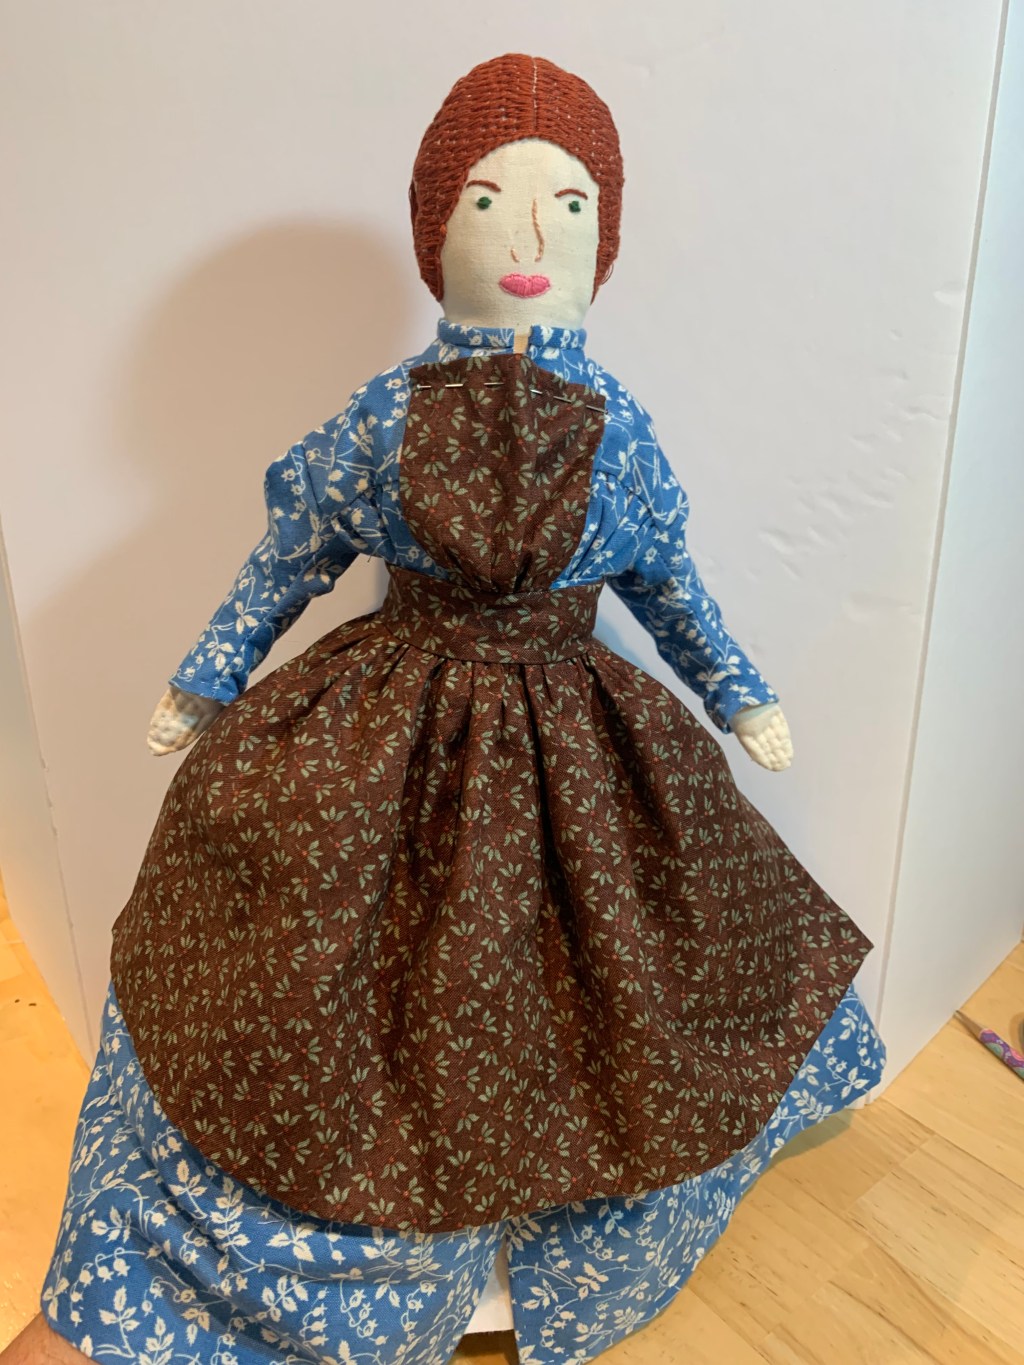
Meet Nell
More Dolls
Living in, and through, your remodel
Growing Up OC: Atlantis Play Center
Next Page
Subscribe
Subscribed
Notes from the Melody Maker
Join 68 other subscribers
Sign me up
Already have a WordPress.com account?
Log in now.
Notes from the Melody Maker
Subscribe
Subscribed
Sign up
Log in
Report this content
View site in Reader
Manage subscriptions
Collapse this bar