Skip to content
About me
Archives
Dolls
Tasha Tudor Dolls
Search
Notes from the Melody Maker
Archives
Menu
Close
About me
Archives
Dolls
Tasha Tudor Dolls
Category:
Dolls
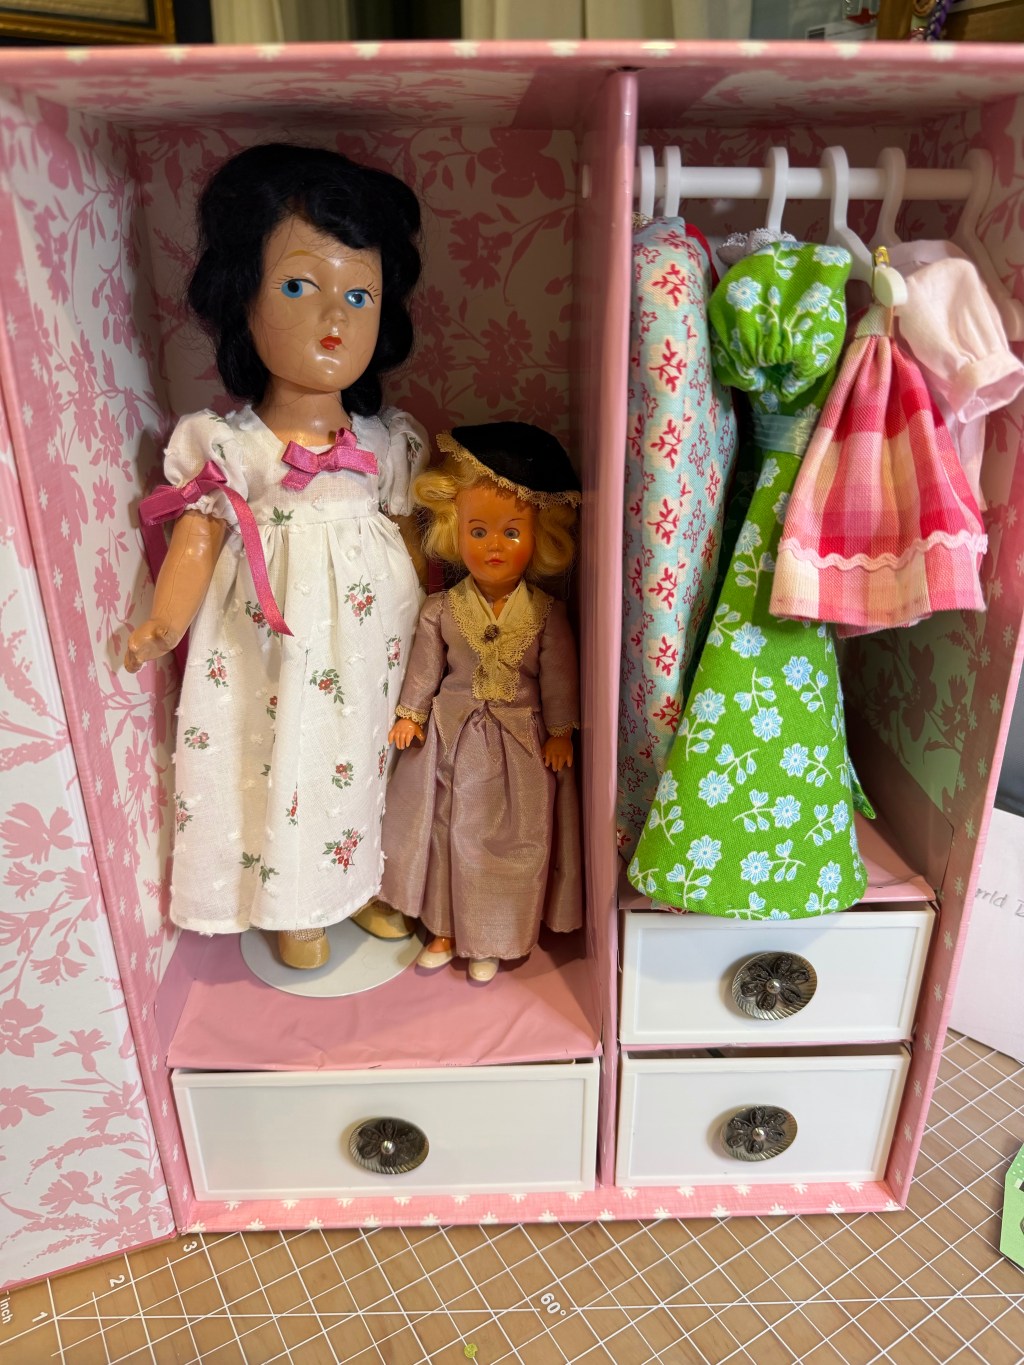
Pretty Storage Box
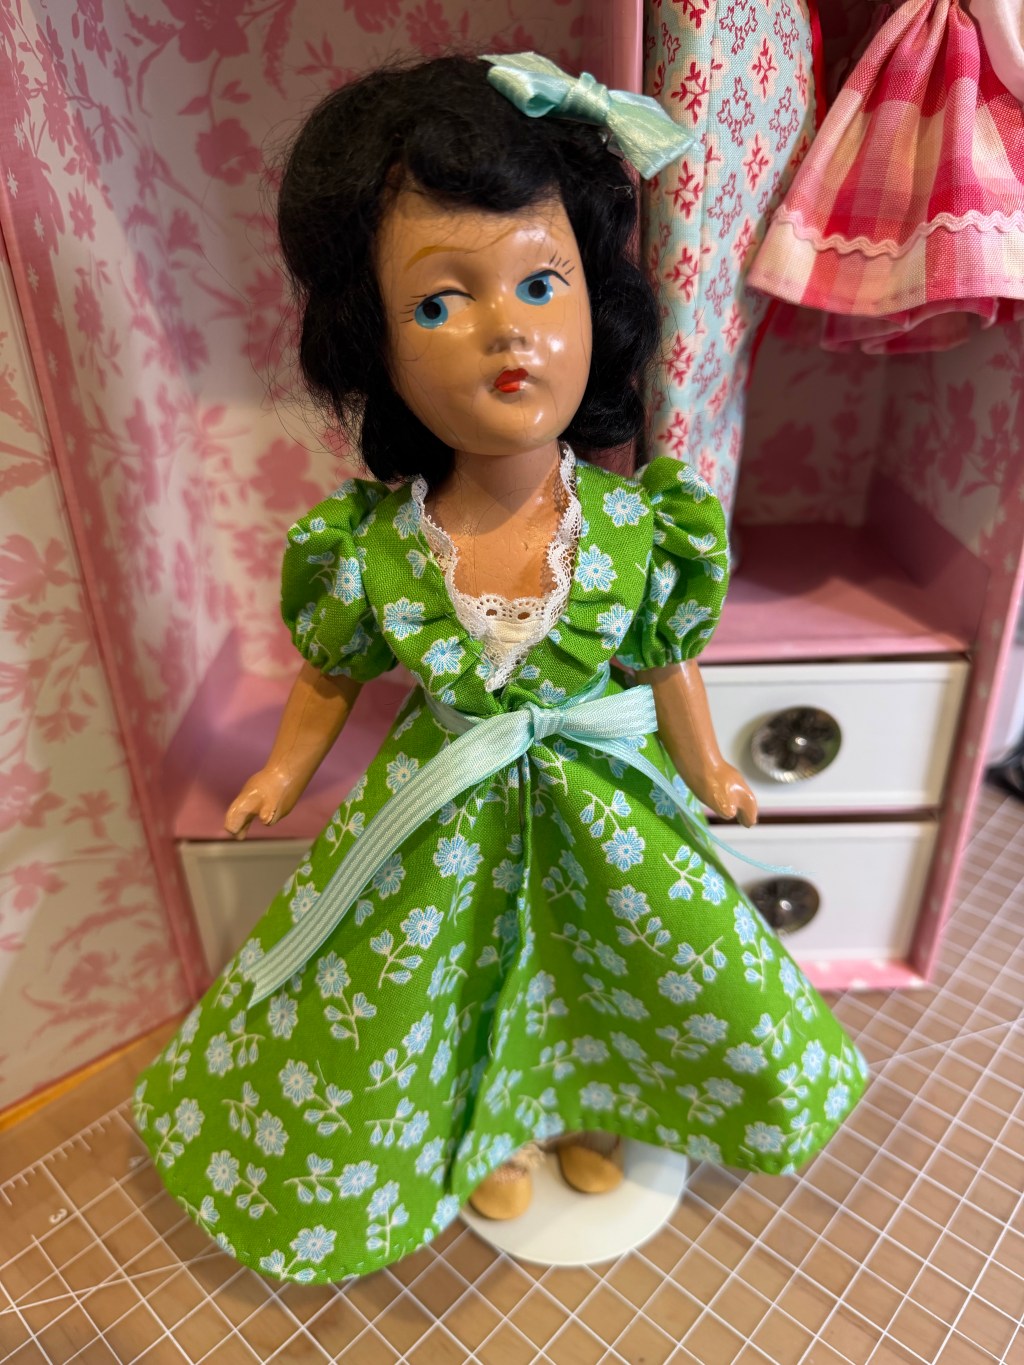
Carlotta’s New Wardrobe
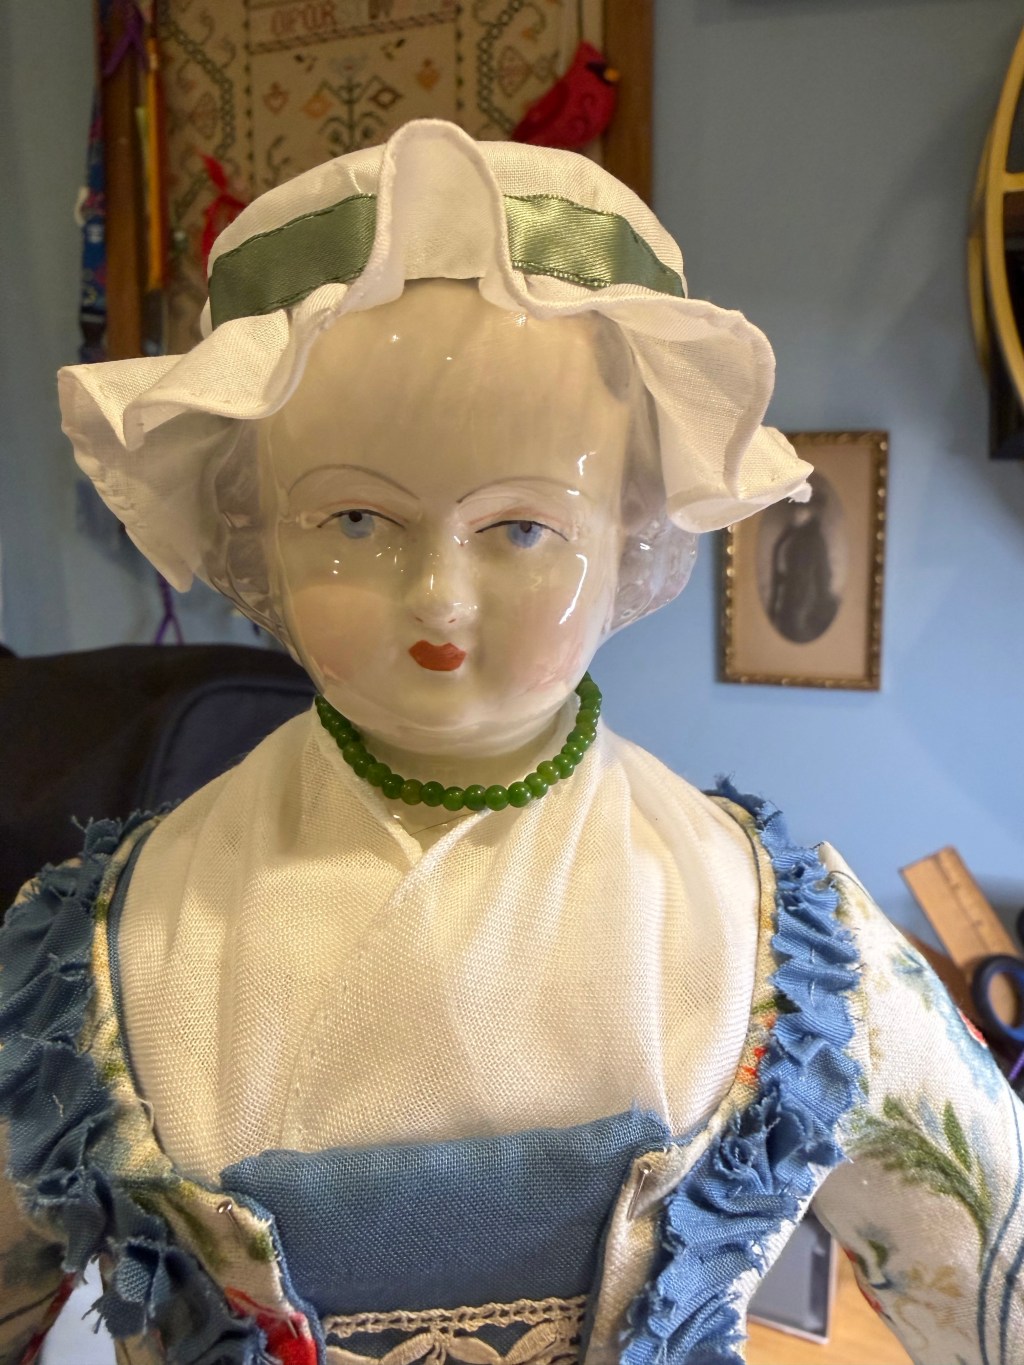
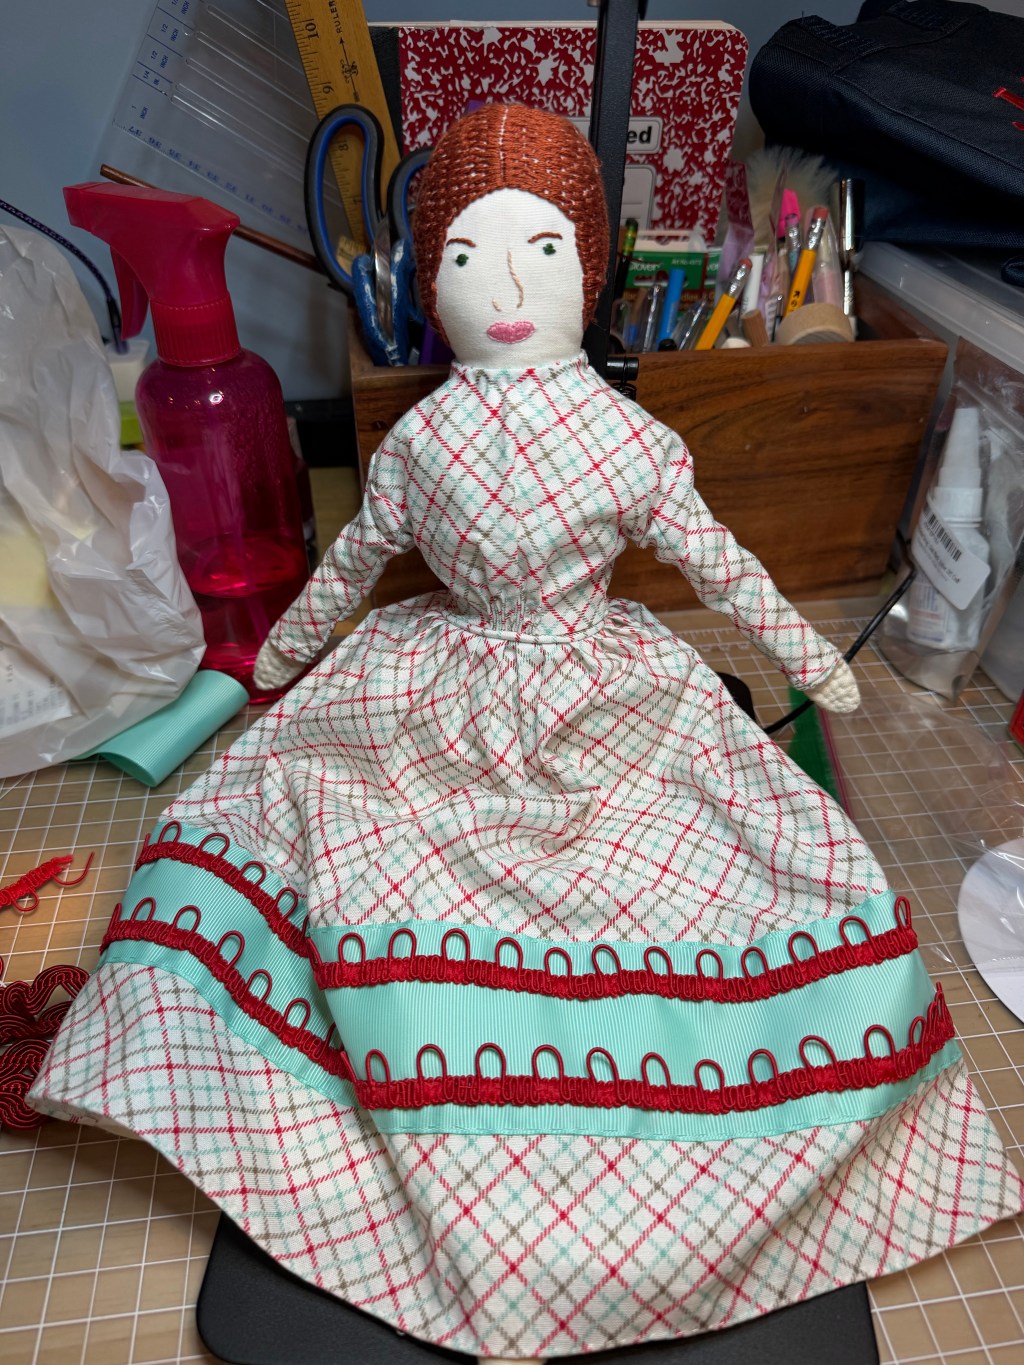
Martha Tudor’s Spring Dress
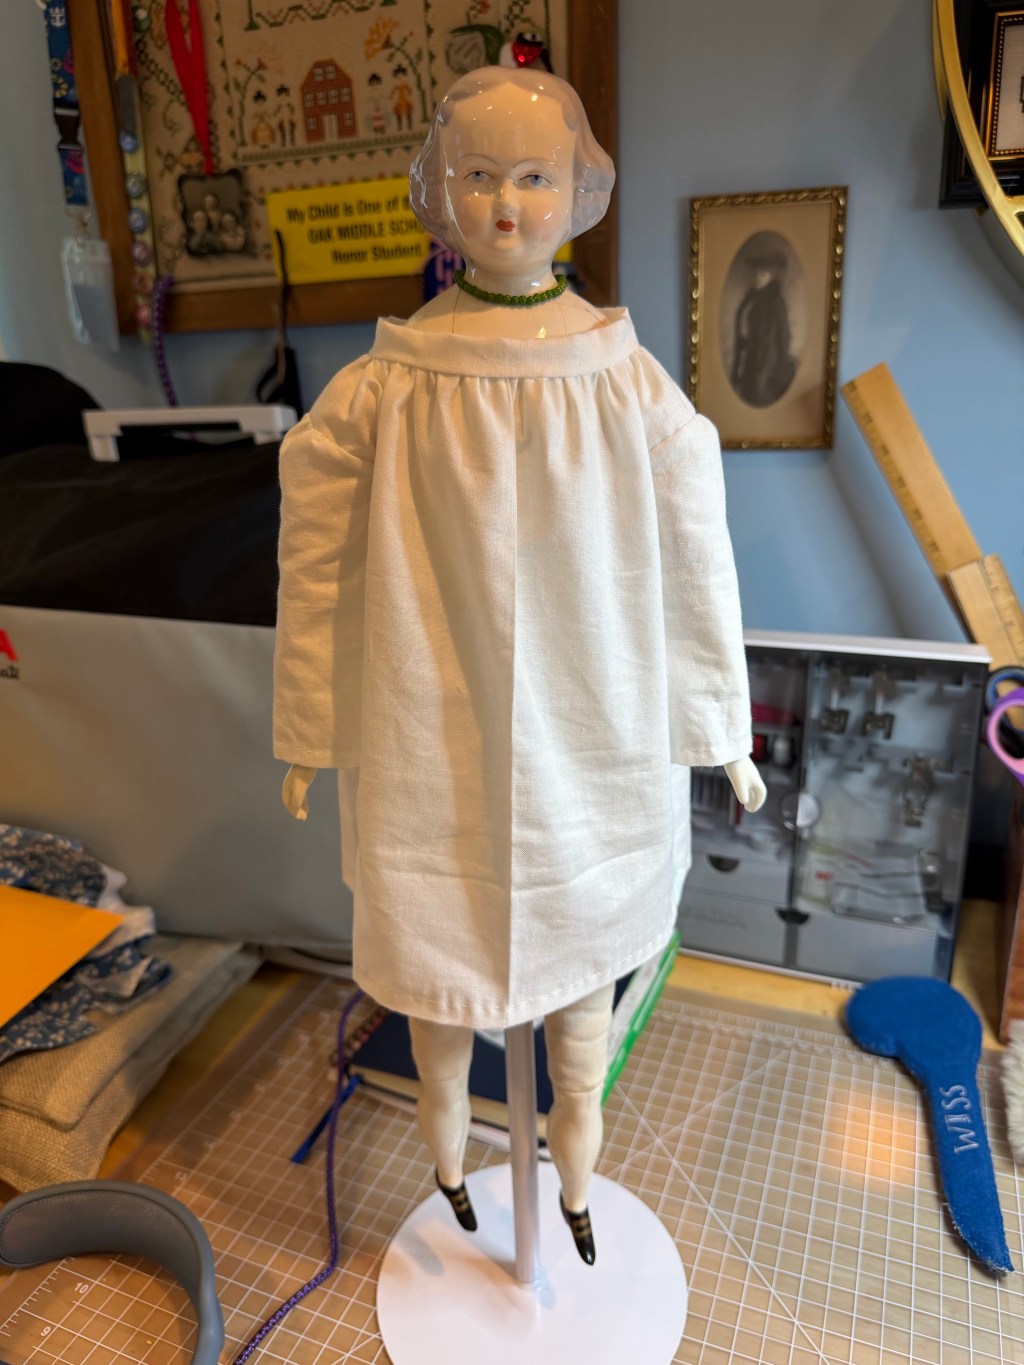
More undergarments
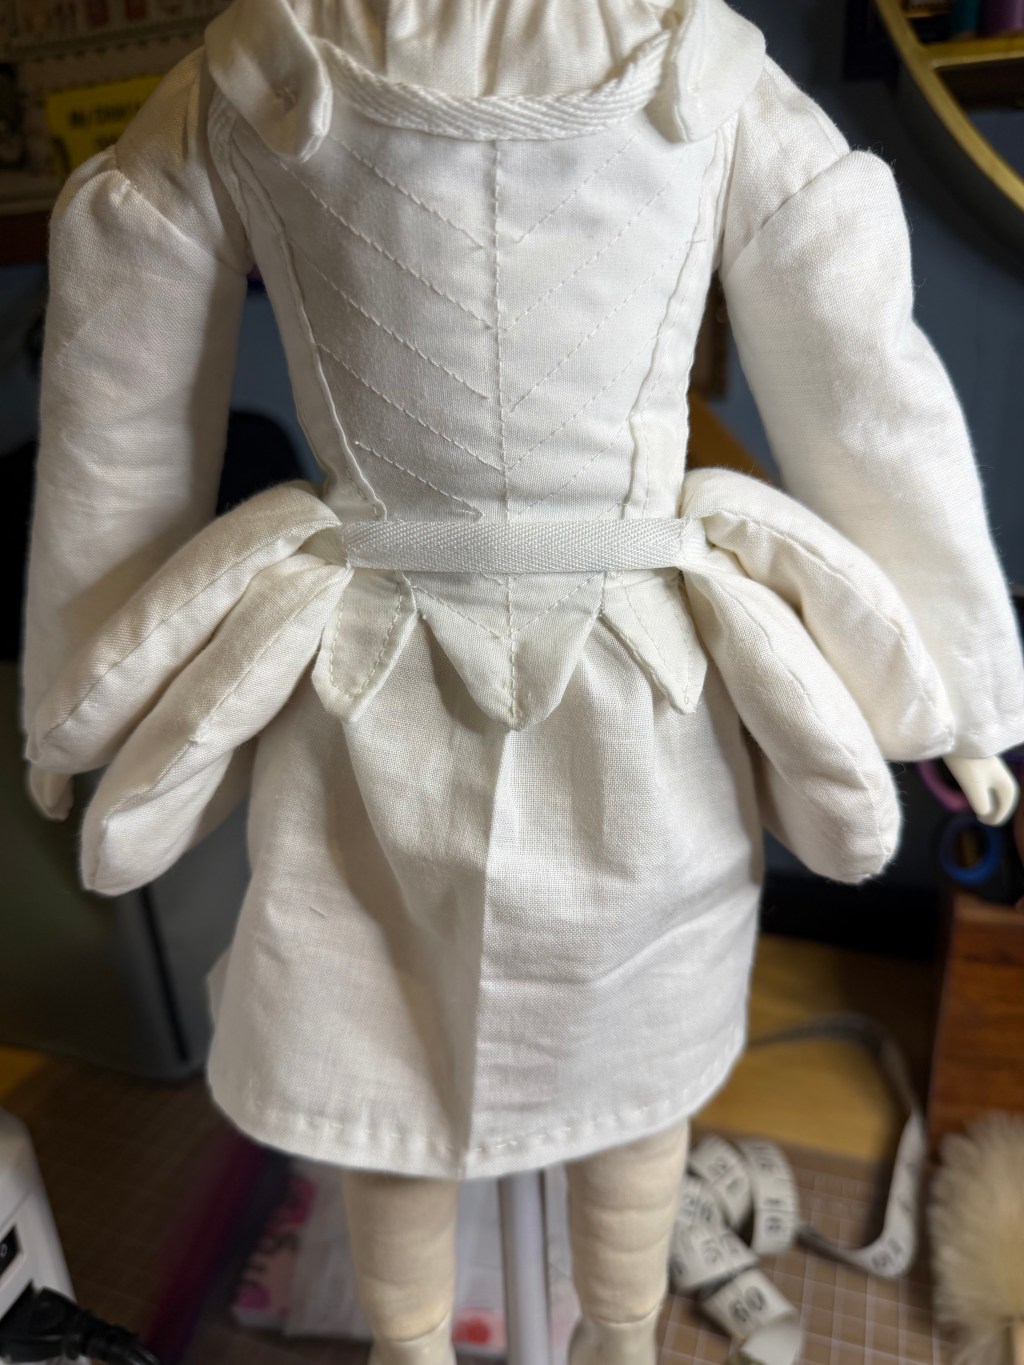
Martha Tudor Part 2
A few completions
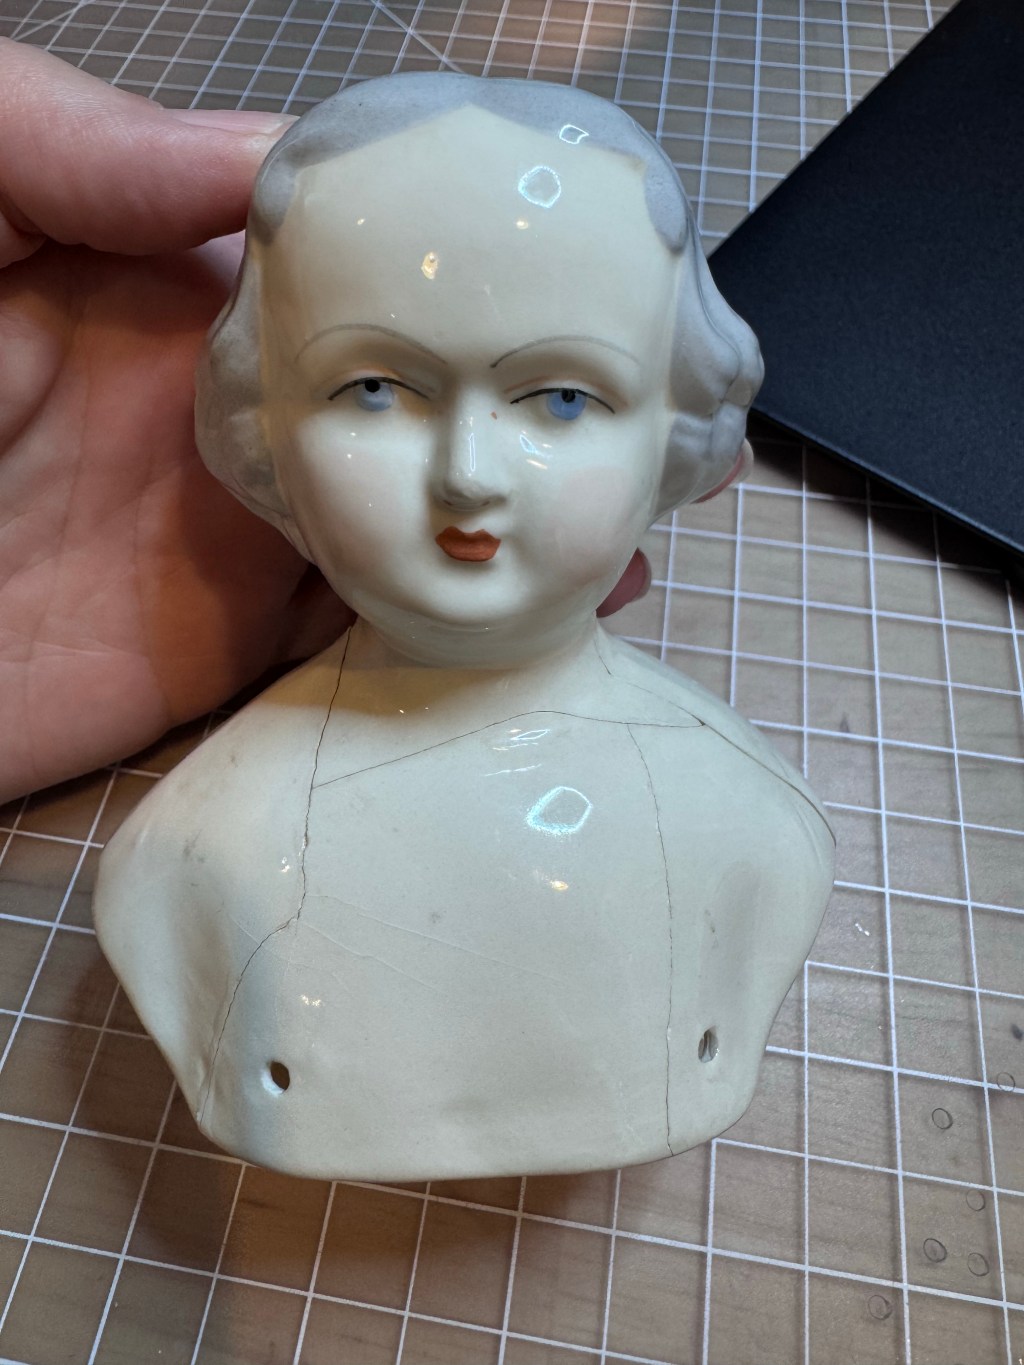
Martha Tudor – Part 1
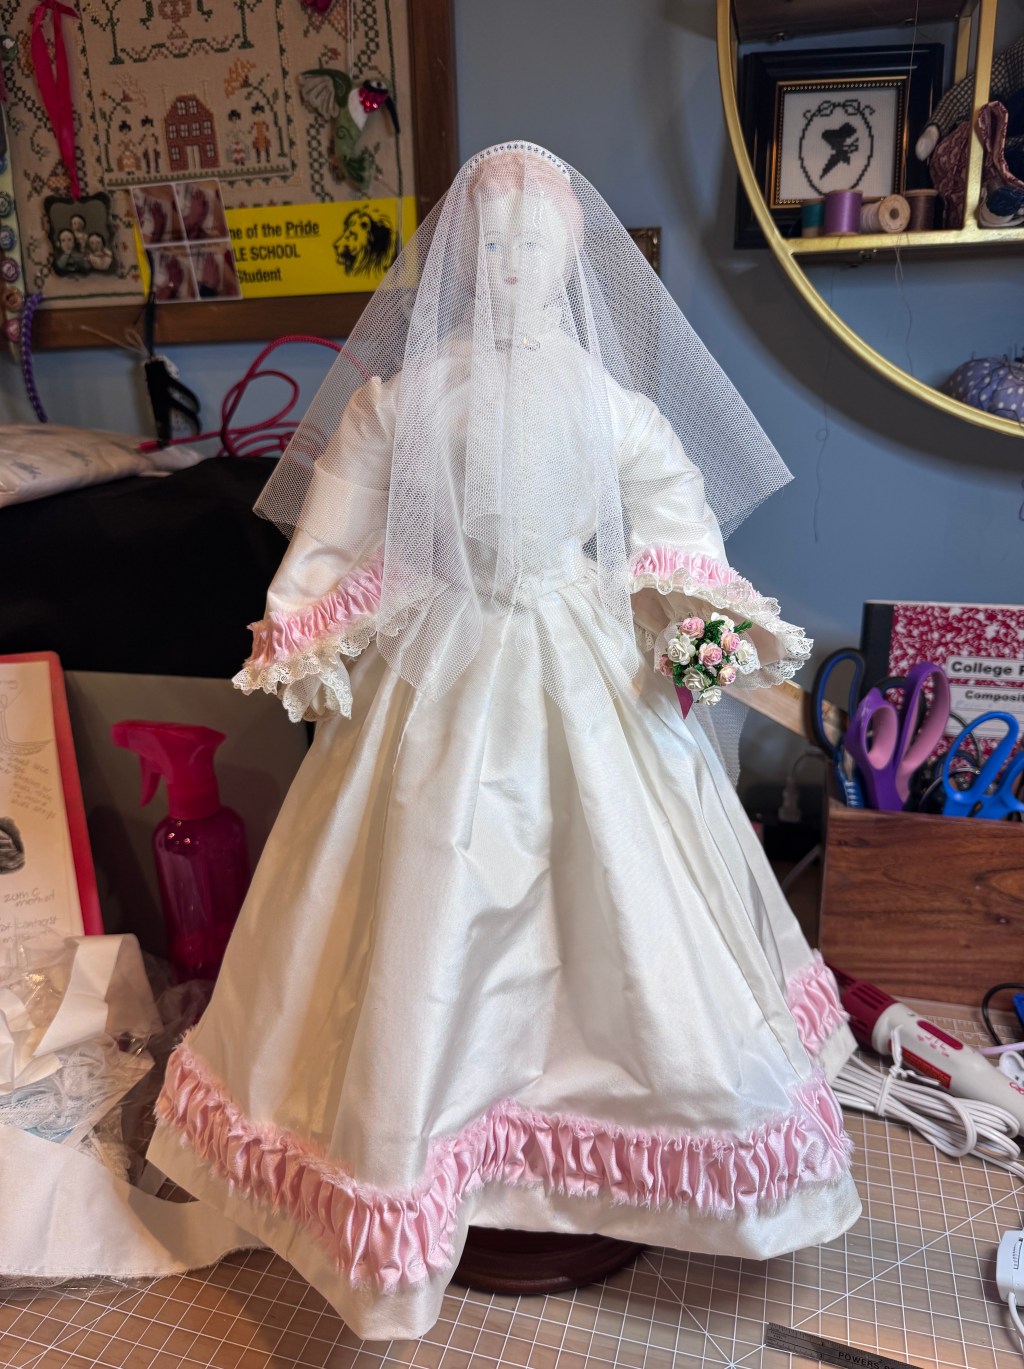
Here Comes The Bride
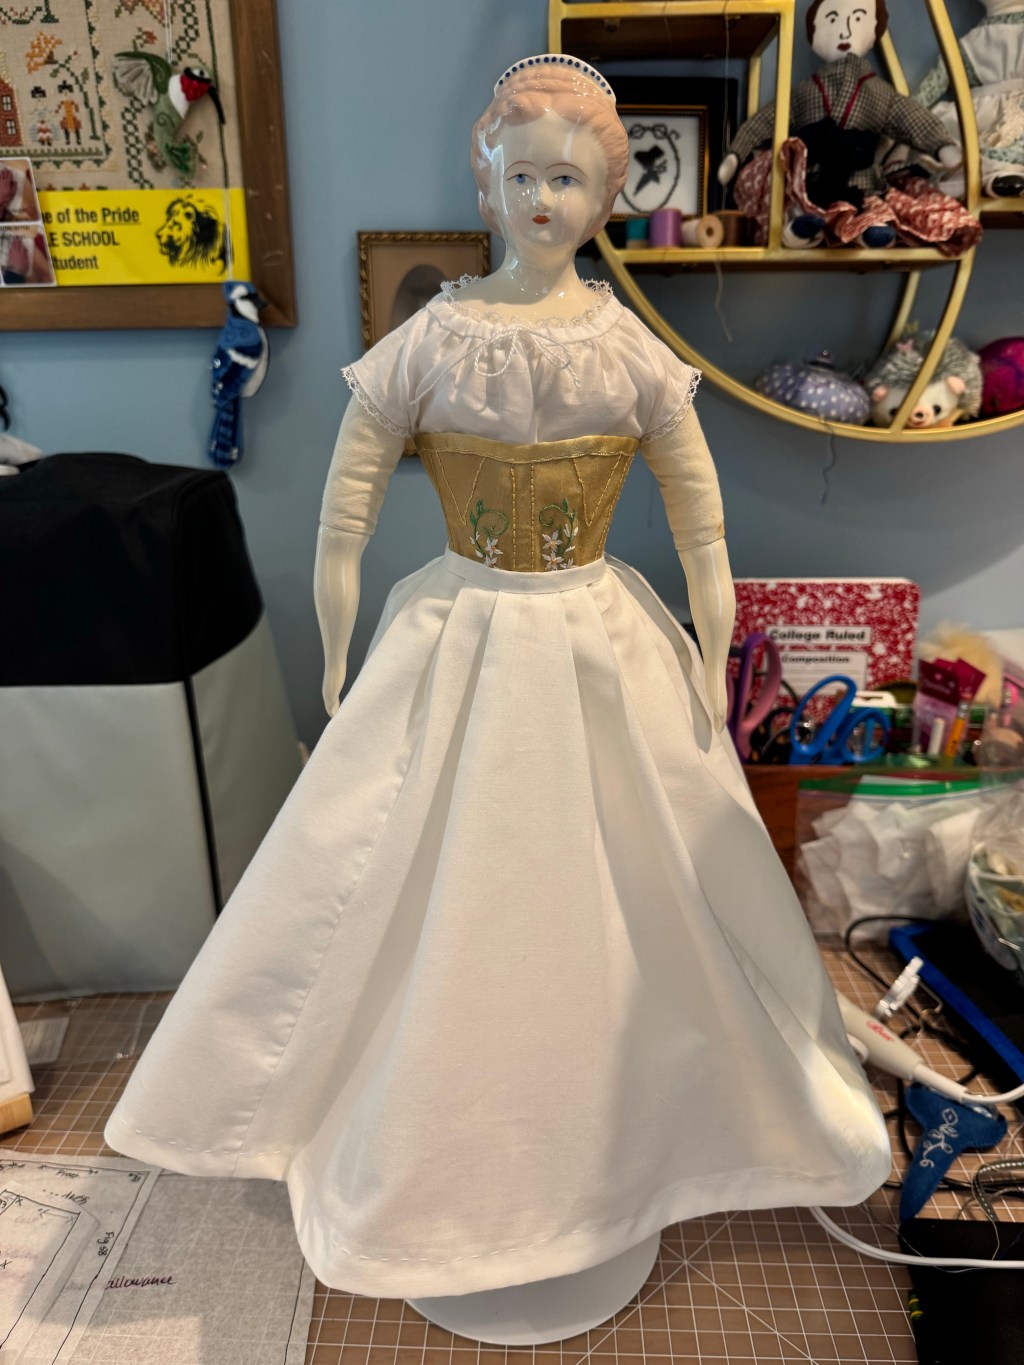
Progress on Julia – corset cover and skirt
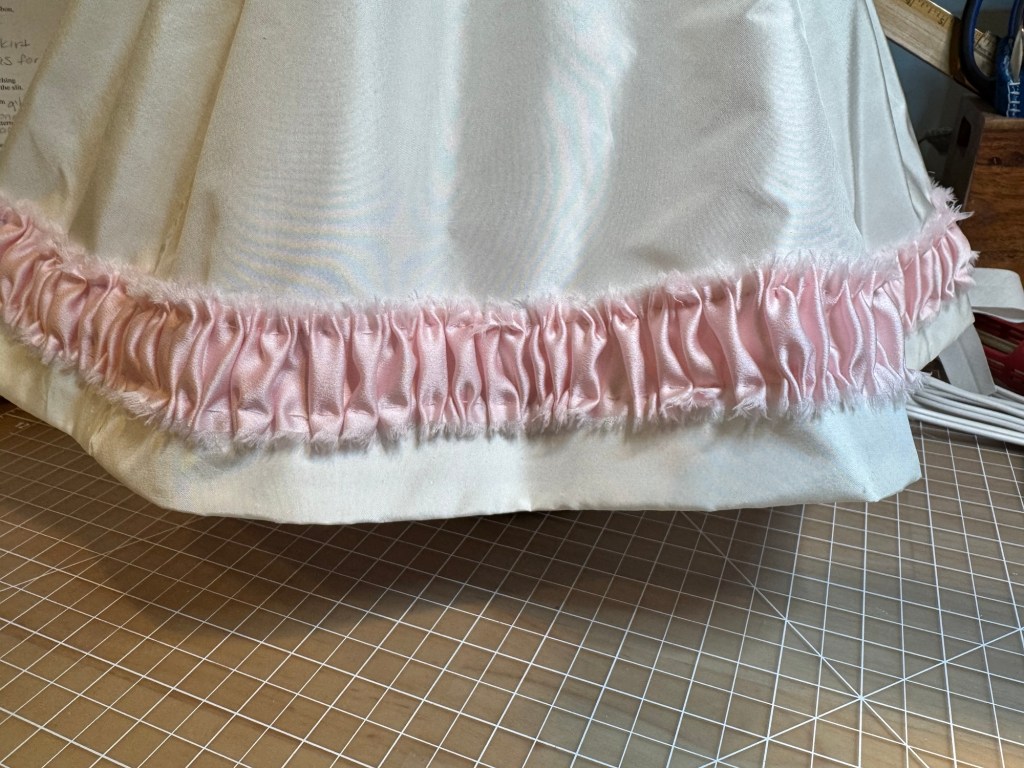
Better Petticoat
Next Page
Subscribe
Subscribed
Notes from the Melody Maker
Join 68 other subscribers
Sign me up
Already have a WordPress.com account?
Log in now.
Notes from the Melody Maker
Subscribe
Subscribed
Sign up
Log in
Report this content
View site in Reader
Manage subscriptions
Collapse this bar