Featured
Favorite Work
Dolly stuff in your inbox
Explore
Latest Posts

Hello,
I’m Martha

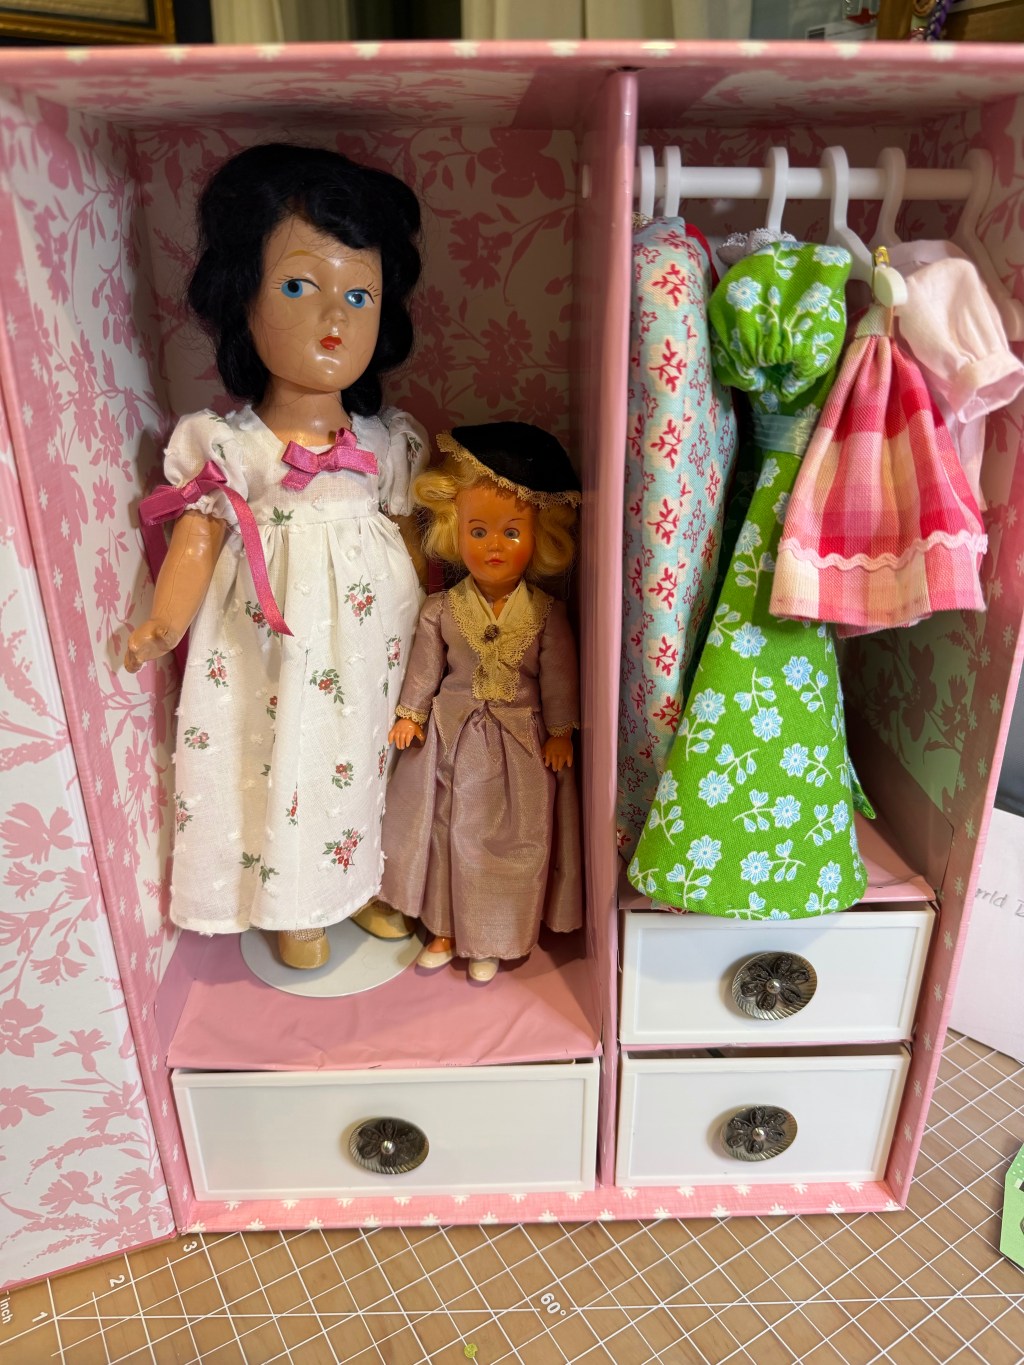
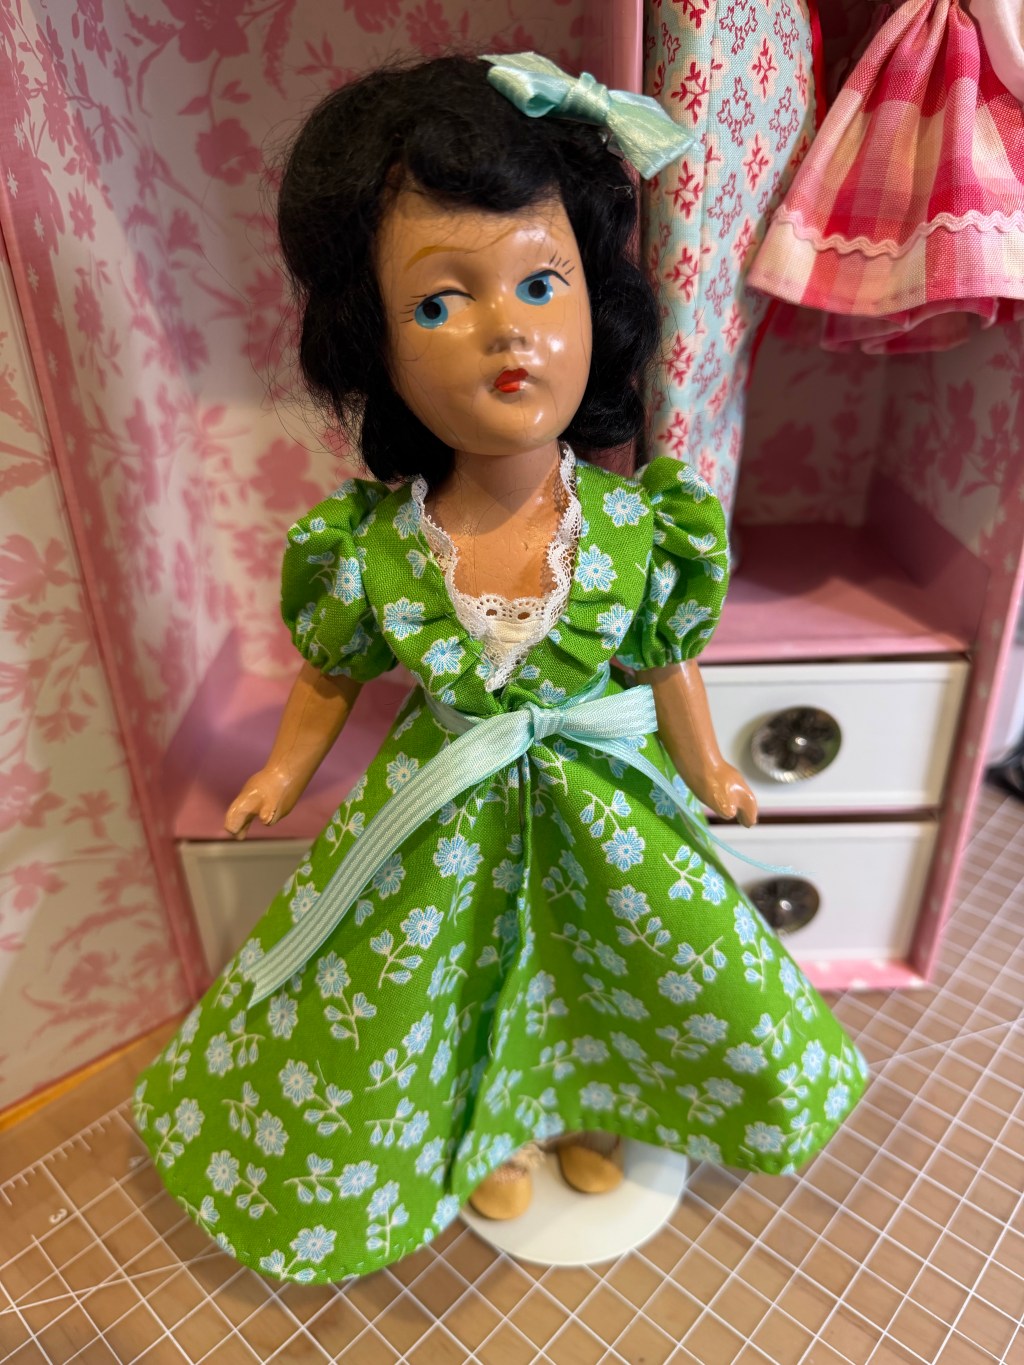
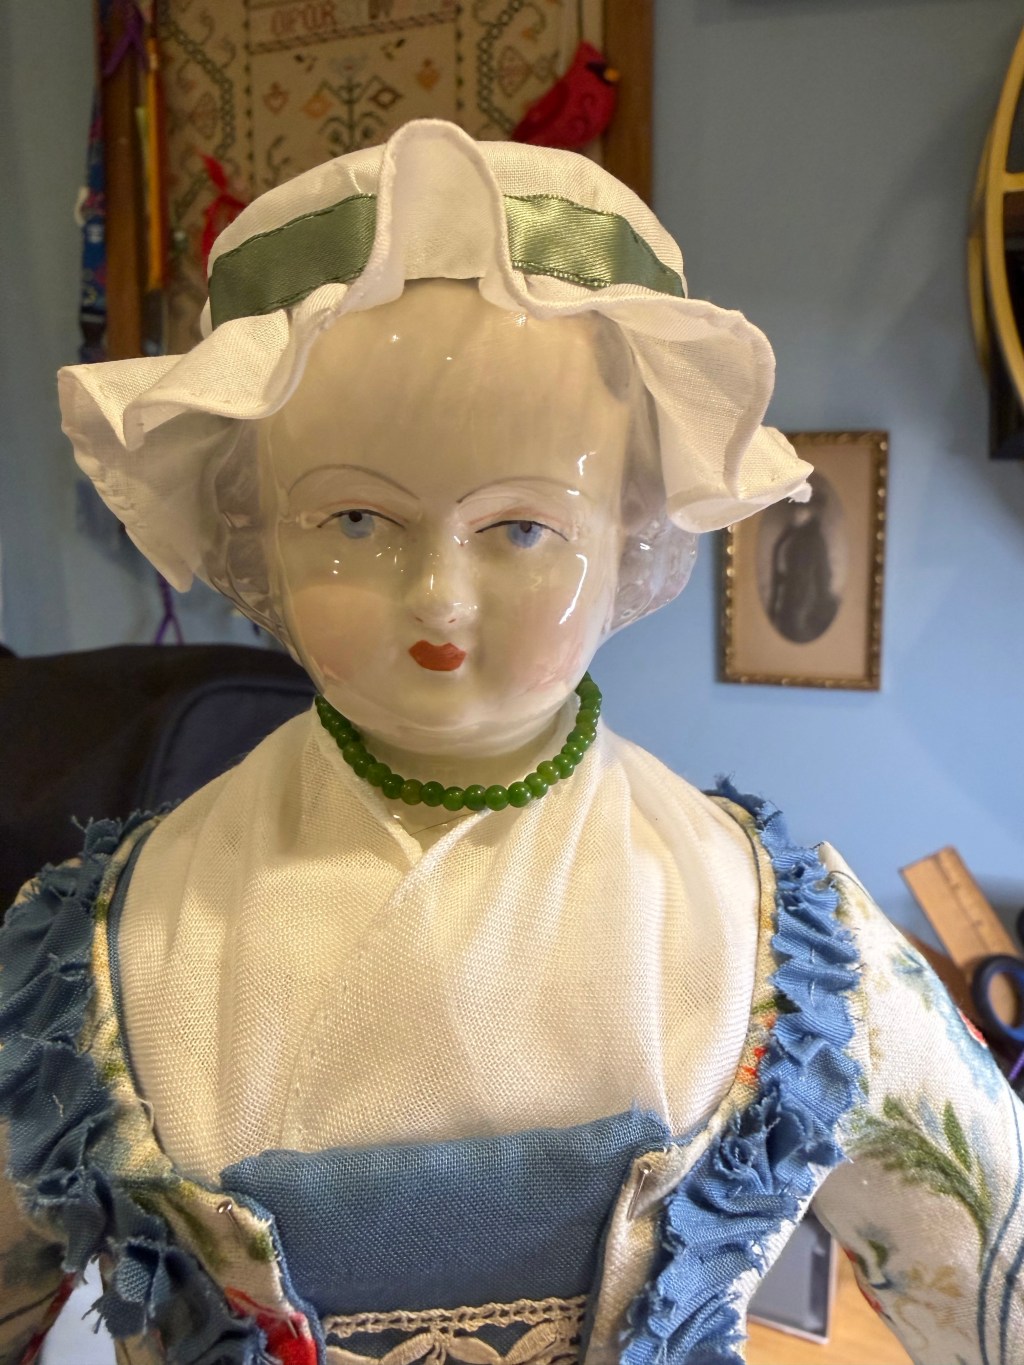
Welcome to Notes From the Melody Maker – a site I am using to share my doll work, craft work, and various tutorials for like minded people. I make and restore china head dolls and many accessories for them, based on antique Victorian patterns and sewing techniques. I’m no professional, I just love to do it! Every once in a while I’ll do some other crafty things and share those too!
Let’s connect
Join the fun!
Stay updated with our latest tutorials and ideas by joining my mailing list.
