I am finally starting the restoration of a doll that belongs to my cousin M. This doll belonged to her great, great grandmother and is named for her.

When I received Ruby she was not in good shape. Or I should say, her body was not in good shape. Her porcelain parts are in excellent condition for being around 130 years old. Over the years though, her original body developed some tears and the sawdust stuffing was beginning to leak. One of the prior owners encased her entire body in a second layer of fabric. The mending job made her look a bit like Coraline. In a further insult, someone patched that with packing tape.
As I deconstructed her I realized that the original issue must have arisen because her head was pulling away from the body. Her chest plate does not have the holes for stitching the head on so it was glued. The glue held all these years but the body muslin tore away from the chest plate, allowing fine sawdust to escape.
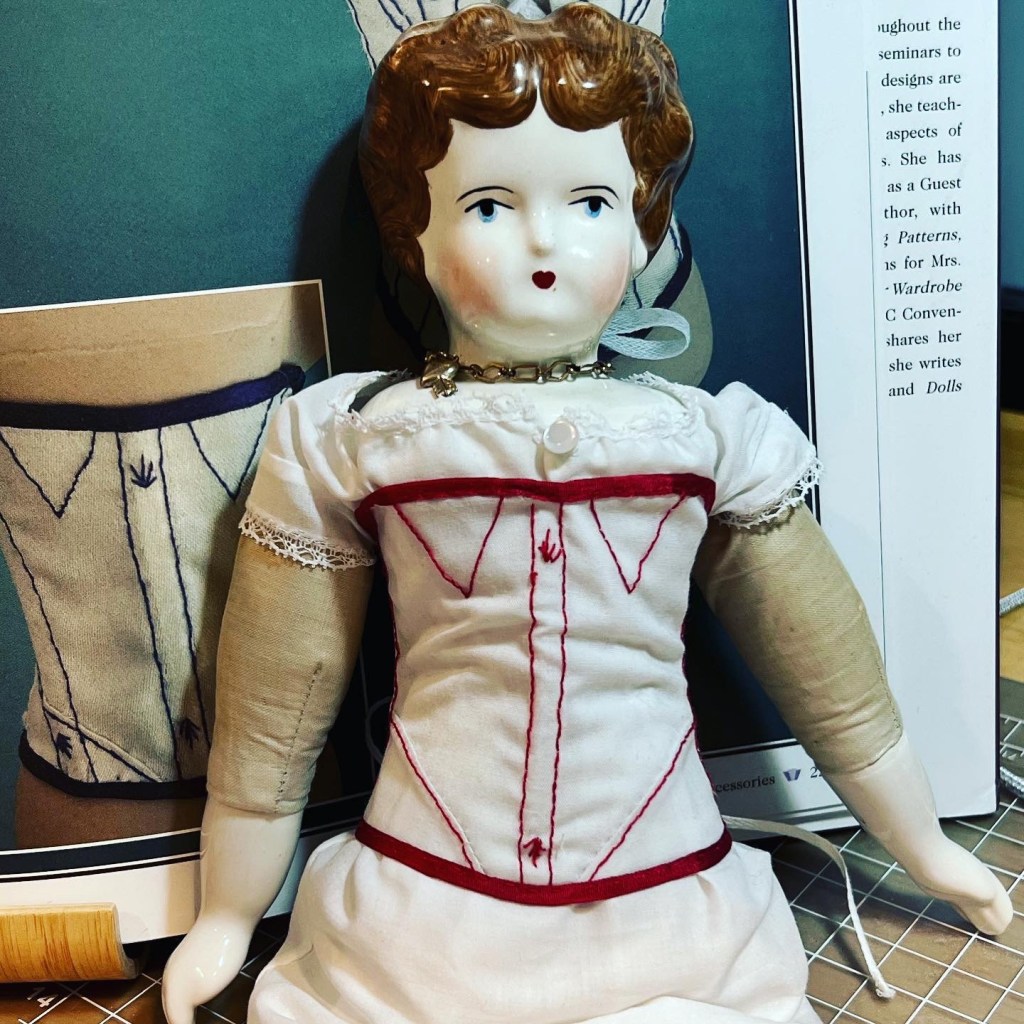
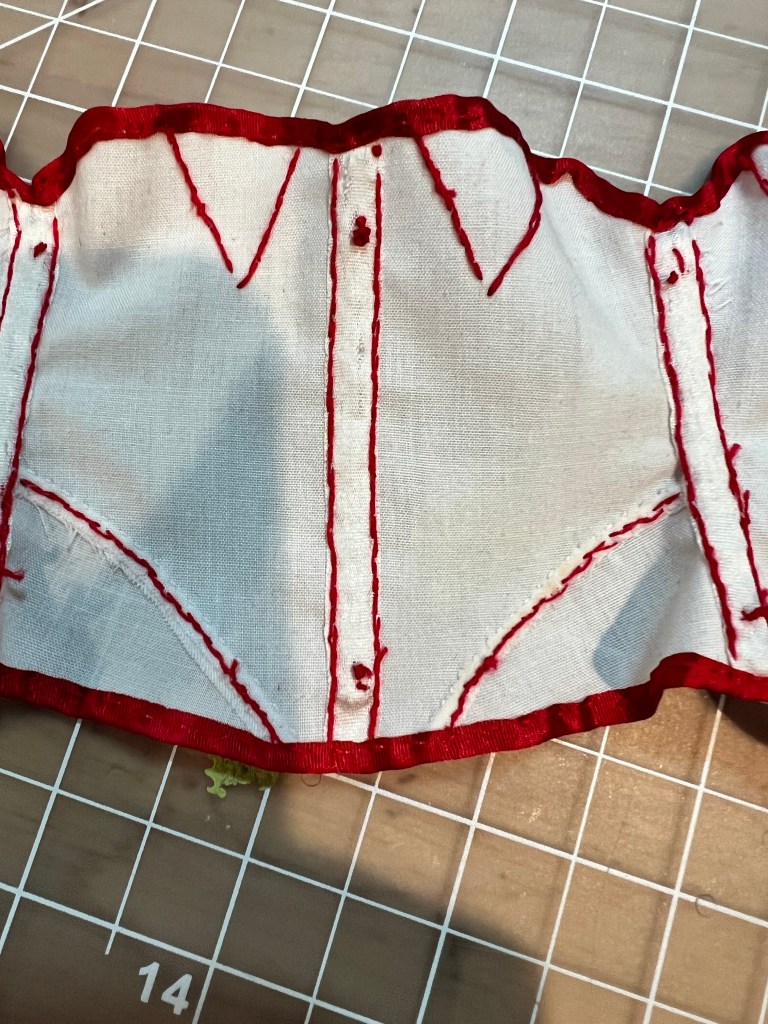
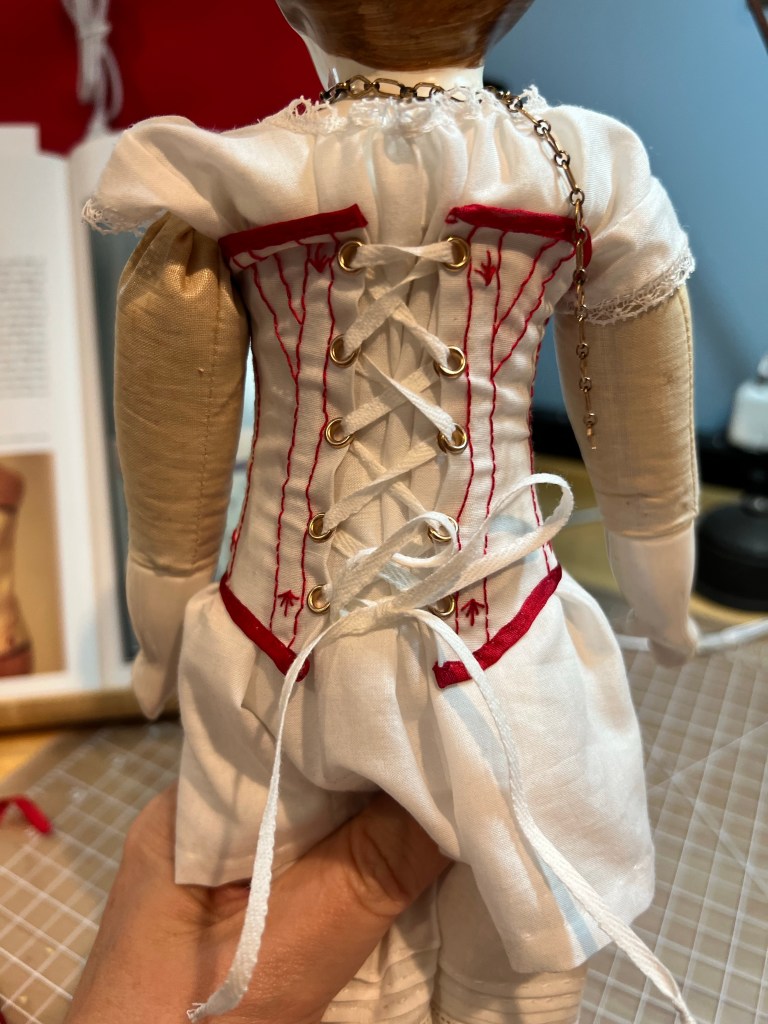
Careful snipping of stitches revealed that the “shirt” on her torso was probably her original chemise! In the photo above, it is stitched to her body at the waist but that waist is really closer to the original shoulder of her body! It added almost 2” to her height.
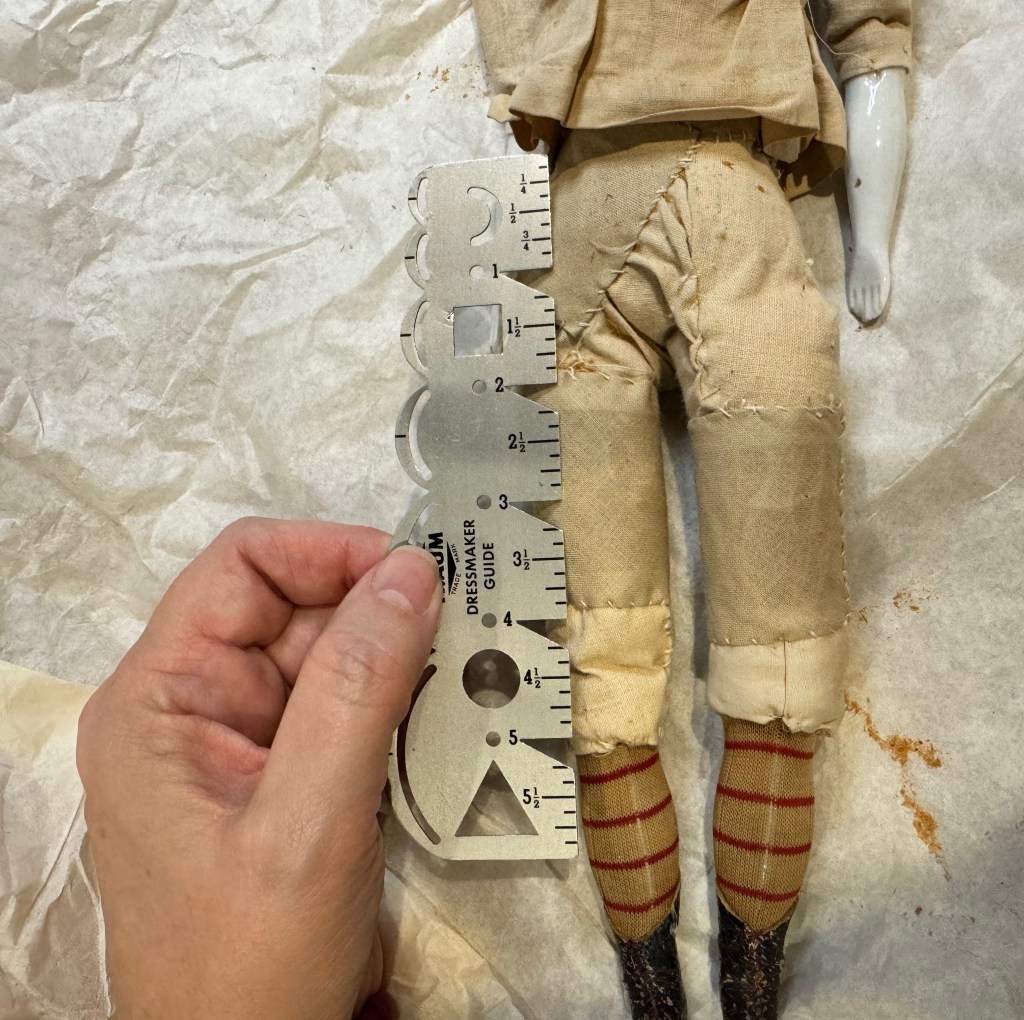
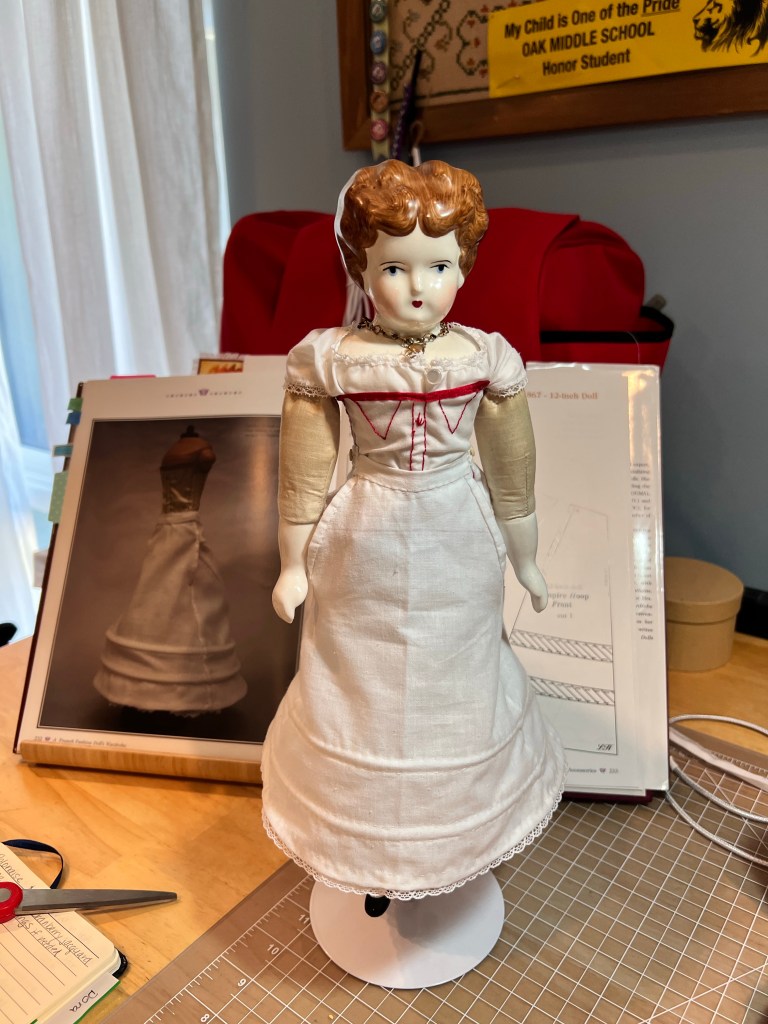
I had carefully measured and documented her body before beginning the deconstruction. These measurements will be very helpful as I start to build a body for her.
I discovered her original body was a dusty rose brown color! It may have darkened over time due to the sawdust but typically we see white or off white bodies so that was interesting.
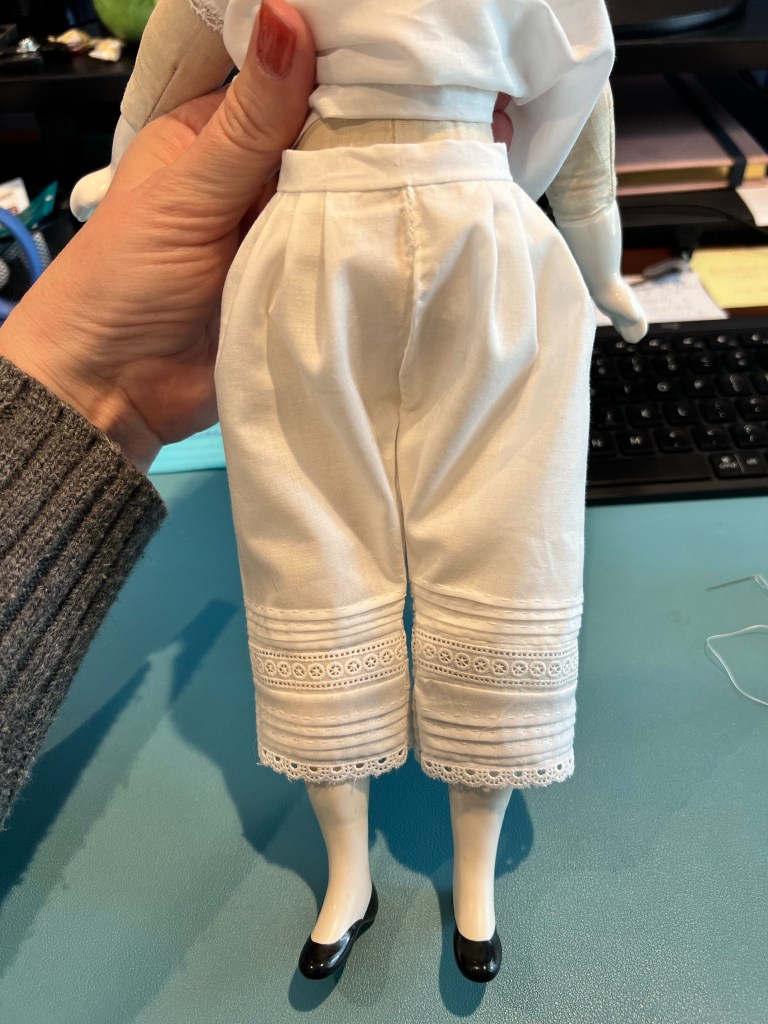
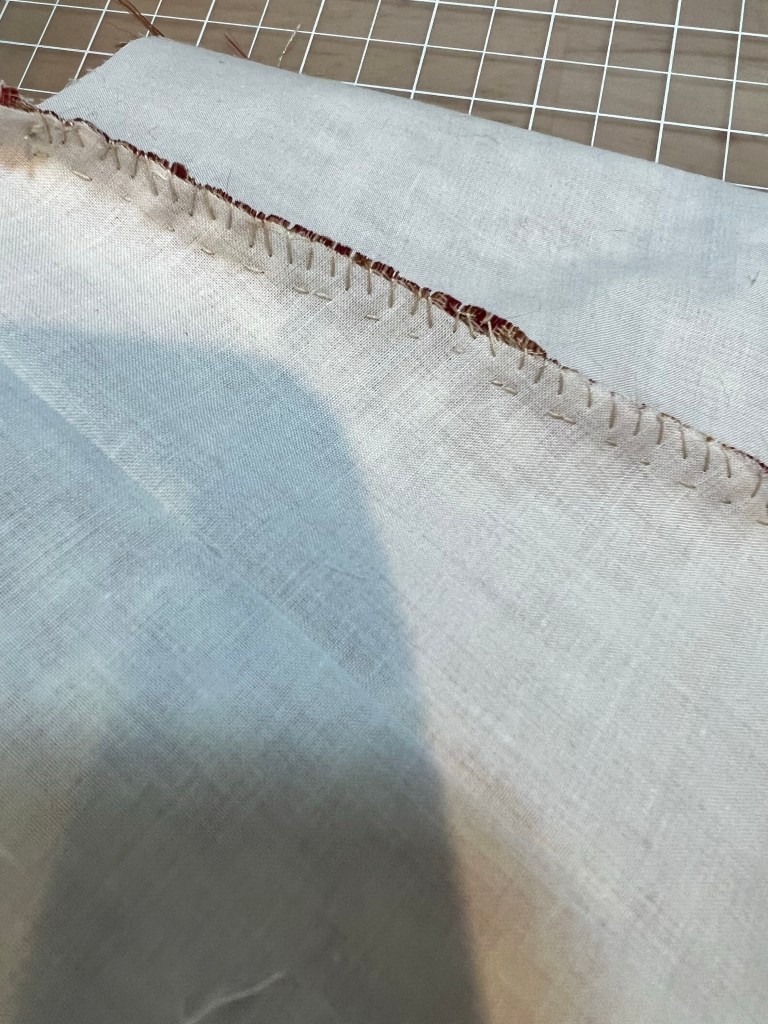
Also a treasure to keep are the stockings and boots. A prior owner made these items. The boots were made from the fingers of a glove. I was able to very carefully clip the stitches binding the stockings to the “cover body” and used tweezers to pick those stitches.

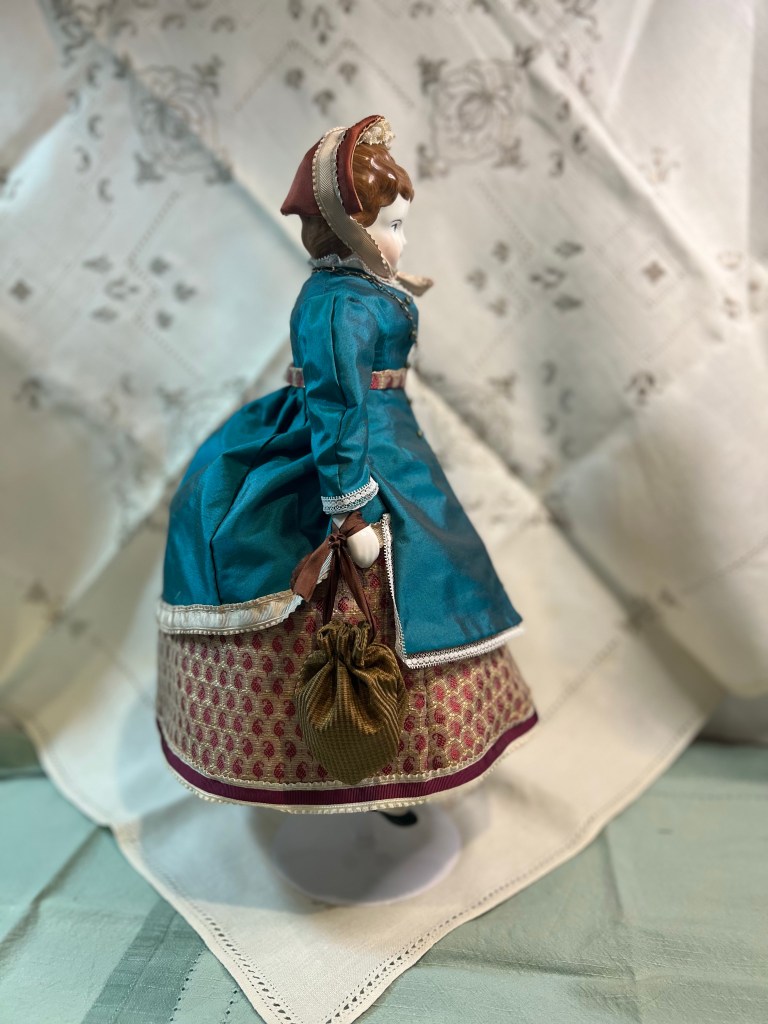
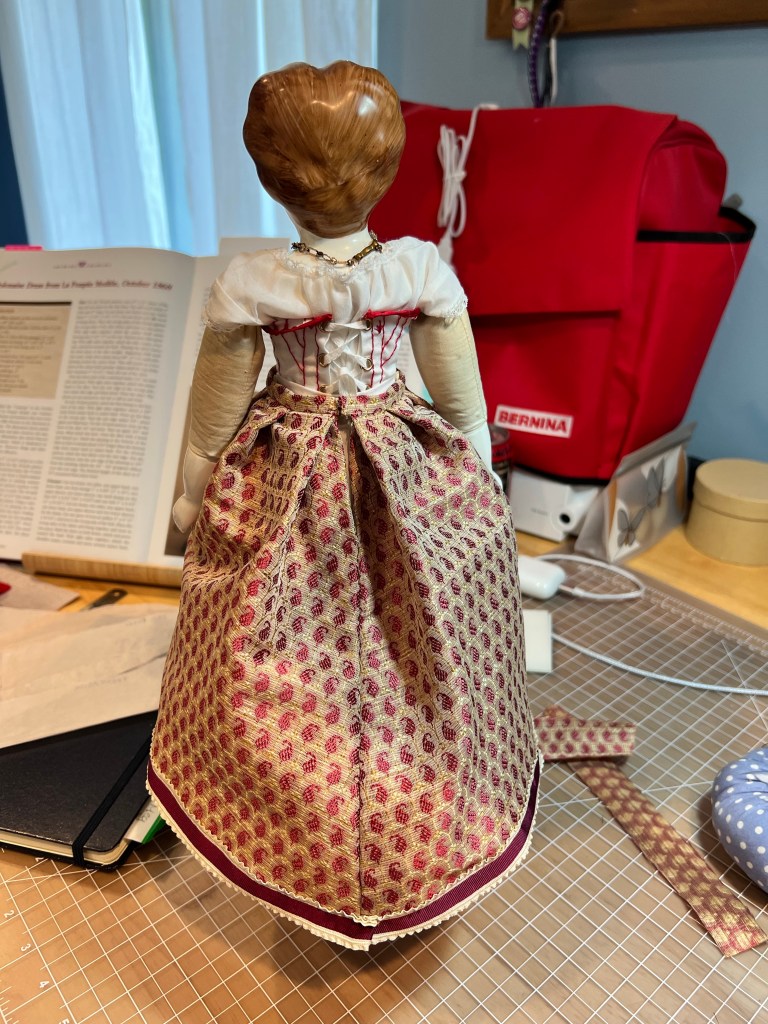
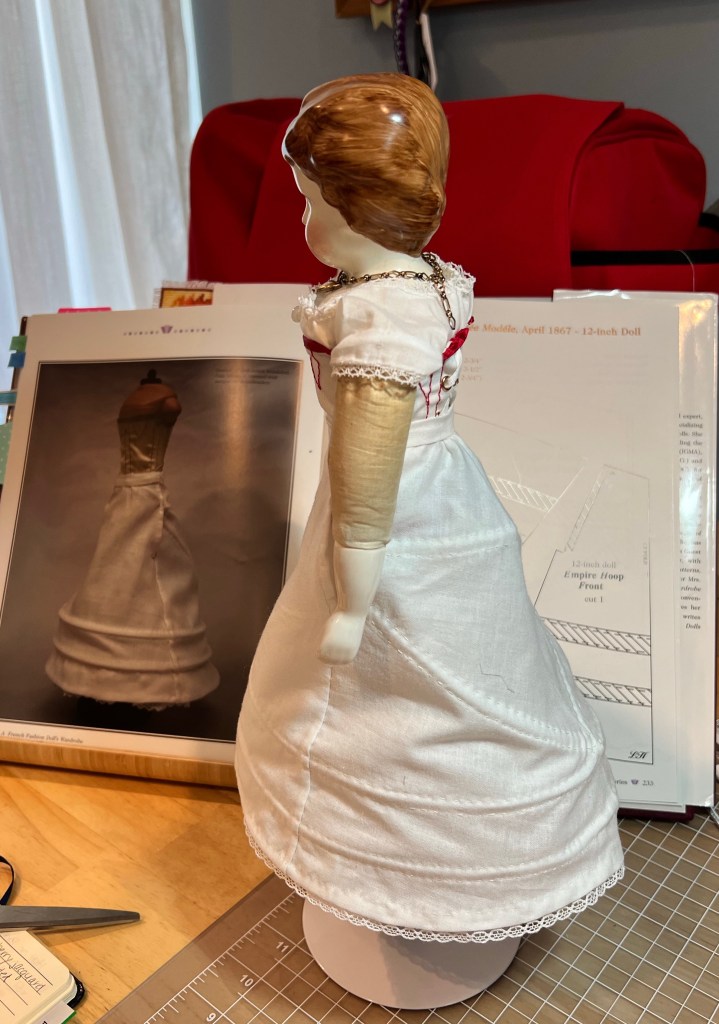
I’m about ready to start building her – the easy part! I do have fabrics selected for her dress and I will share as that comes, but I will need to finalize the dress design first. I’m planning for an 1886-ish dress as the original Ruby would have been 8 that year. She might have received this doll as a gift and made her clothing. Bustles were the main style shown in the Bloomingdale’s catalog for 1886 so if that’s what we decide it will be another fun challenge for me.
I hope you will join me on the journey as we restore Ruby.