Busy, busy fingers. I have been working diligently on Julia’s foundation garments. In my last post I shared the completed chemise, drawers and corset. Today I will share the next items.
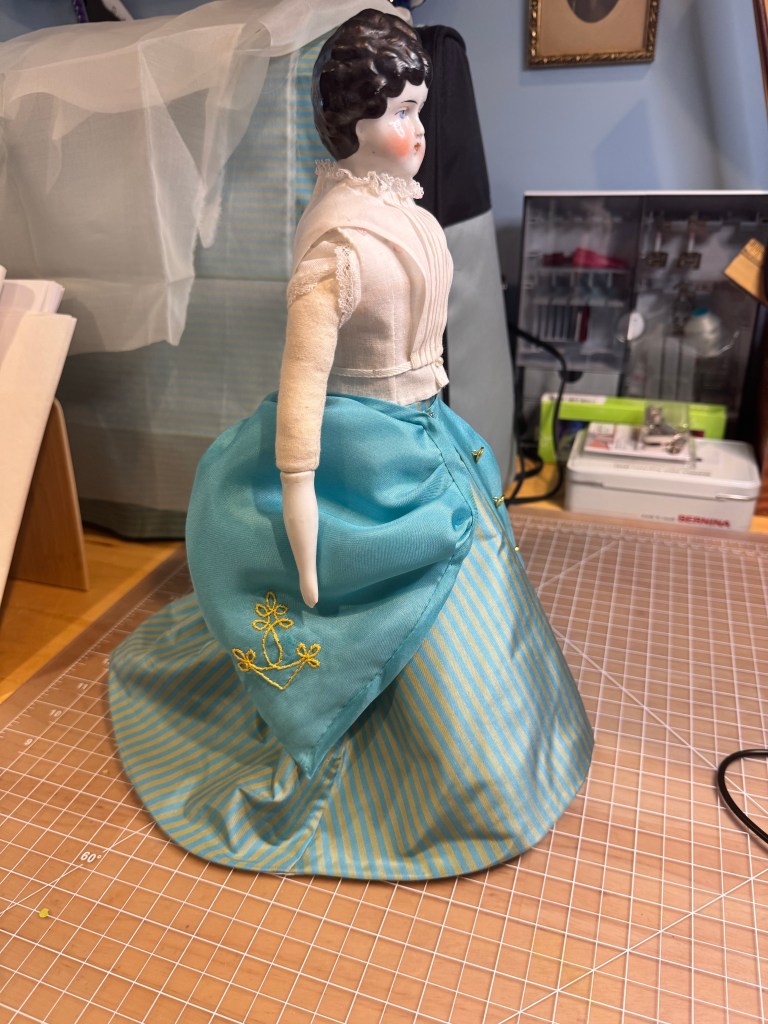
First up, I completed the empire hoop. This is the second time I’ve made this particular item and I’m less than delighted with both of them.


I feel like the hoop is meant to support a smaller skirt than Julia will likely be wearing. We shall see. The first time I made the empire hoop, I discovered the instructions didn’t tell you to hem it! Obviously I remembered that this time and added a sweet gathered lace.
I don’t love how the back just seems to collapse instead of standing out, but maybe I’m picturing the wrong thing. A grand bustle hoop would stand far out and that’s not the silhouette I’m going for here.
To compensate for the uninspired shape, I’m making a small crescent shaped cushion bustle. More like a bum roll. I saw this on a vintage recreation of an elliptical hoop and I think it’s going to provide the shape and lift/support I’m looking for here.

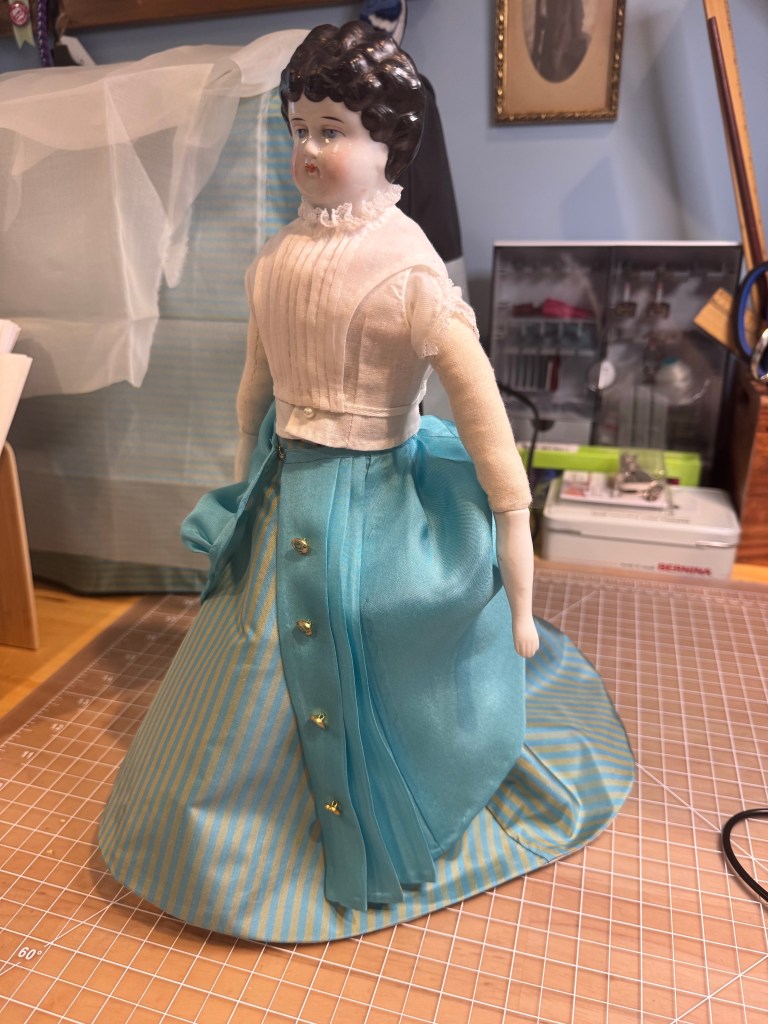
I do love these buttons. They are vintage glass buttons and yes, I did handsew the button holes.
I’ve considered making a different elliptical hoop based on original garments, but what a massive amount of work that will be. Talk me off the ledge!

Later…
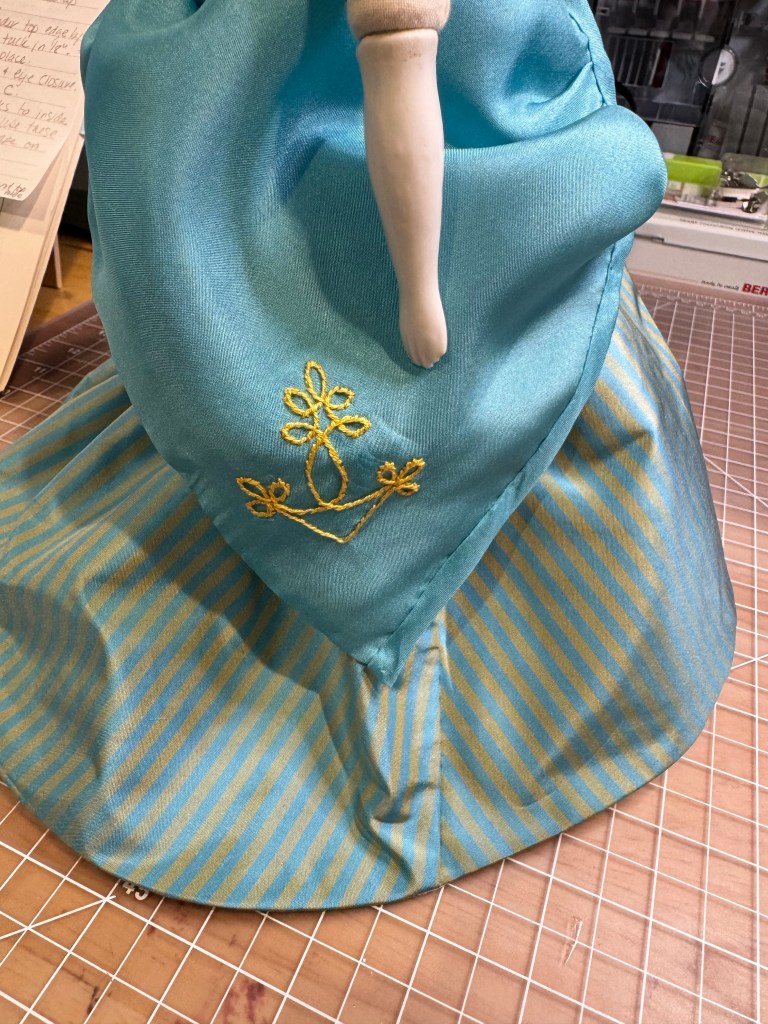
I’ve made the crescent shaped bum pad and I don’t love it, either! It’s possibly too full and stands out too straight of an angle from her body.
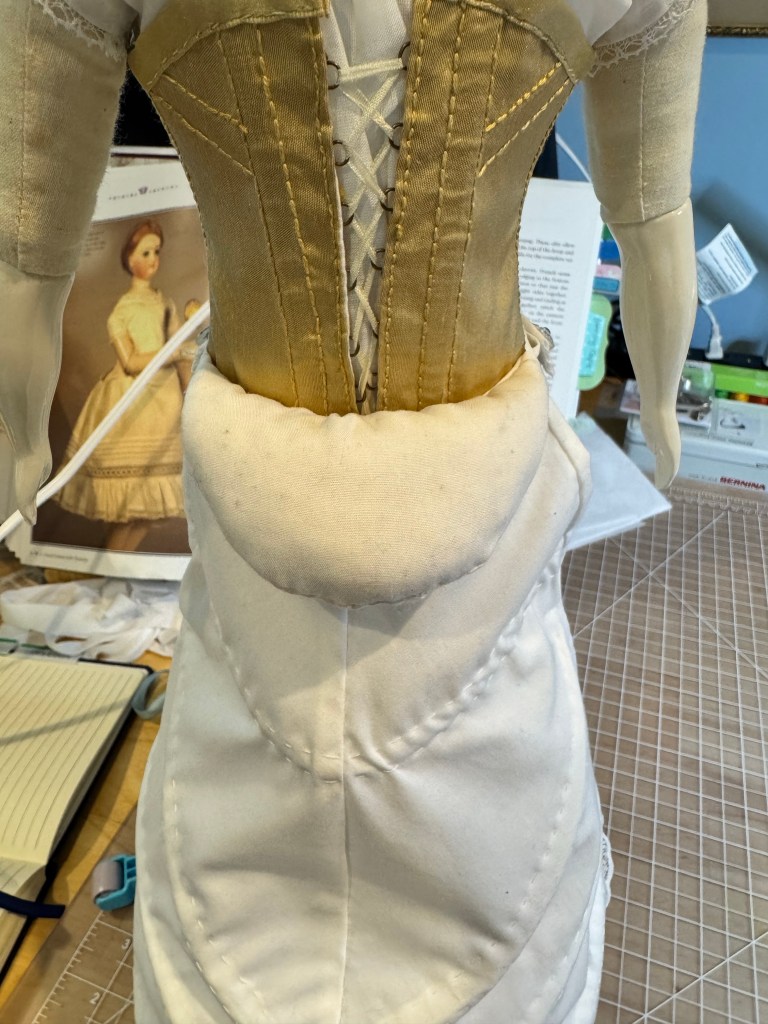
If I try to flatten it down it has a better profile, but even that isn’t realistic to maintain. I also tried putting it under the empire hoop but that just threw off the way that garment hung and fit, so that was a no-go. This is just going to be set aside for the time being.
I had made the bum pad while waiting for some laces to be delivered for the petticoat.

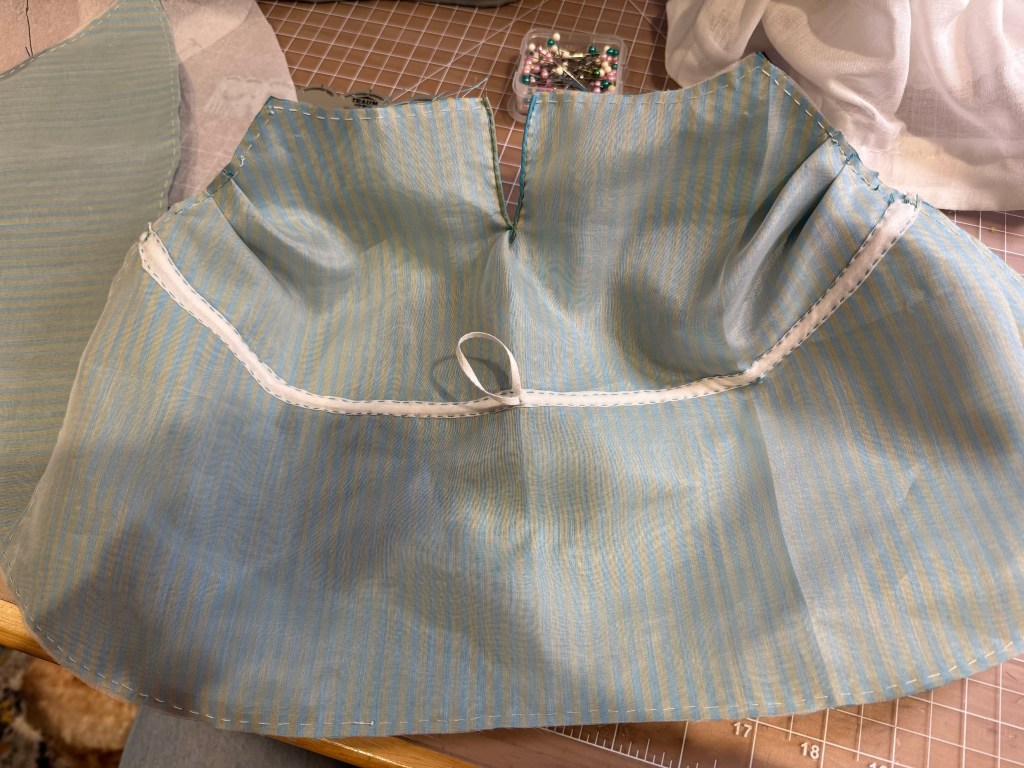
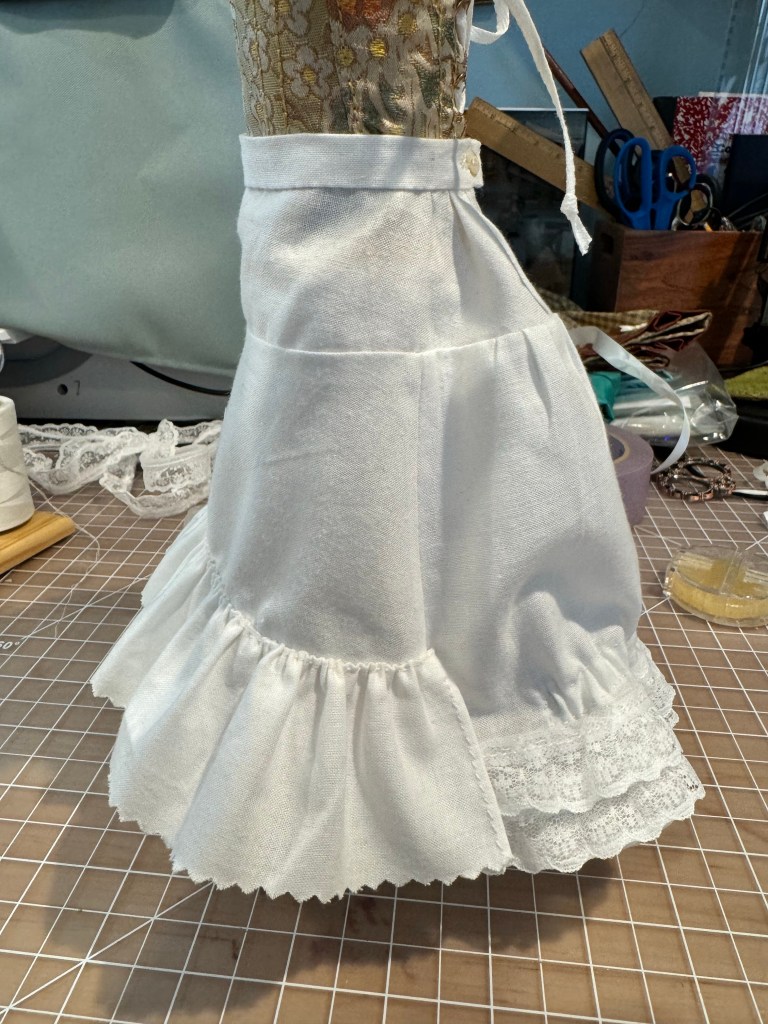
Here you can see the petticoat, which I do rather like. It is about 1.5” shorter than the hoop and I don’t think that is correct even though it exactly matches the measurements in the book. Le sigh.
I’m just going to focus on what I like. I like the tucks. I like the lace insertion. I like the ruffled hem.

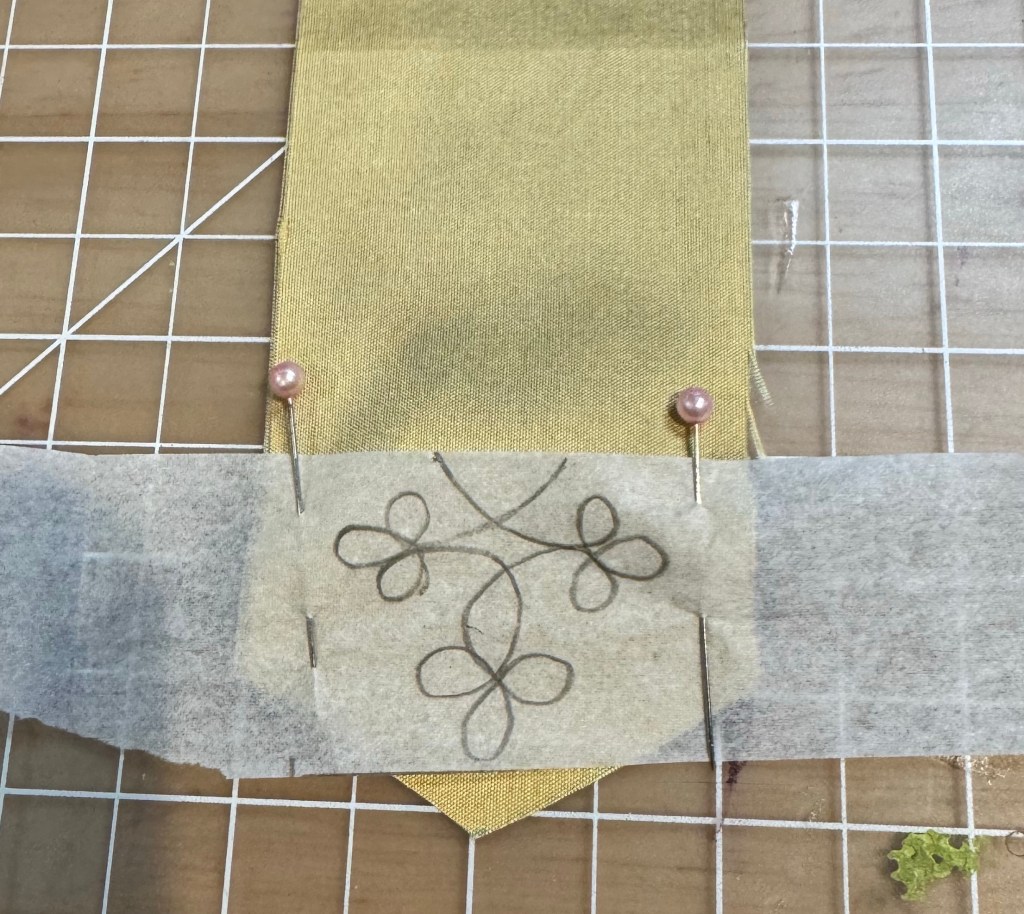
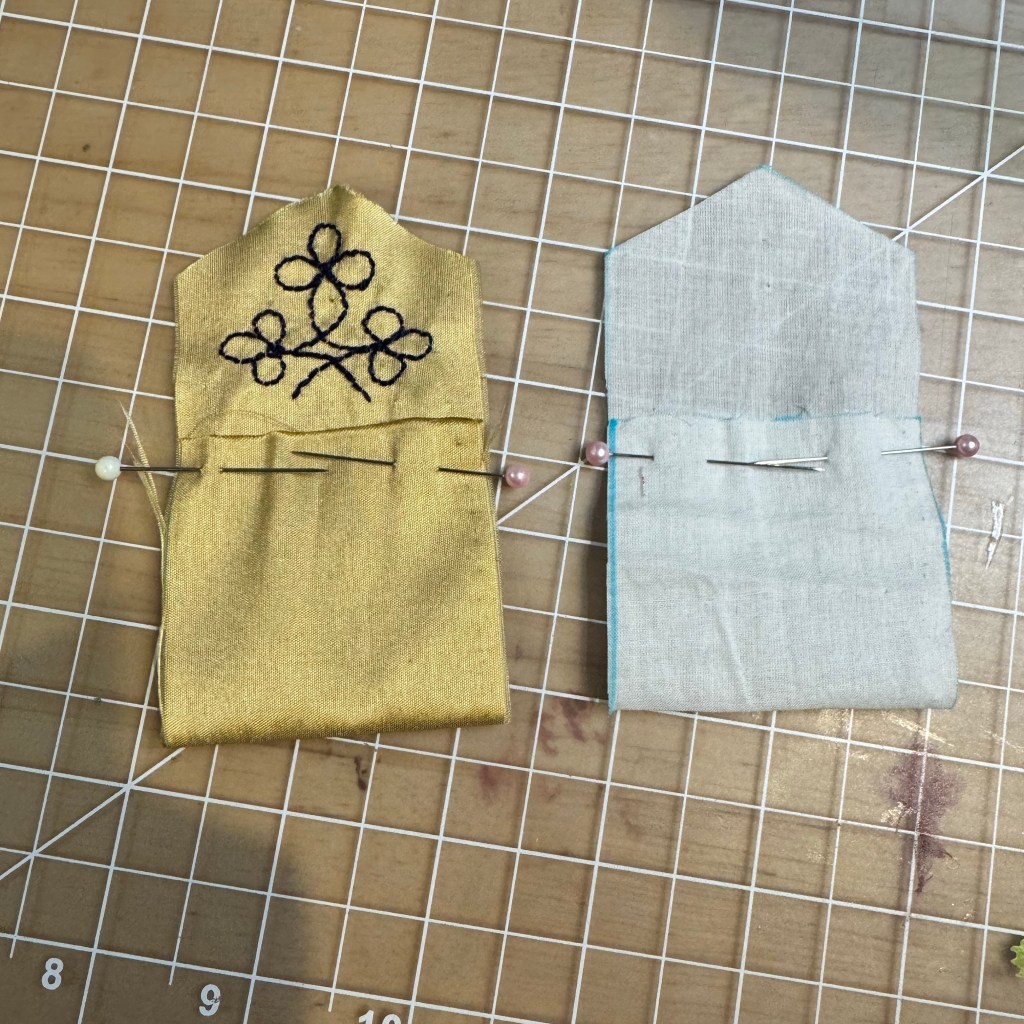
At the center back are two itsy worked eyelets for the drawstring. I’m rather good at eyelets. I really should be great at buttonholes because they are just elongated eyelets, right?
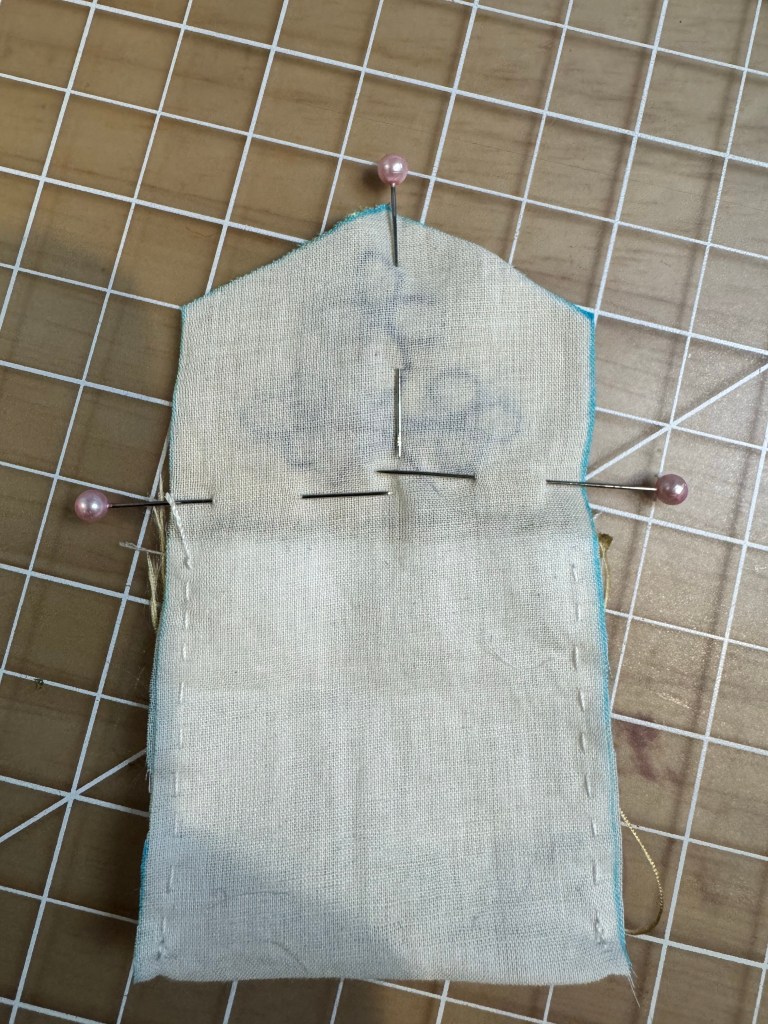
The drawstring waist allows me to draw more of the fabric to the back of Julia’s body. This is perfect for the 1872 profile I am hoping to accomplish here.
Part of Julia’s issue is that she is sort of potato shaped through the body. I can’t make much of a waist on her, even with the corset. It’s not a big deal because she is a doll afterall. I just want her to be a beautiful bride once finished with the project!