Even your smallest members of the house need a lovey, right? I have been making these blankets for my cats and dogs for many years. My mother made them for the family dog when I was growing up. They can be placed around the house where your pet likes to sleep, they protect your light colored carpets and linens from dark colored hair deposits and pet “gunk”, and can make it so your pet can sleep on the bed without being right up in your face.
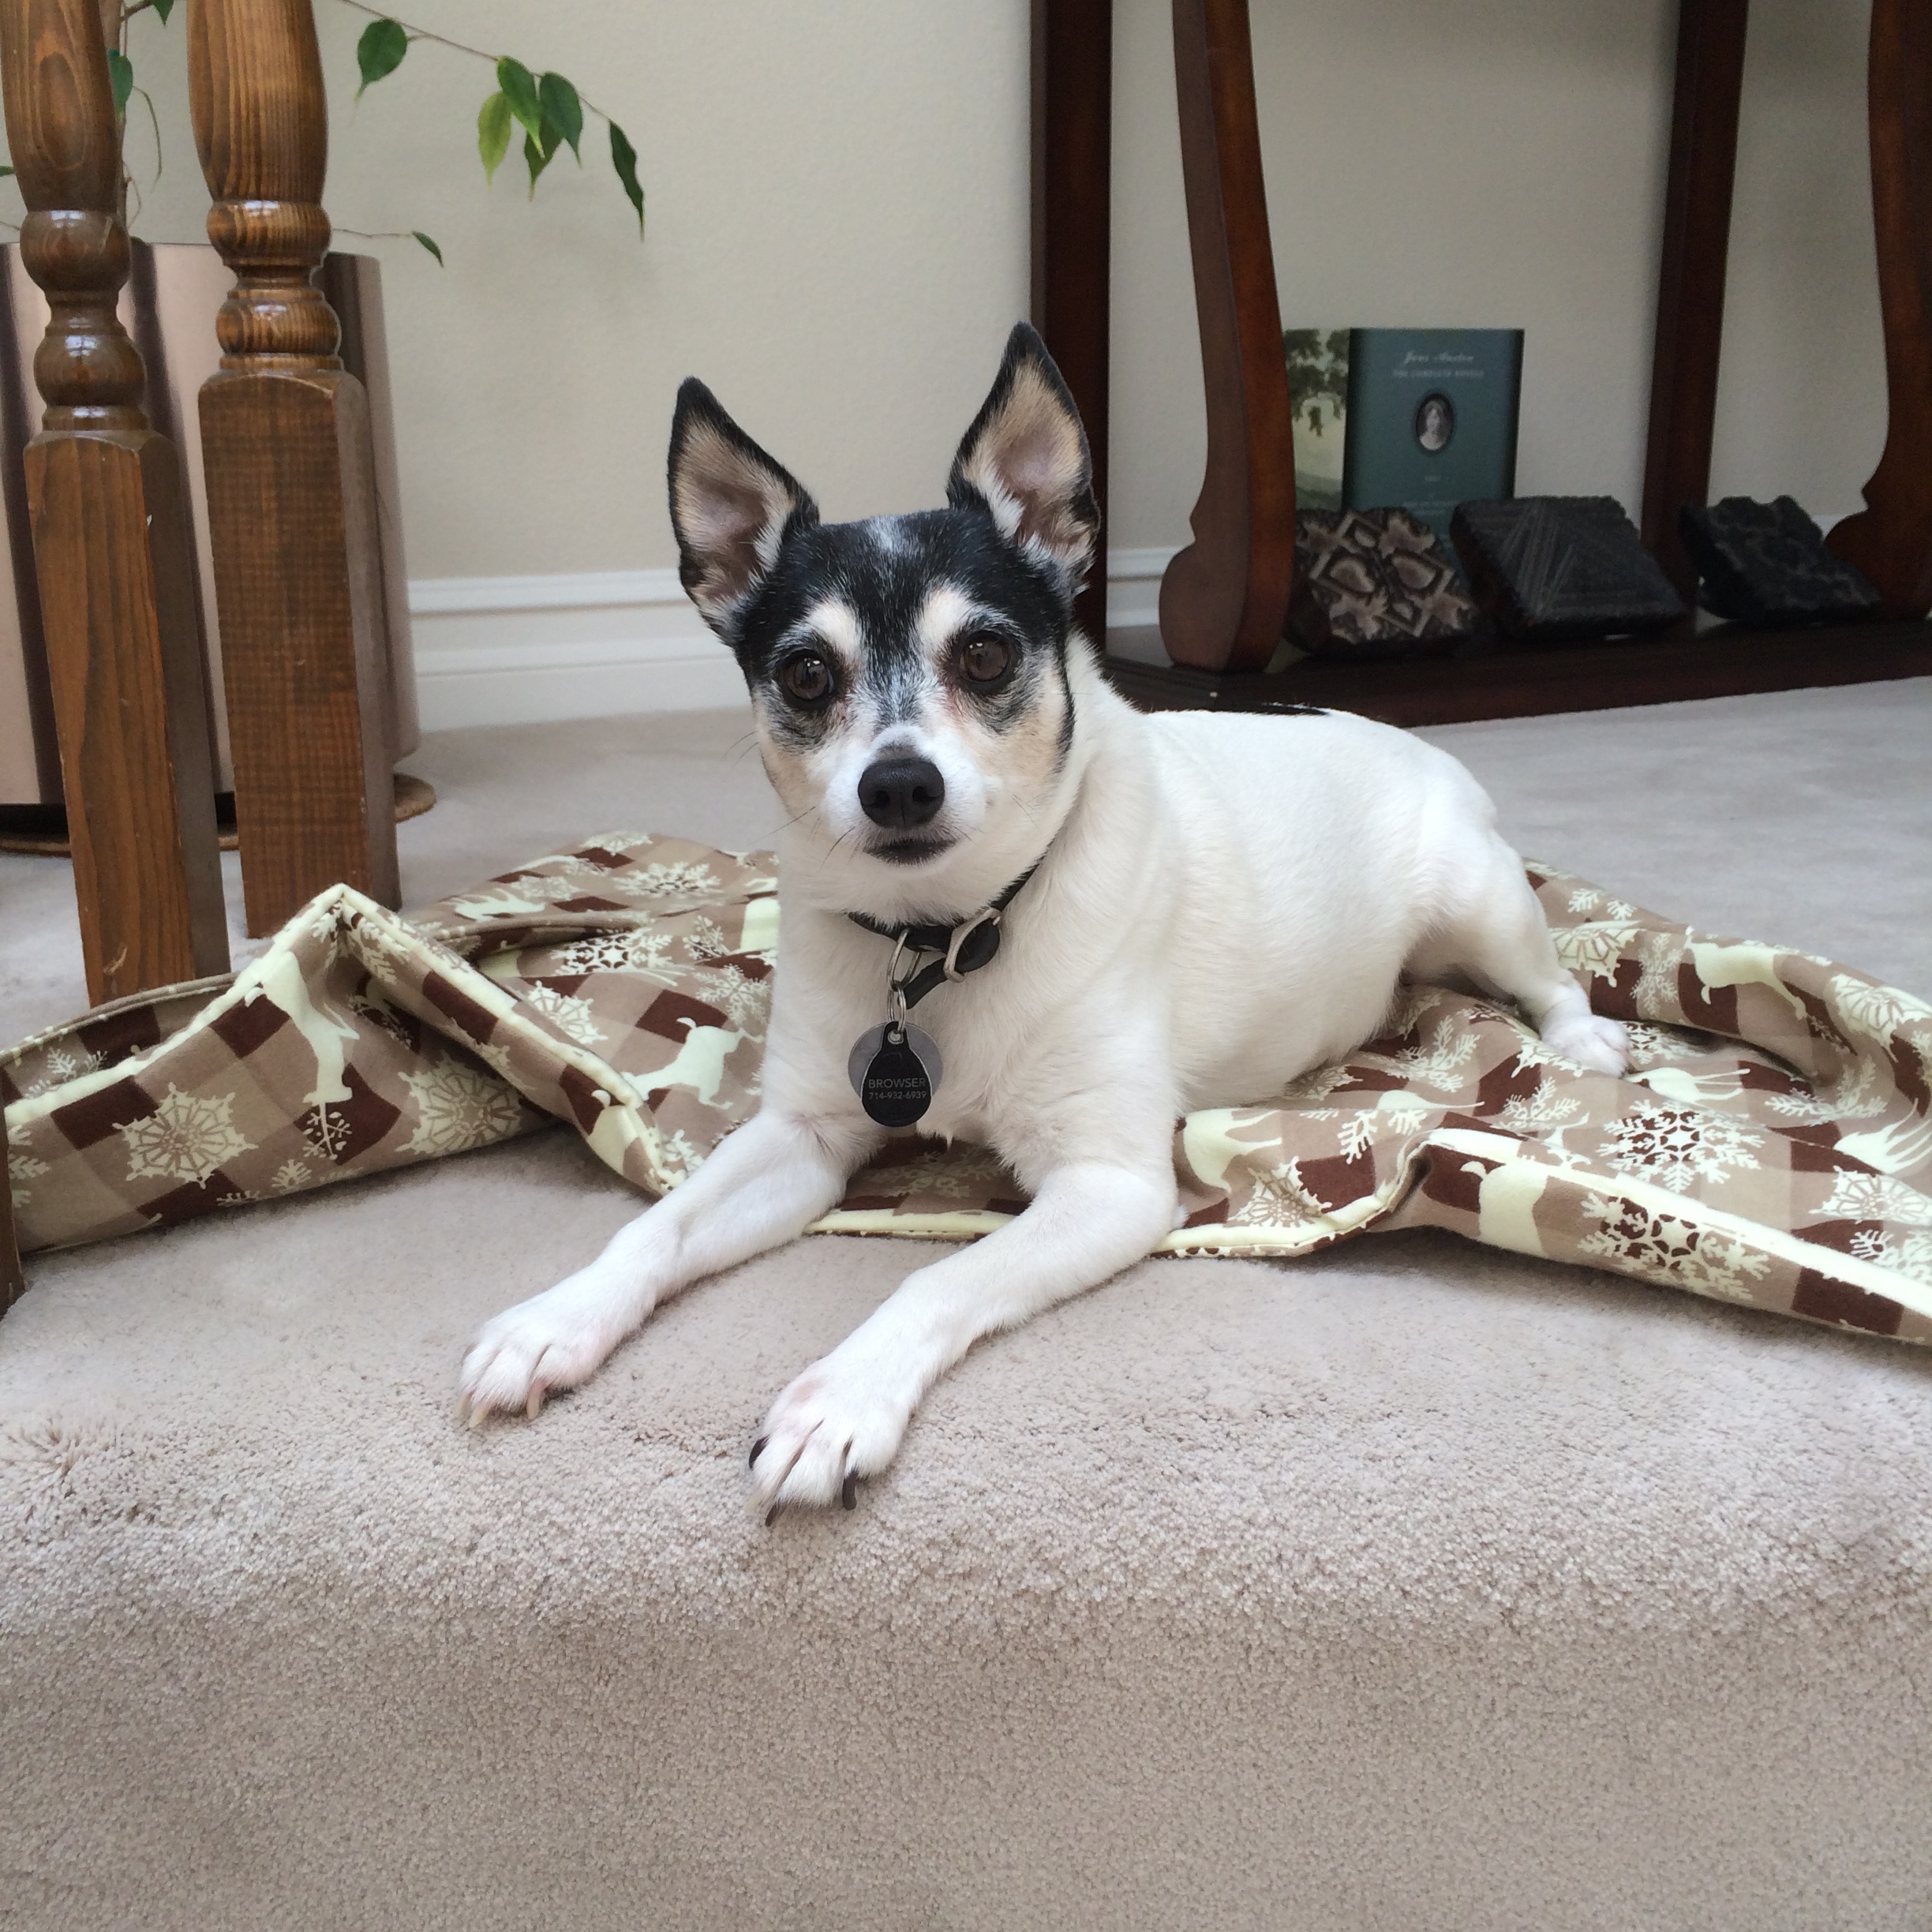
Browser likes to hang out on the stairs
To make your pet a warm bed that is also machine washable, you will need:
1 yard of cotton flannel or regular cotton
1 package of Warm & Natural batting, 34×45″ size (or any low loft batting, I just like the weight of this type)

Cozy to be
Step One
Lay out the fabric to make sure the edges are even and straight. Trim where necessary.

Trim edges
Step Two
Lay the batting on your table, then lay the fabric on top. Match the edge of the batting to the folded edge of your flannel. The flannel is going to be your guide for cutting. Cut out the batting.

Cut batting to the edge of the fabric
Step Three
You should now have one yard of flannel folded inside out and then layered on top of the batting. Keeping everything configured exactly like that, stitch around the open edges, leaving yourself a 6″ opening where you will turn the fabric. Backstitch to anchor your stitching.
Before turning, trim any edges.

Cut out extra bulk before turning
Step Four
Turn your project by reaching in through the hole and grasping the other end. Pull everything through the hole. Once it’s right side out, reach back in and pop out the corners. Next, turn in the raw edges at the opening, pin closed, then stitch.

Pin and stitch
You can either just stitch it straight down the side, or you can stitch all the way around the entire project to make a more finished look. I stitch this about 1/8″ from the edge. Finally, stitch a straight line from edge to edge in the center of the blanket. This will keep the batting from drifting around and getting lumpy in the washer or when Fido digs around in his bed for the perfect spot to settle. If you are feeling really motivated you can stitch an X from corner to corner or other designs. I find that I am not precise enough to do this and I always wind up taking a tuck in the fabric, and that makes a pucker, and that bugs me. :-)
Step Five
Present to Fluffy and collect the furry gratitude you are owed for your efforts. Start to finish this project should take about 15 minutes.

Heavy sigh….
If your pet is bigger than medium size, you can make a similar blanket using 1 yard of flannel backed with 1 yard of cotton or flannel cut into a square, and the batting sandwiched in the middle. Follow the same steps, just stitching around four sides instead of three. I suppose you could also make a kid blanket this way too. :-)


