Yes, it’s been over a year since I wrote on this site. Finally I have something fun to write about – microblogging on Facebook just barely scratches the itch, but time has been a constraint too. So, here we go.
I never finished that “girls midcentury” dress project, because well, my girl has grown out of the chemise and drawers I made her, and is not really interested in history events any more (boo). She will go if I make her, but would prefer not to.
To fill the void, I have made another “child” to dress. Everyone, meet Emalie!

Emalie is based on a mid nineteenth century doll style and the pattern is a digital download from the amazing Sewing Academy by Elizabeth Stewart Clark. You can get the pattern at her website and it is easy to follow. There is also a lady sized doll that I’ll probably get next. Emalie is about 13″ tall, made from all cotton and sewn 100% by hand.
Before I was able to make her dress, I had to start at the beginning and make her! She is made from cotton muslin and stuffed with cotton. I chose to paint her face and hair as well as her little Mary Jane style shoes. Her hair is a red brown and her eyes are green. I could have done a better job at stuffing her, but since she is my first, I will have to accept the flaws. I also think I might have put her arms on upside down. The pattern was a bit unclear exactly how to position them and she just holds her arms out wide for a hug. Otherwise, making the doll body was super easy! I used cotton balls to stuff her, and just mangled them up a little bit to make them more flexible.
Next, I made her undergarments. I used a very lightweight cotton for her chemise and a stiffer cotton for her drawers. I’m not thrilled about the tucks on her left leg of the drawers as they got a little messed up. The scale is so small that even a minor mistake can take the whole seam off kilter pretty quickly. I used the same stiffer cotton for her stays.


Like how I painted a bun on the back of her head? :-)
The chemise, drawers and petticoat are edged with some vintage lace whitework that a friend of my mother’s gave to me. For the stays, I stitched in the appearance of boning channels but there aren’t actually any bones or cord in them. I didn’t want to get “too” carried away, and I knew I would be hand sewing the eyelets for the lacing. I think I spent more time on the stays than on the rest of the clothing! The stays are laced with a narrow cord. Luckily for me, I had made the actual child sized stays for my kiddo a while back so I understood the process. The pattern has mistakenly forgotten to include the construction notes on the stays. I will forgive Ms Clark because she is awesome in so many other areas!

Here is her pretty petticoat with a wide 1/2″ tuck. If you ever want to fine tune or refine your hand sewing skill, a doll is a good way to do it. The pieces are small and there is almost instant gratification. I have found I can take very tiny stitches that look almost like machine stitching. It does cause some eye strain however.
Finally, I made her a pretty green dress. I selected this fabric to make a dress for Melody when she was a baby. She grew so fast, she outgrew the pattern I had! 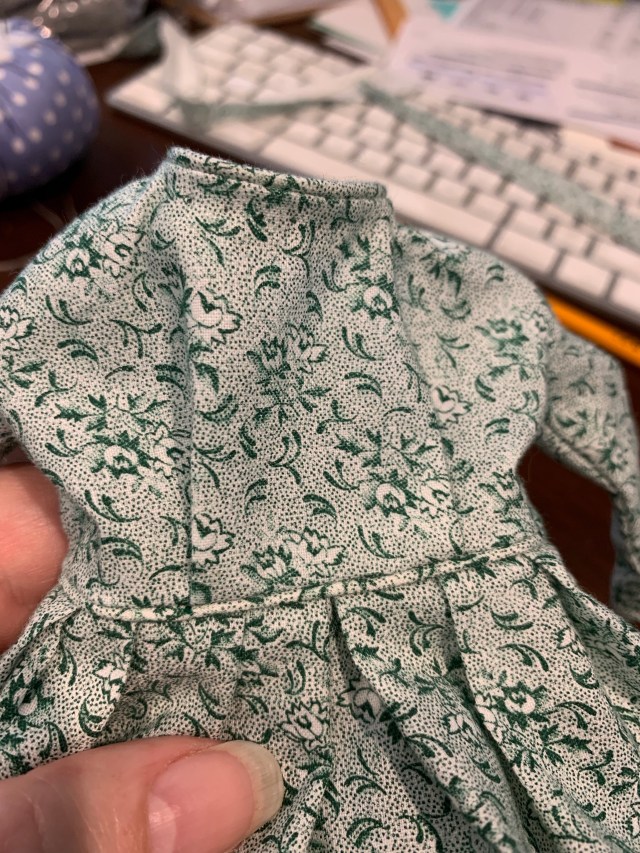
Here you can see the tiny piping at the neckline and waist. This is how dresses were made in the mid century, so I chose to do that here. The piping is made on the bias and I used the same cord that I used on the stays. It was the perfect size.

Here’s the back of the dress and you can just see the green stitching where I made the tucks in the skirt. Fortunately the thread sort of disappears in the floral pattern of the fabric. The dress, drawers and petticoat all close with a tiny hook and thread bar.
So there you have it! Miss Emalie will be visiting with us at events from now on and I’ll probably make her a pinafore at some point. She just looks so pretty, I couldn’t wait to share!


