I have a number of things I want to work on this year now Ruby is completed.
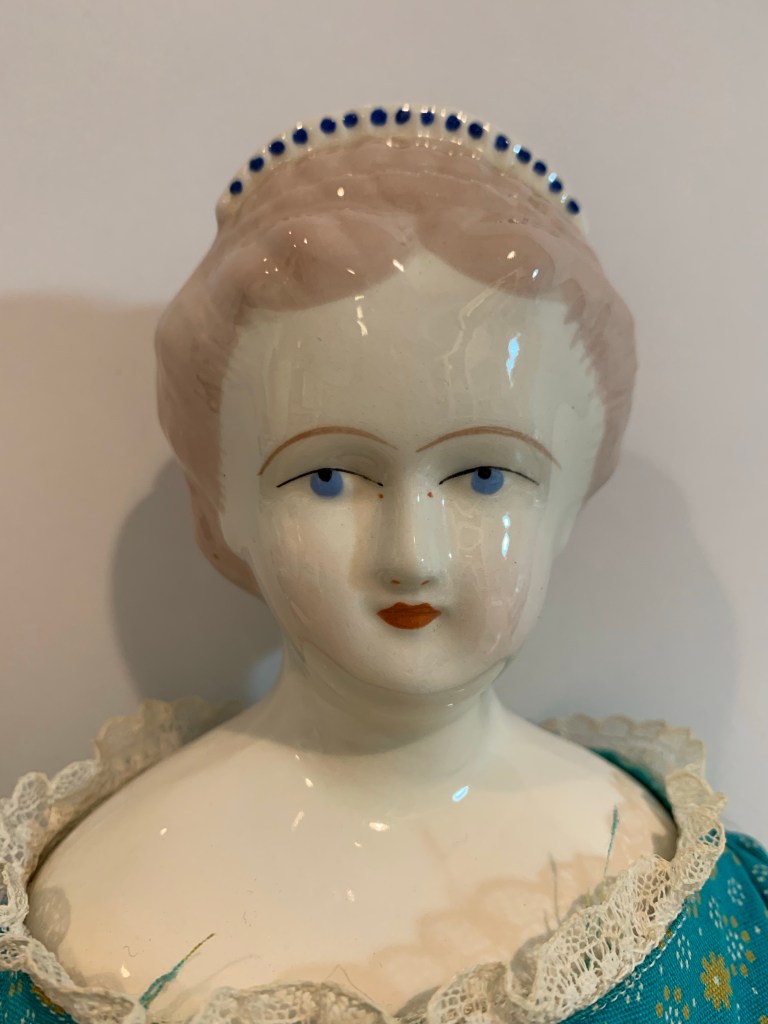
Julia Tudor
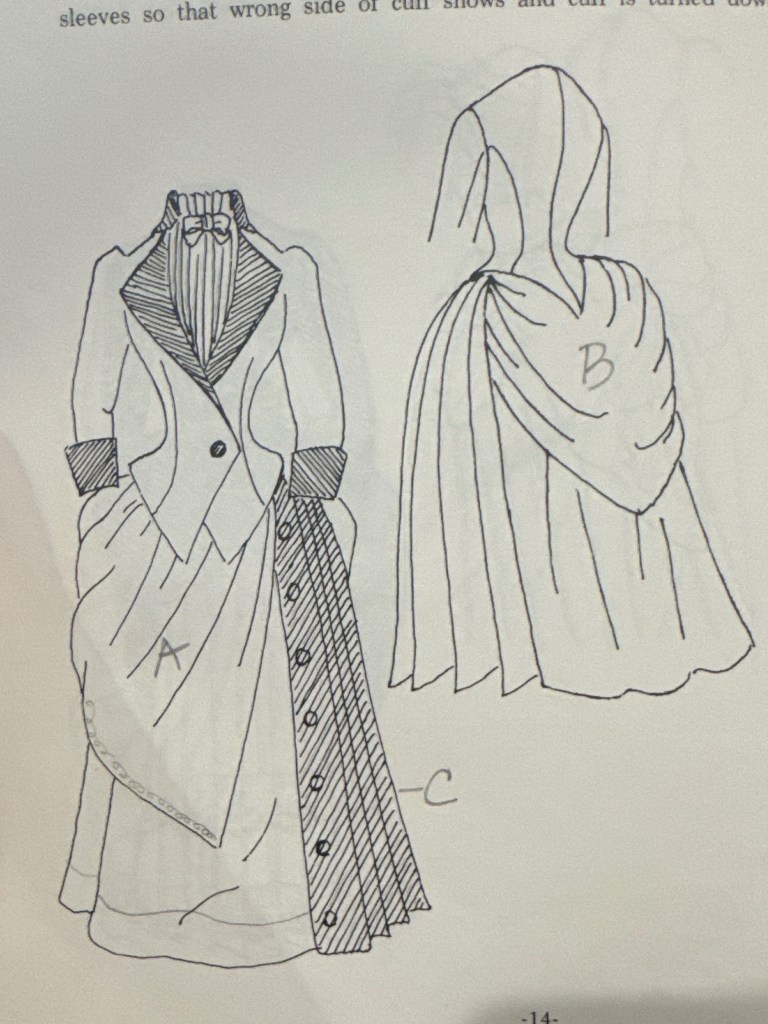
This doll is about 20” tall and will make a lovely bride. She has a tiara on her head and I am trying to figure out how to make a veil stay in place. My vision is an 1872 wedding dress in ivory and blush pink. Or it could be blush pink with ivory, I haven’t finalized that yet. I’m drafting the pattern from the 1872 La Mode Illustree’ and so far there is only one confusing bit.
Amelia
I’d like to make an 1850s styled doll and give her a Bloomer Suit. This fashion was popularized by Amelia Bloomer, hence the name. I’m undecided if I will use a china headed doll or make a cloth lady doll for this. 1850s heads are rare and expensive. If I decide to make a cloth lady doll, I will try a Susan Sirkis method for attaching hair.

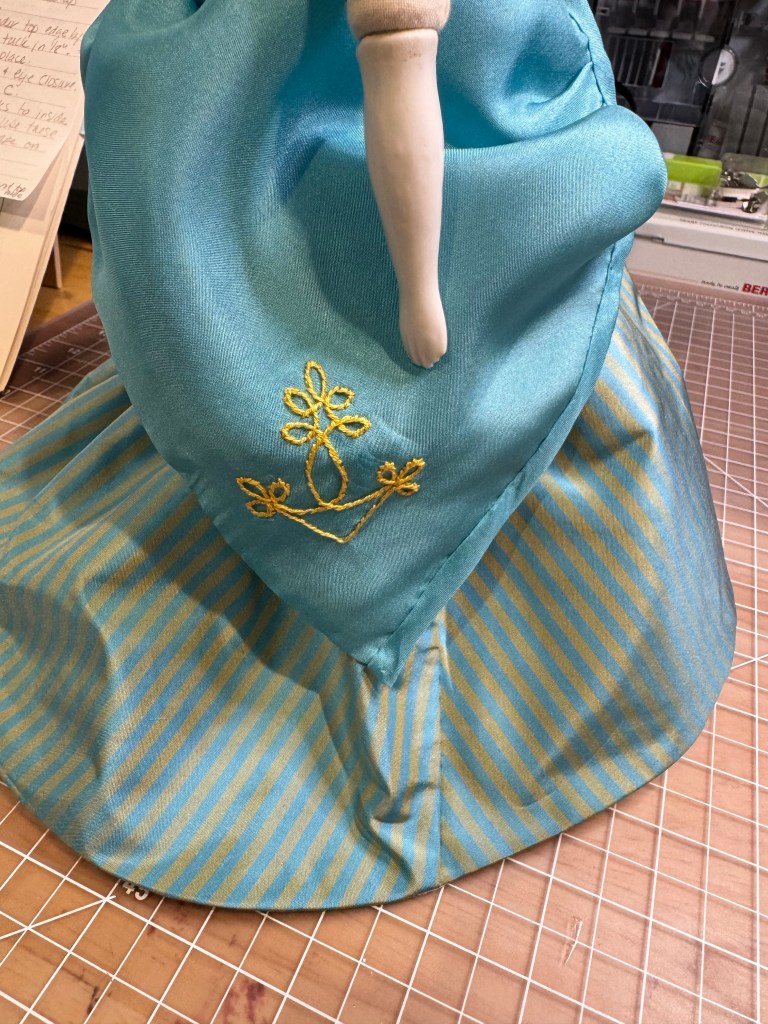
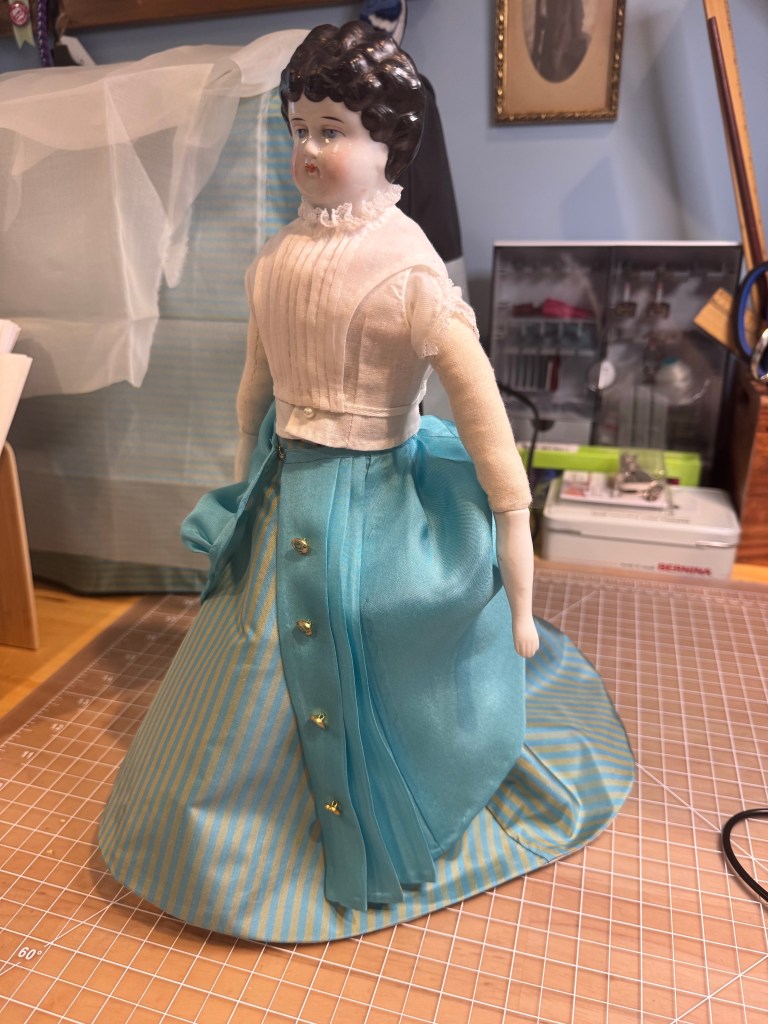
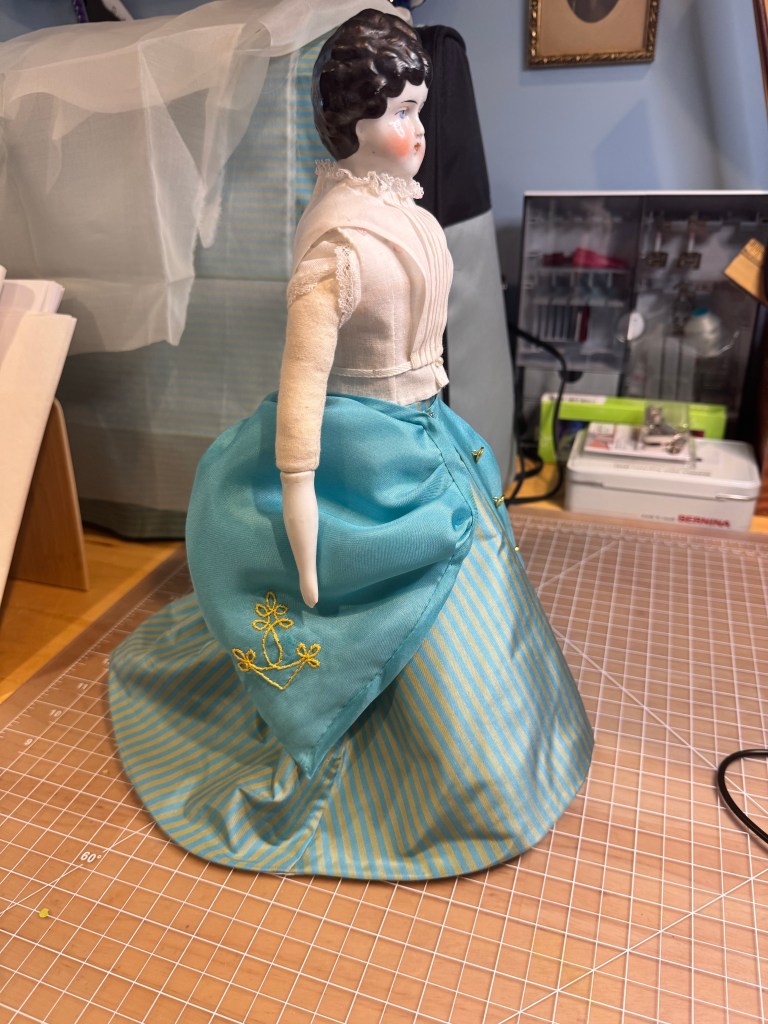
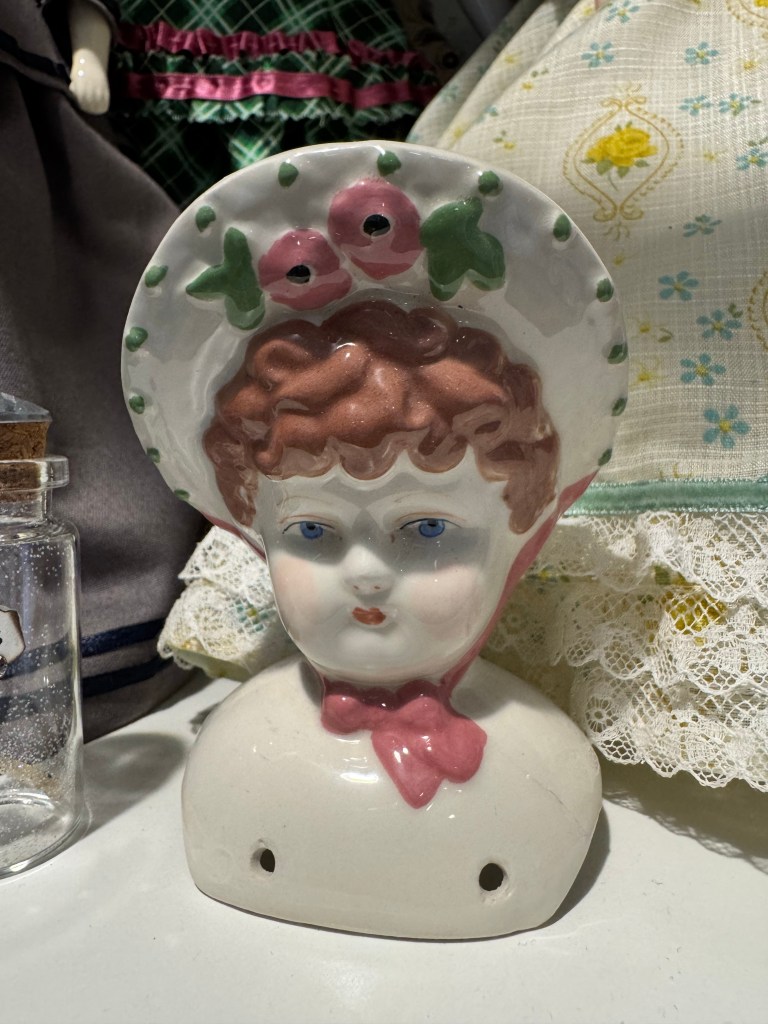
Amy Tudor
It’s a stretch goal for me but I would like to make this pretty bonnet head doll. I only have the head so I’ll need to decide if I will purchase china arms and legs or make fabric ones. Bonnet head dolls are based on 1840s styles even though they were produced around 1910 apparently. I’d like to dip into this time period though as I know nothing about it.
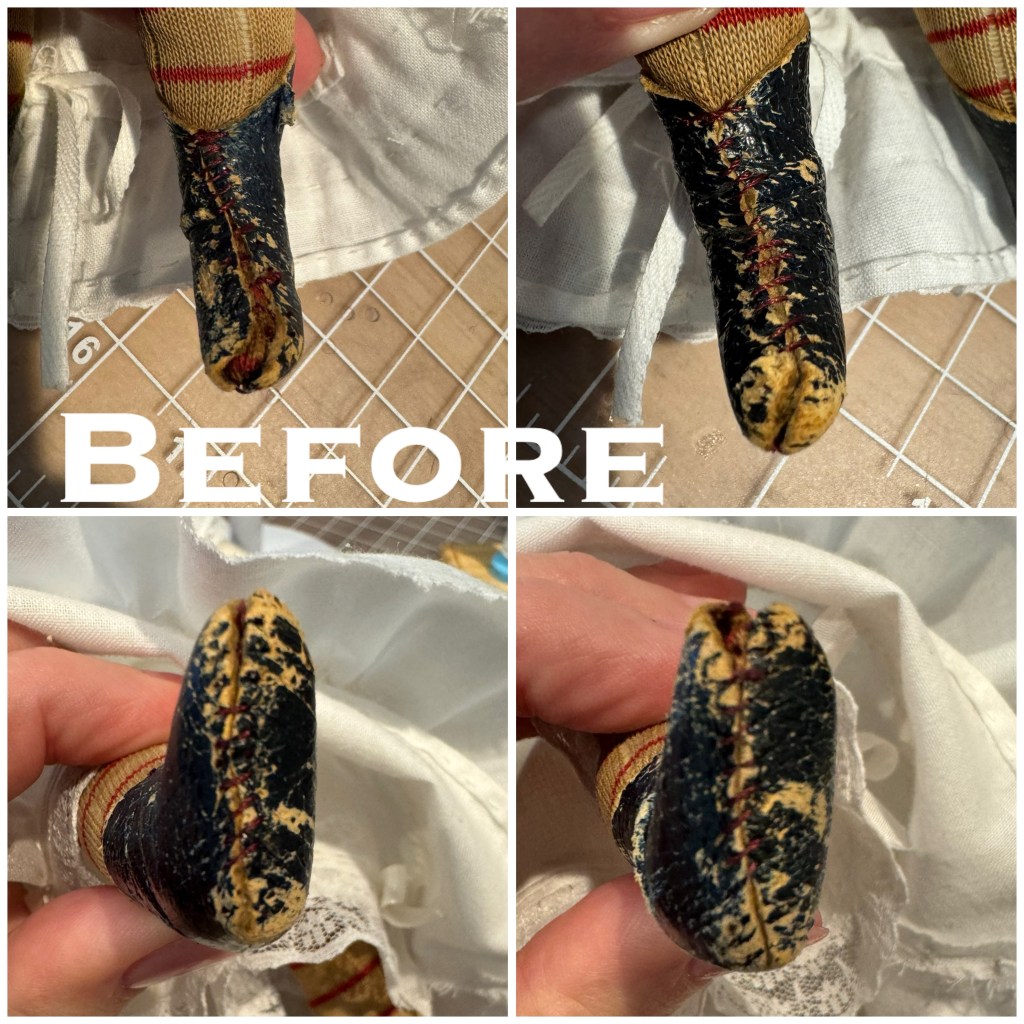
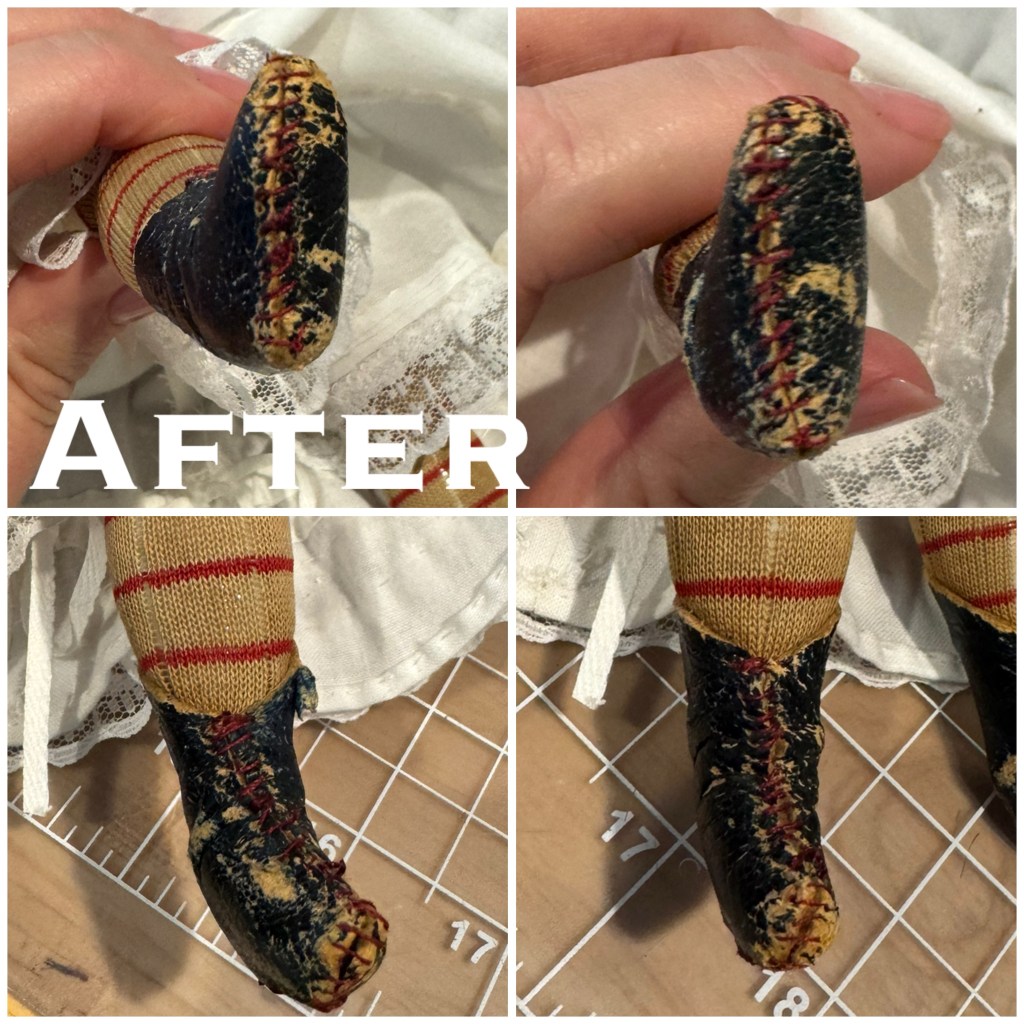
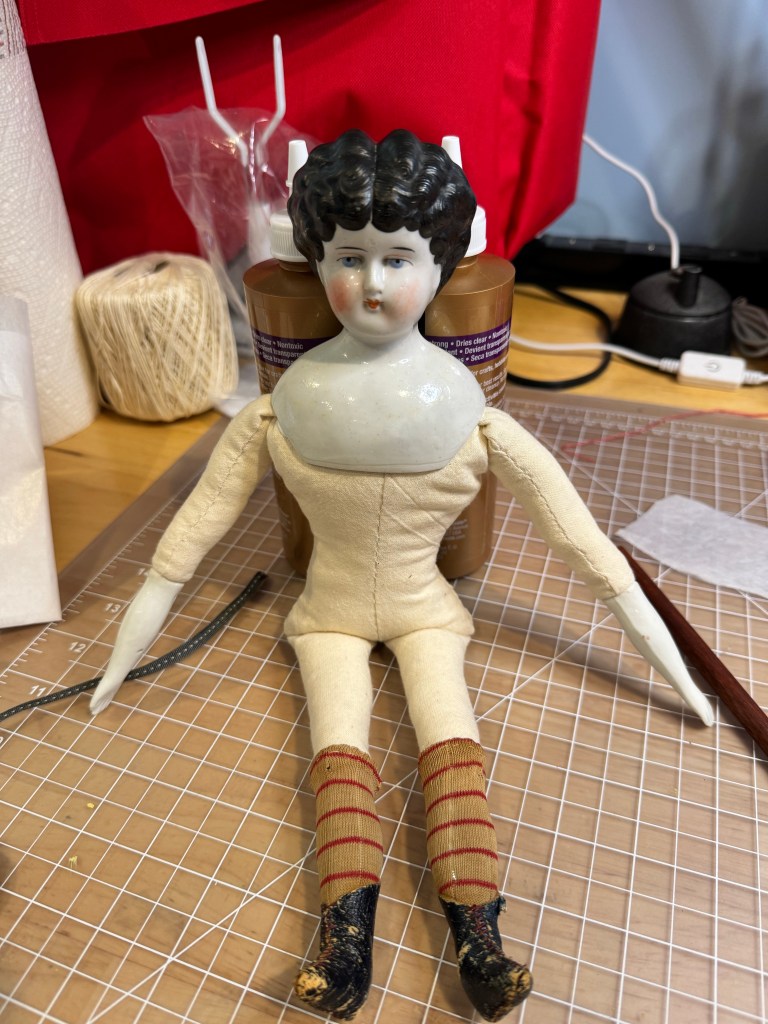
Minerva
This beautiful doll doesn’t need much but a repair to her broken foot. I had an idea that I could make boots and stockings, fill them with emery or something similar, then fit them to the broken china on her foot, pull up the stockings to hide the transition. We shall see. I got this idea from Ruby actually since she has her own boots and stockings.

Charlotte
I just acquired a 3” tall frozen Charlotte doll. Of course she’s nude. Clothing her will be a challenge due to her itty bitty size so that could be a fun little project. I have some ideas based on other frozen Charlottes with clothing I have seen.

So there you have it – my ambitious goals for the year. Of course I’ll be posting here with my progress. And no, I haven’t forgotten the various other dolls I have to work on, they just might need to wait until 2026 lol.
Did you know I have an Instagram where I post lots of interim photos of my work? Look for me under norkio and follow for progress shots and other fun stuff.