I have been posting progress pictures over on my Instagram and just realized I hadn’t posted anything here in a while! I’ve made great progress on Ruby’s wardrobe. I won’t say we are on the homestretch, but the only thing left to make is her bodice, so we are almost there!
The last post I made was about her completed undergarments and since then I have completed the skirt and drape for her dress. In the 1880s, women’s dresses sometimes had asymmetrical features, like drapes that were pointed on one side, lapels only on one side of the bodice, things like that.
As an aside, funny how 100 years later in the 1980s, I myself wore asymmetrical styles – I had a wide leather belt that was wide on one side and the skinny end overlapped at the waist. And we can’t forget the bib front shirts that were meant to be worn half unbuttoned. Anyway, that’s a funny thing about fashion – everything old is new again.

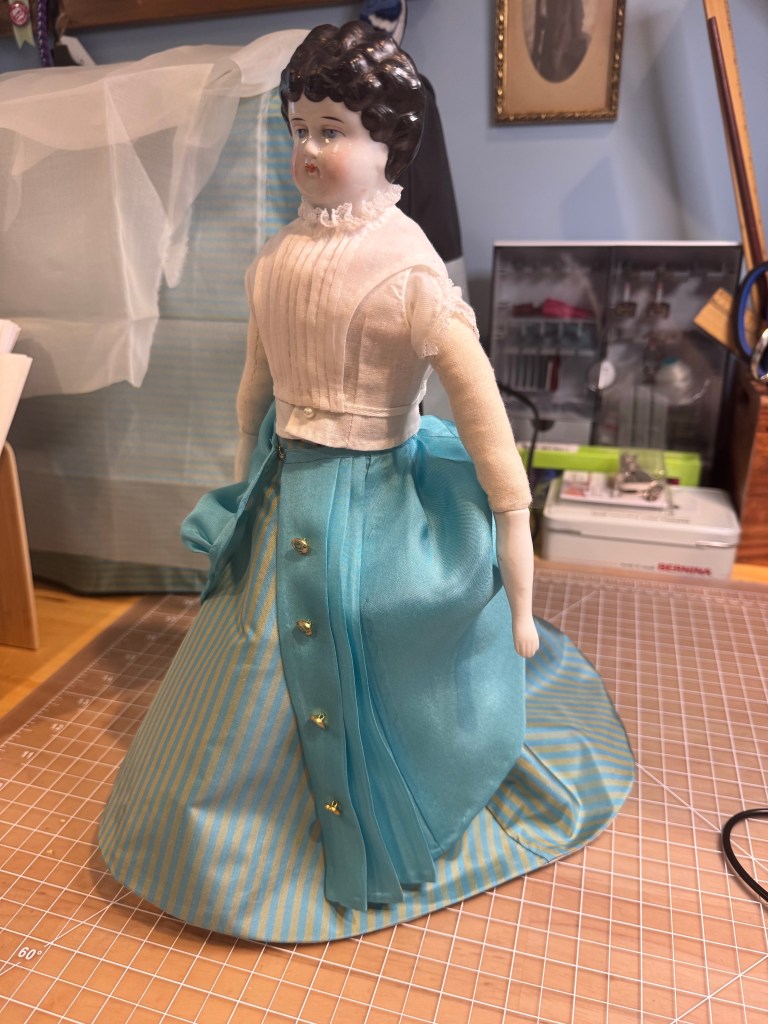
Here is the front of the lovely silk taffeta skirt. I really agonized before making this because the side panels are curved and I was really concerned the stripes would go awry on the side and back.

I was worried over nothing! The two large pleats on the side back take up much of the curved edge and in a way, correct the direction of the stripes.
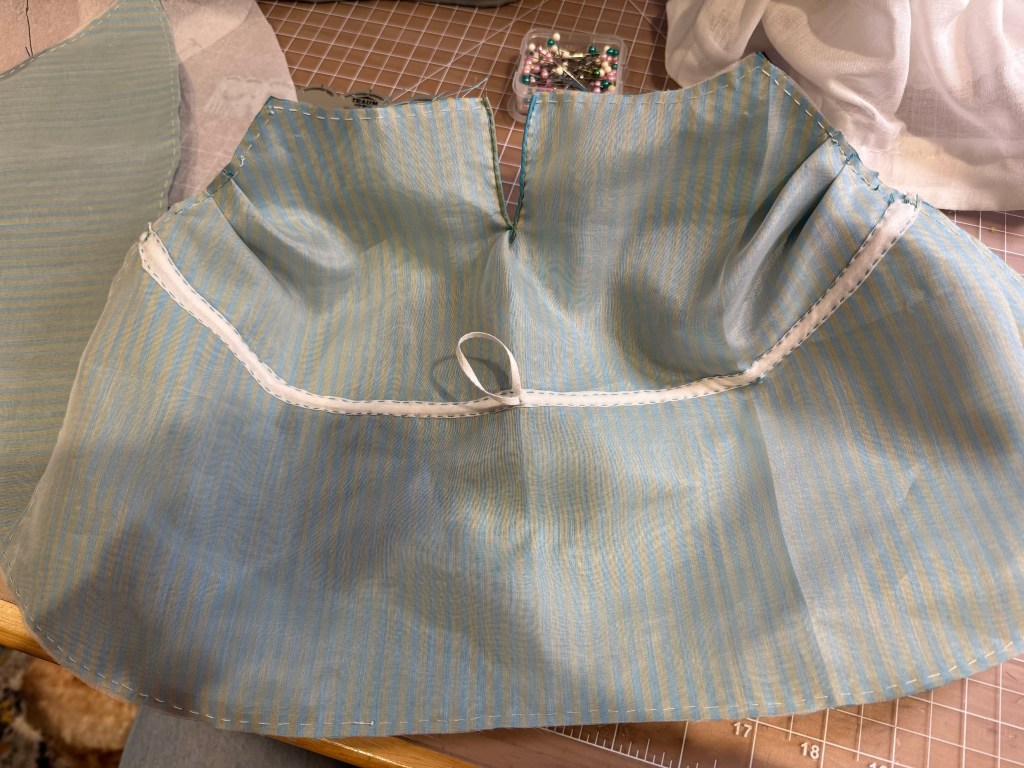
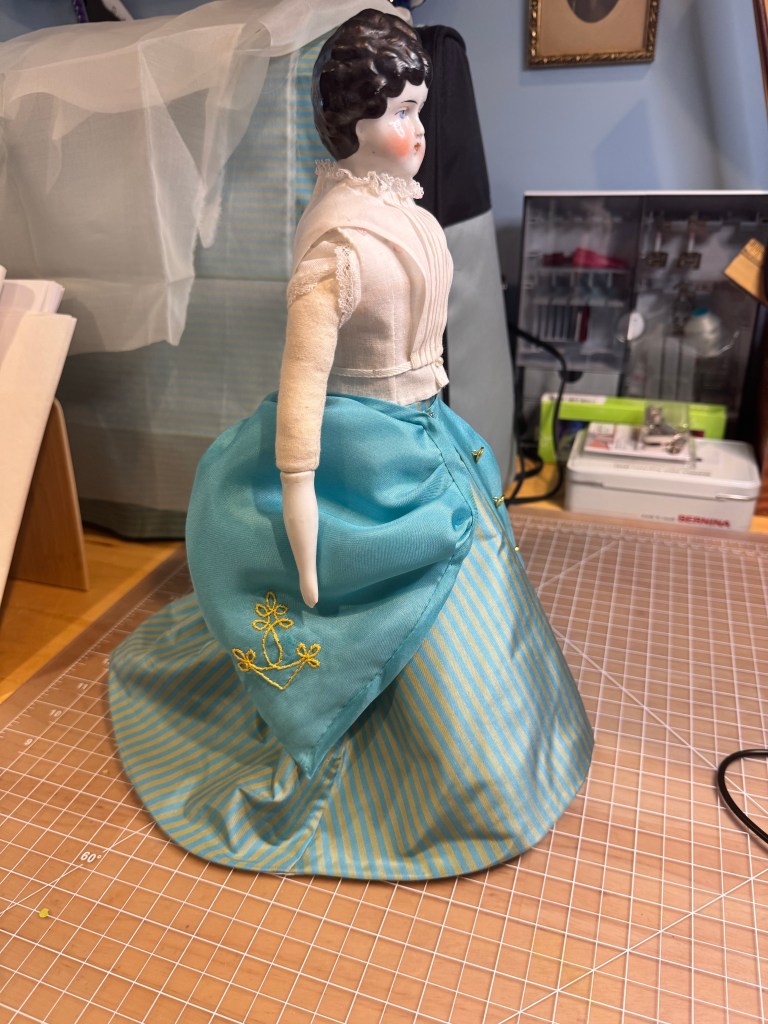
The bustled look is accomplished by adding a set of tapes across the back of the skirt and then drawing up the tapes and tying them into place. I do know this method was used on original dresses back in the day. Here you can see the bias strip of batiste and the tape before it’s been cut in the center. The bias is stitched through both the lining and the outer fabric but for much of the rest of the skirt stitches are placed only through the lining for a very clean look.

Here’s the back of the skirt with the tapes drawn and tied. This silk taffeta is so luscious to work with. I wish all fabrics were as nice!
The next layer is the drape, and of course Susan Sirkus patterns are fiddly at best! I ended up writing out the instructions separately because much was missing from the method. At no point do the instructions tell you to hem the edges – one of my big complaints about her patterns.
But whatever, I know how to sew and what needs to happen to bring a garment together thankfully, but over and over I realize the Wish Booklets are just not for beginner sewers.
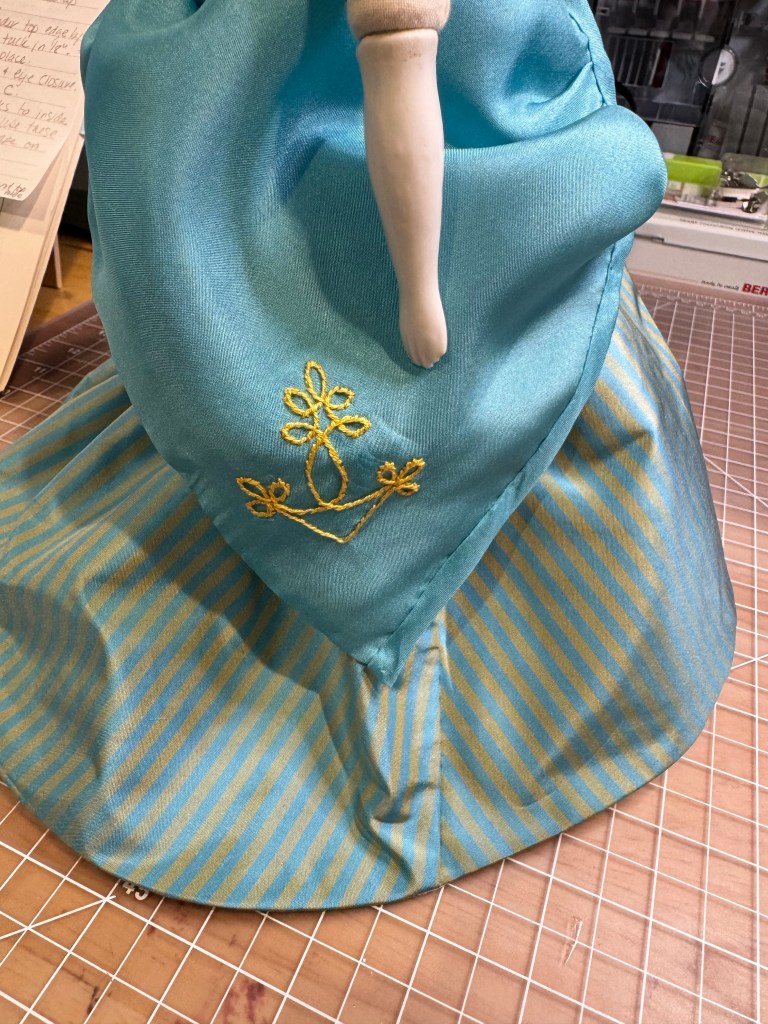
I used a softer silk for the drape that is just the color of the blue stripes in the taffeta and it coordinates perfectly. And because the Victorian era was one of embellishment, I decided some kind of design should be added to the drape. At first I thought maybe trim around the lower edge, but instead decided on an embroidered motif.

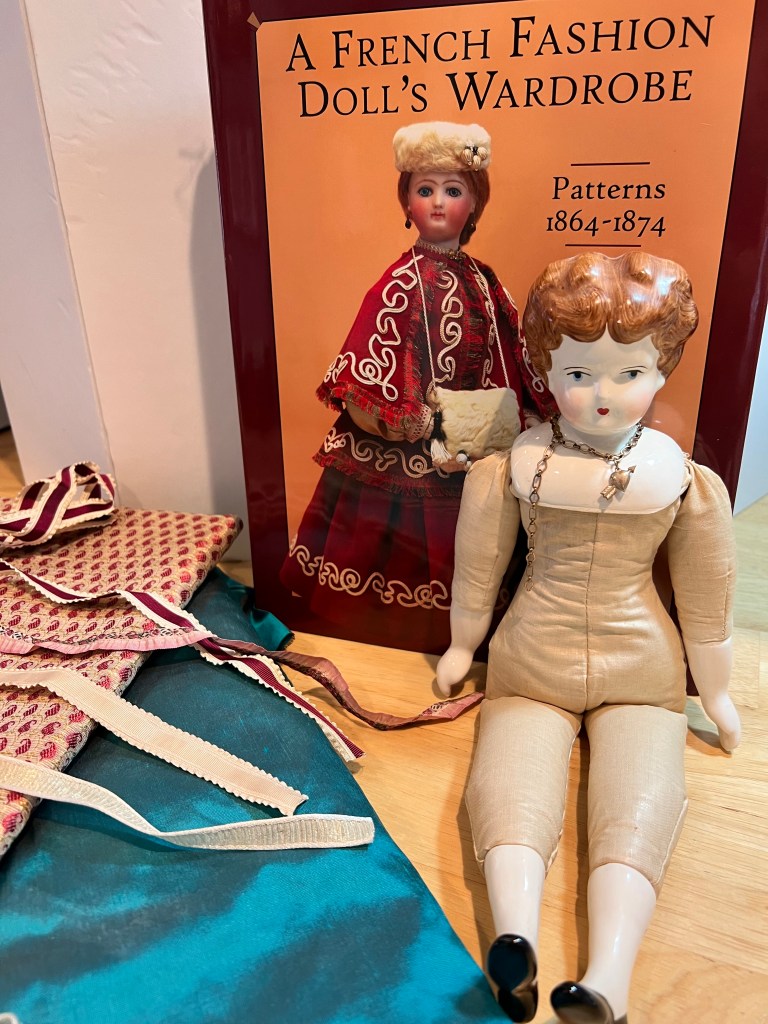
I found this design in the book A French Fashion Doll’s Wardrobe. It’s one continuous line.
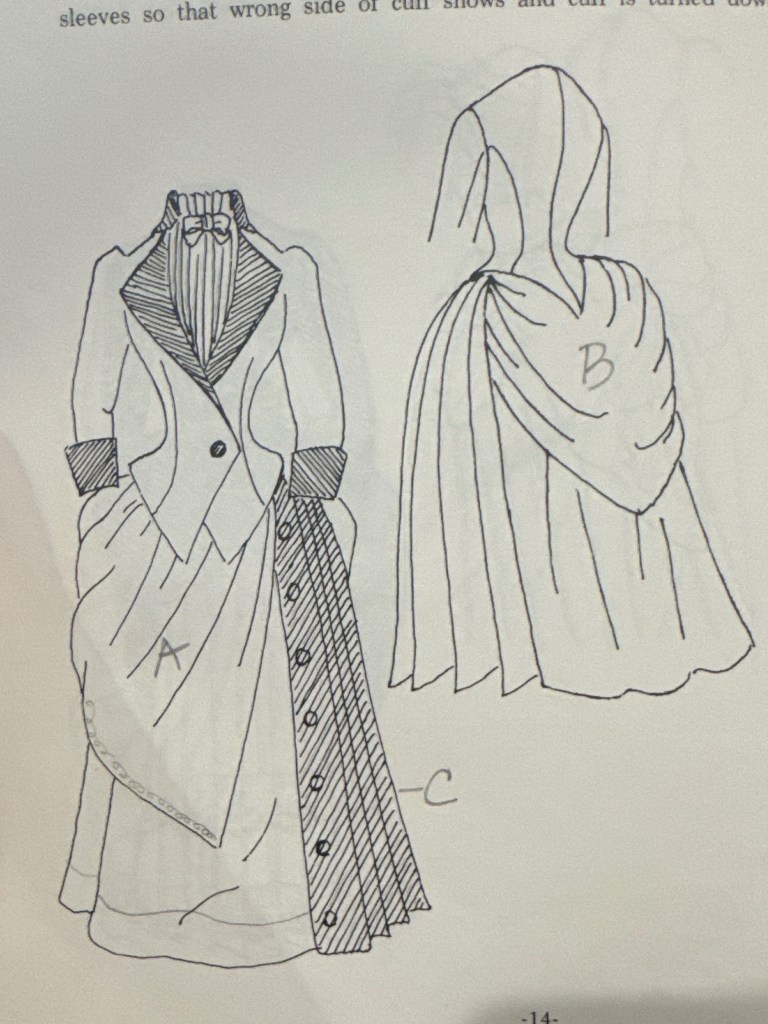
Based on the image in the Wish Booklet, this part of the drape should lay across the side front, but it doesn’t. I just can’t get it to stay there. I know I followed all the instructions and was very careful in the construction, but this drape just sits high on the bustled skirt underneath.
I also have issues with where the pleats on the front fall. It’s one of those things – the drawing just doesn’t match the reality. Is this a problem? No. Does it bother me? A little.

And also based on the drawing, this back portion should cover the bustle instead of whatever it’s doing here.
But overall I still quite like the drape and how it works with the skirt. Could I redo it – yes of course and I could make changes based on my experiences. Is it worth it – no, it probably isn’t. This is a dress for a doll, not a live person.
I used these lovely cloisonné buttons I have had forever that just so happen to be perfect for this dress!

So pretty!