Skip to content
About me
Archives
Dolls
Tasha Tudor Dolls
Search
Notes from the Melody Maker
Archives
Menu
Close
About me
Archives
Dolls
Tasha Tudor Dolls
Category:
Pictures
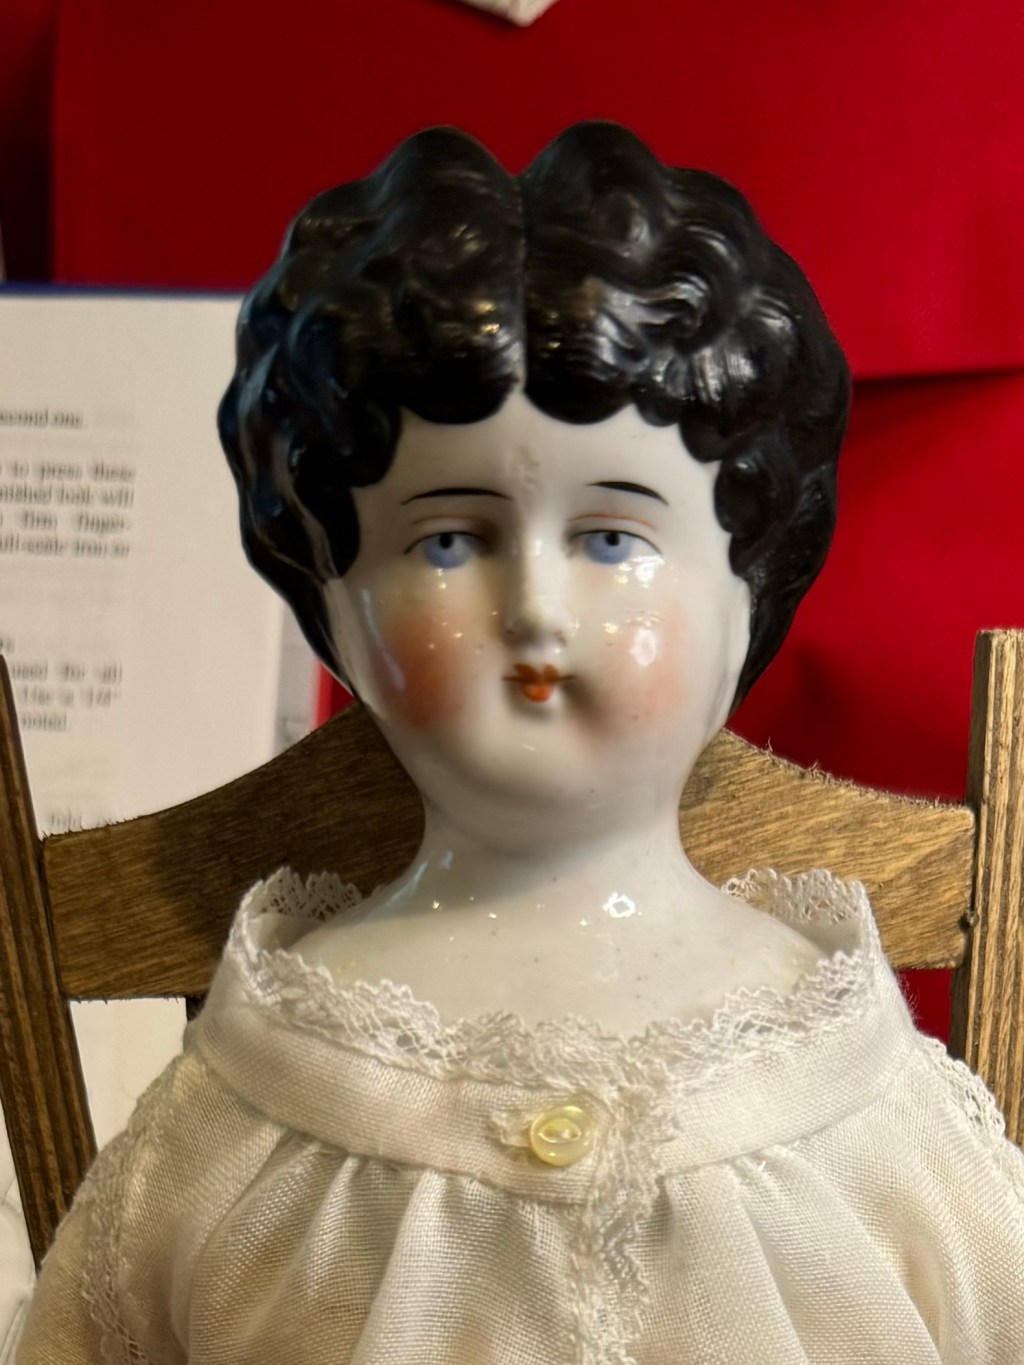
Bride To Be, Julia
2025 Project Goals
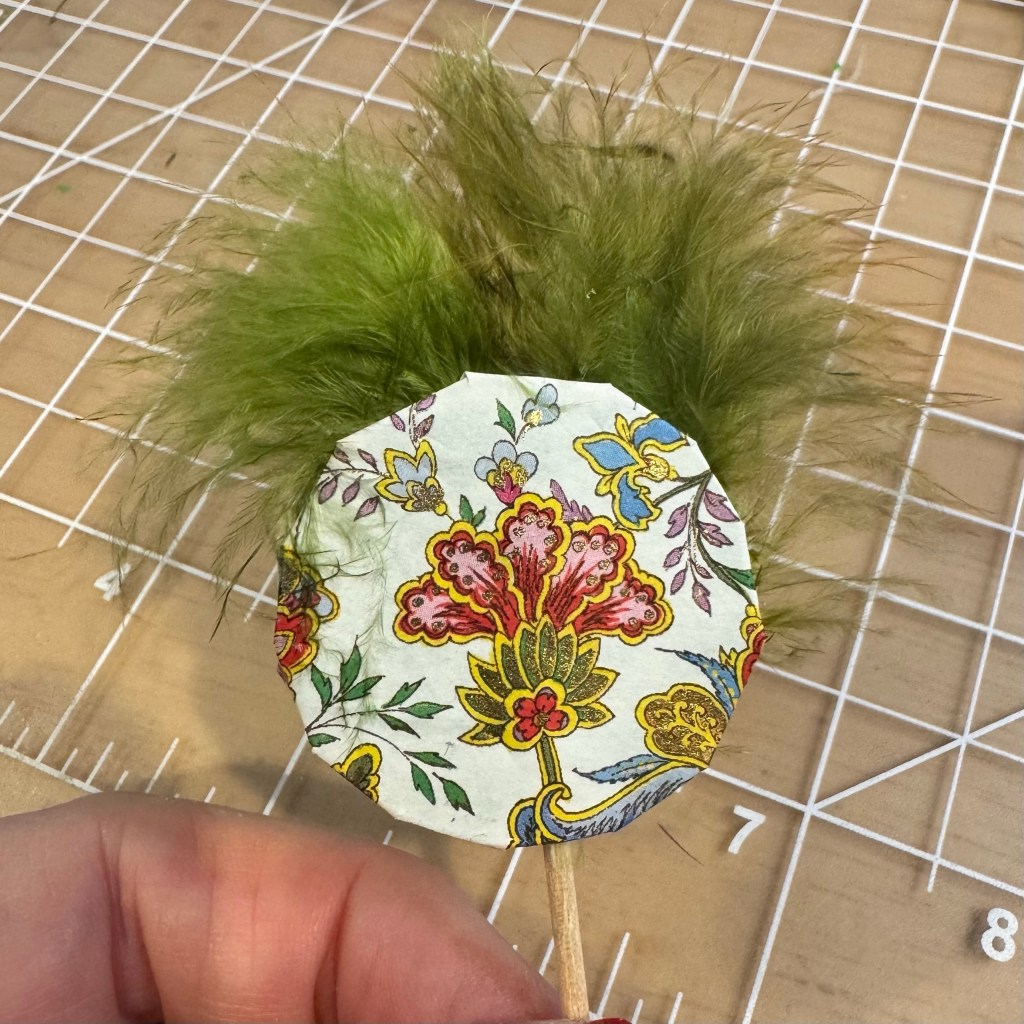
Making a Feathered Victorian Fan for a Doll
Doll Corsetry, Part Two
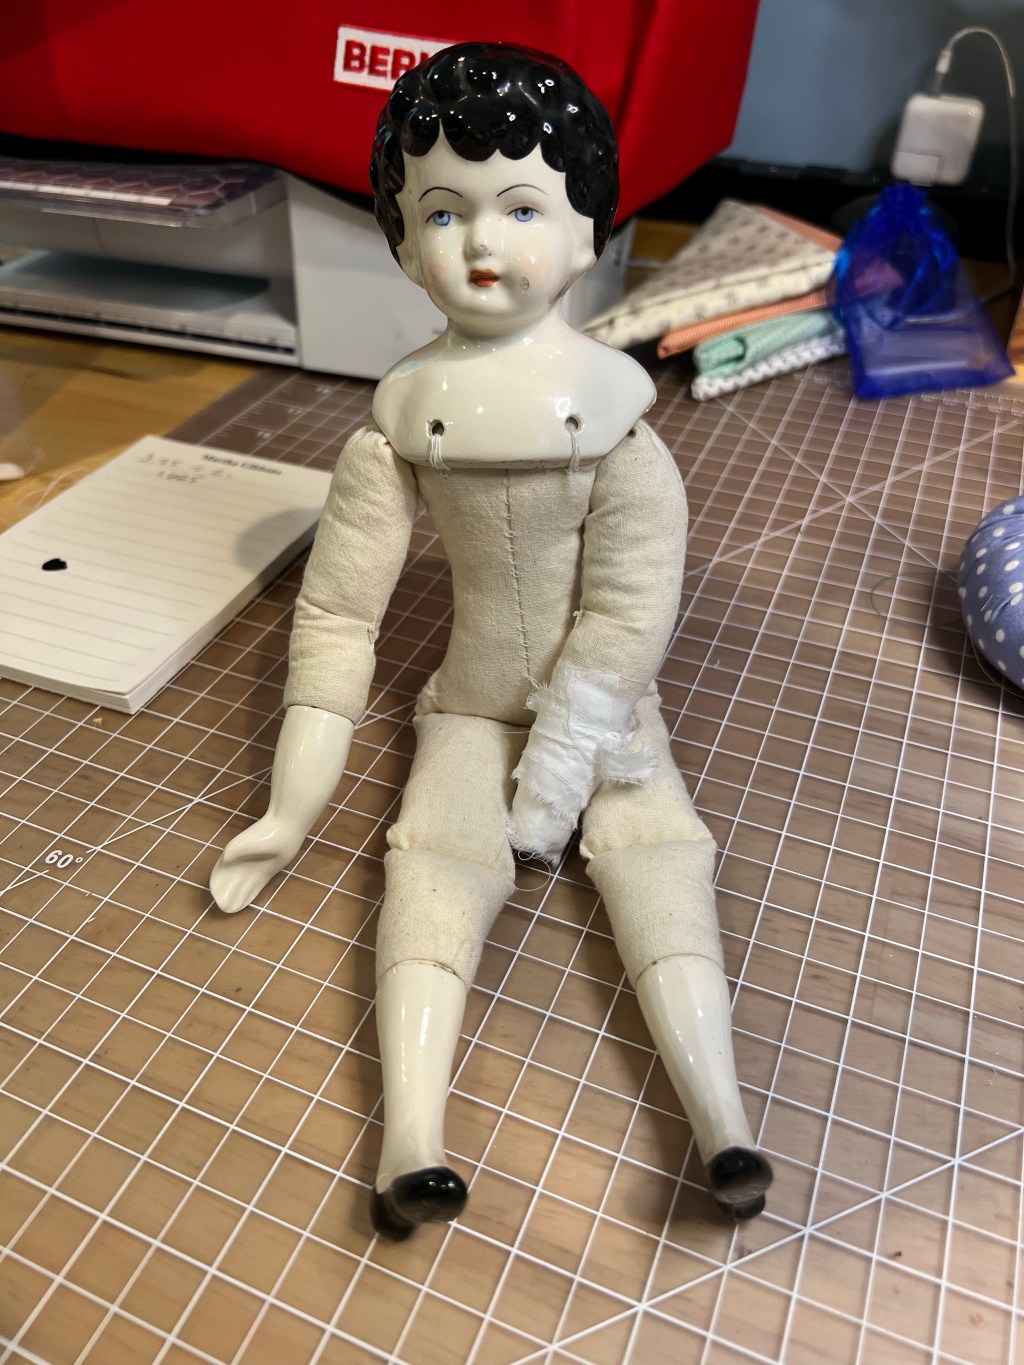
Ruby’s Body & First Garment
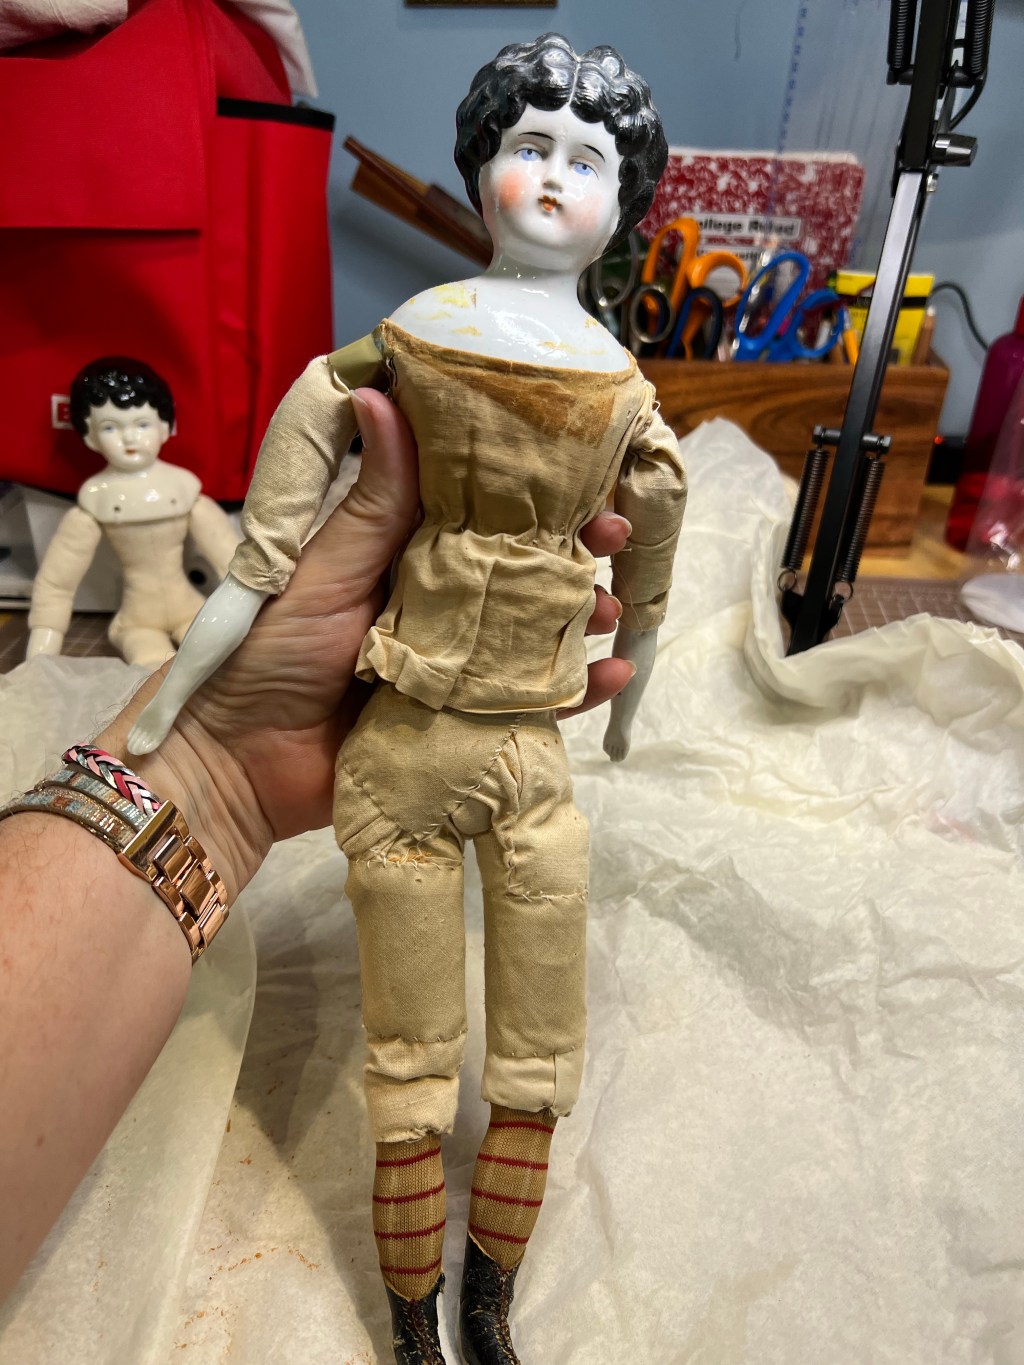
Ruby Restoration
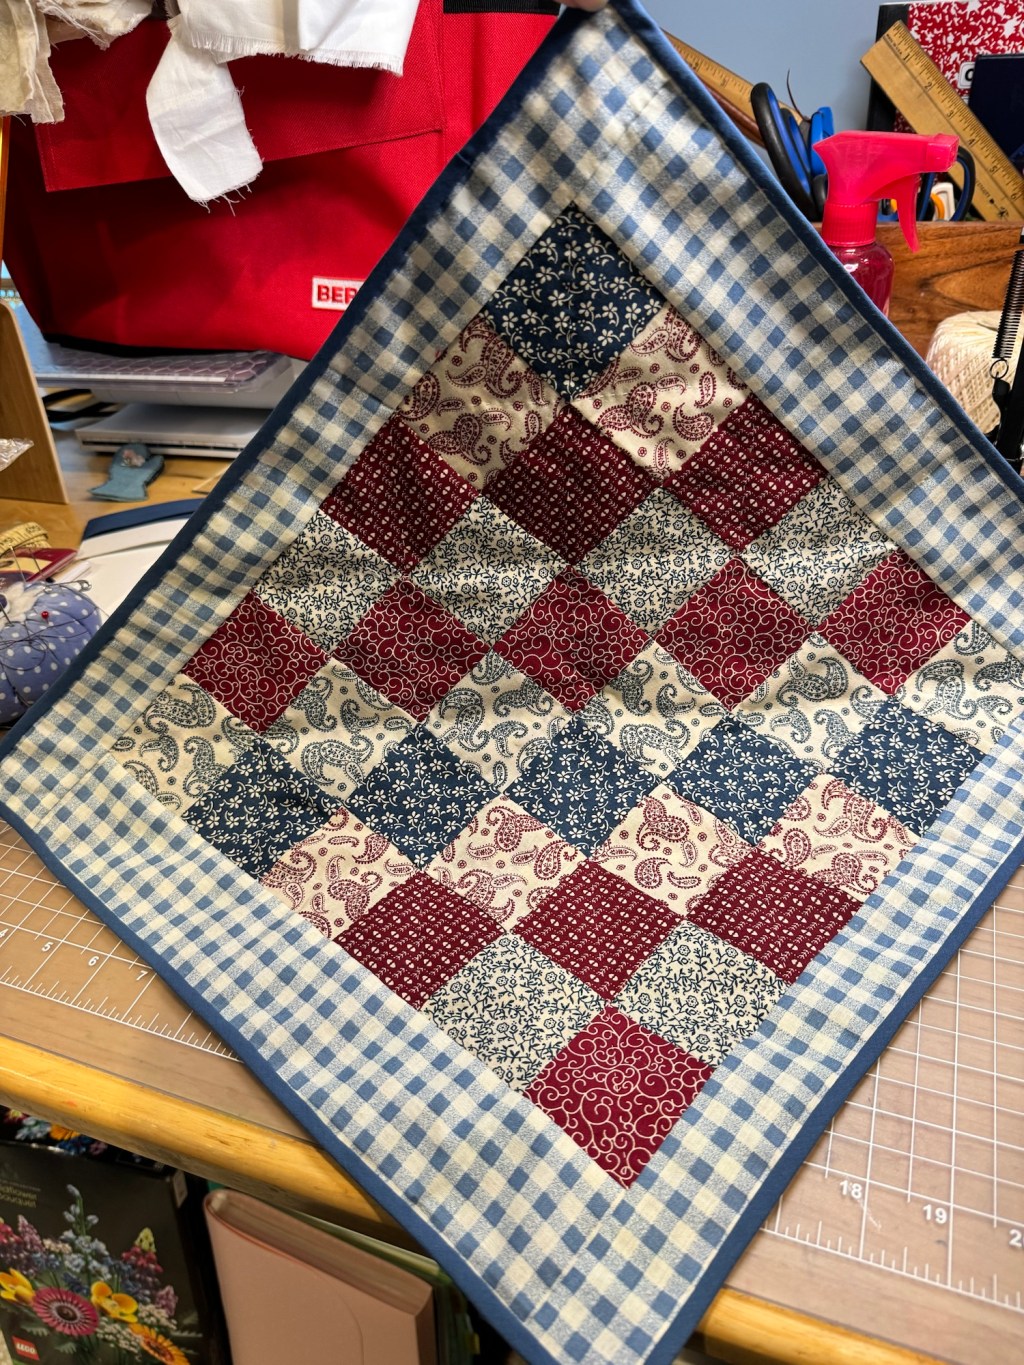
An 1860 style doll quilt
Well, that was easy!
Dora’s Rebirth
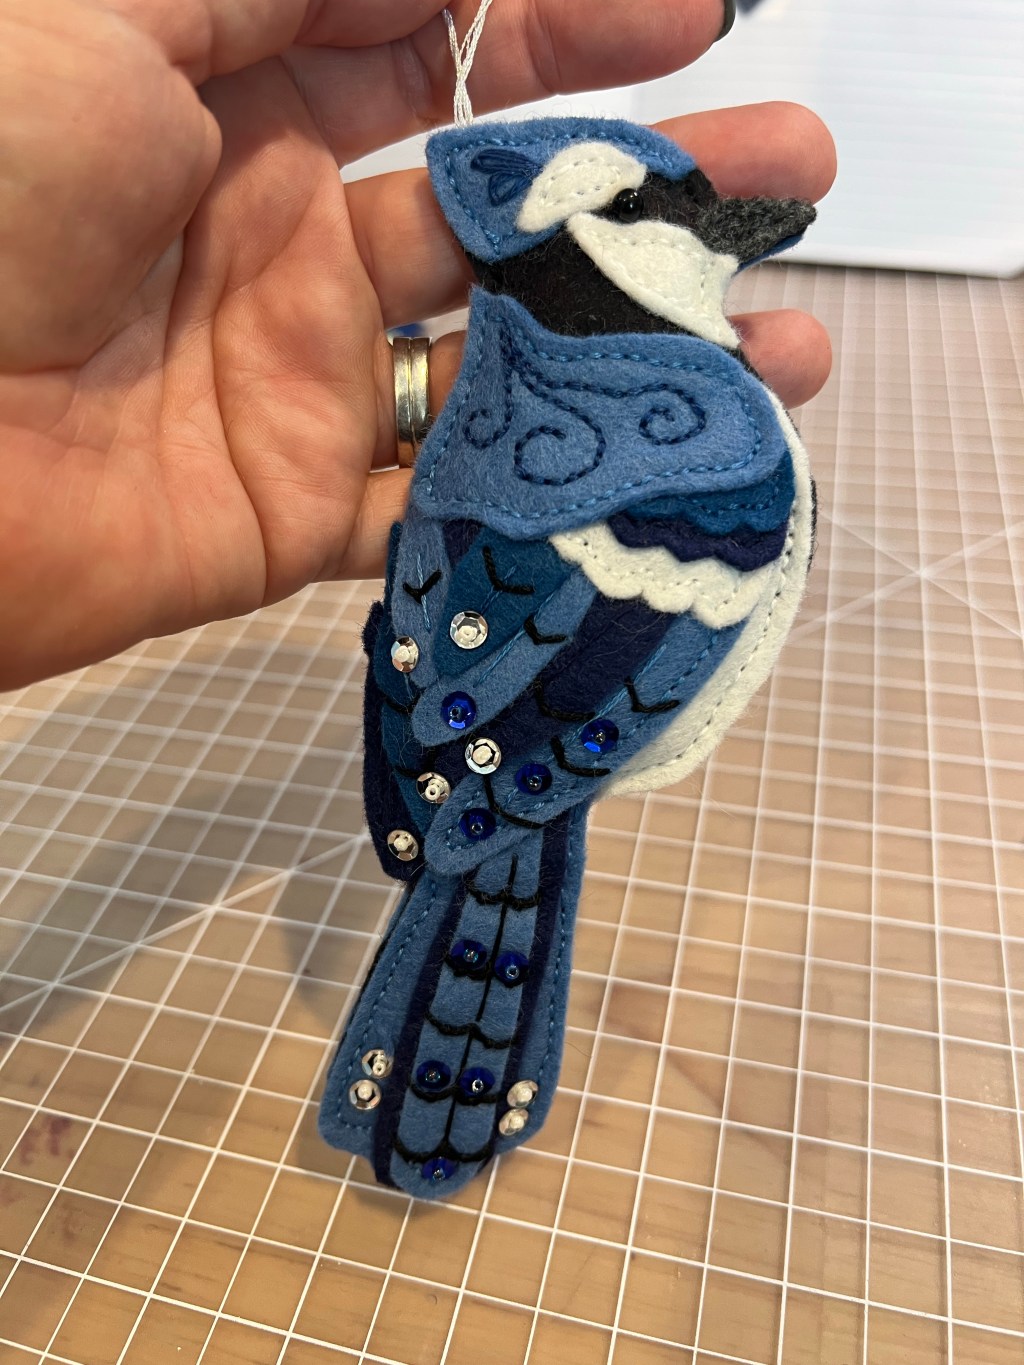
Blue Jay
Previous Page
Next Page
Subscribe
Subscribed
Notes from the Melody Maker
Join 68 other subscribers
Sign me up
Already have a WordPress.com account?
Log in now.
Notes from the Melody Maker
Subscribe
Subscribed
Sign up
Log in
Report this content
View site in Reader
Manage subscriptions
Collapse this bar