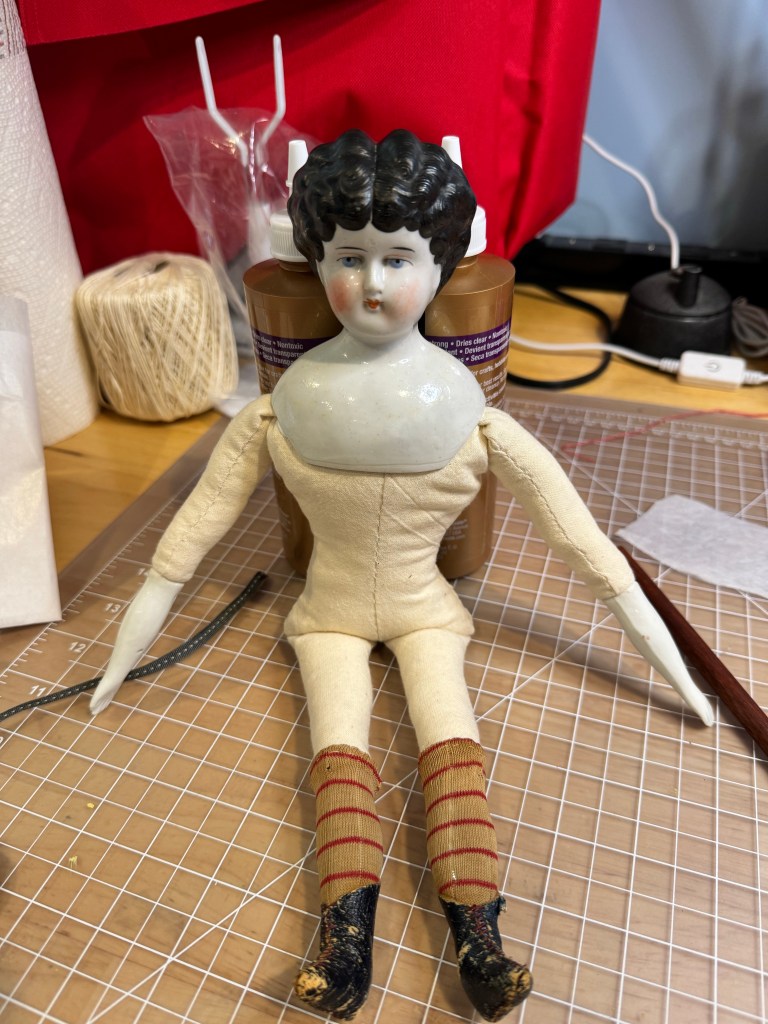
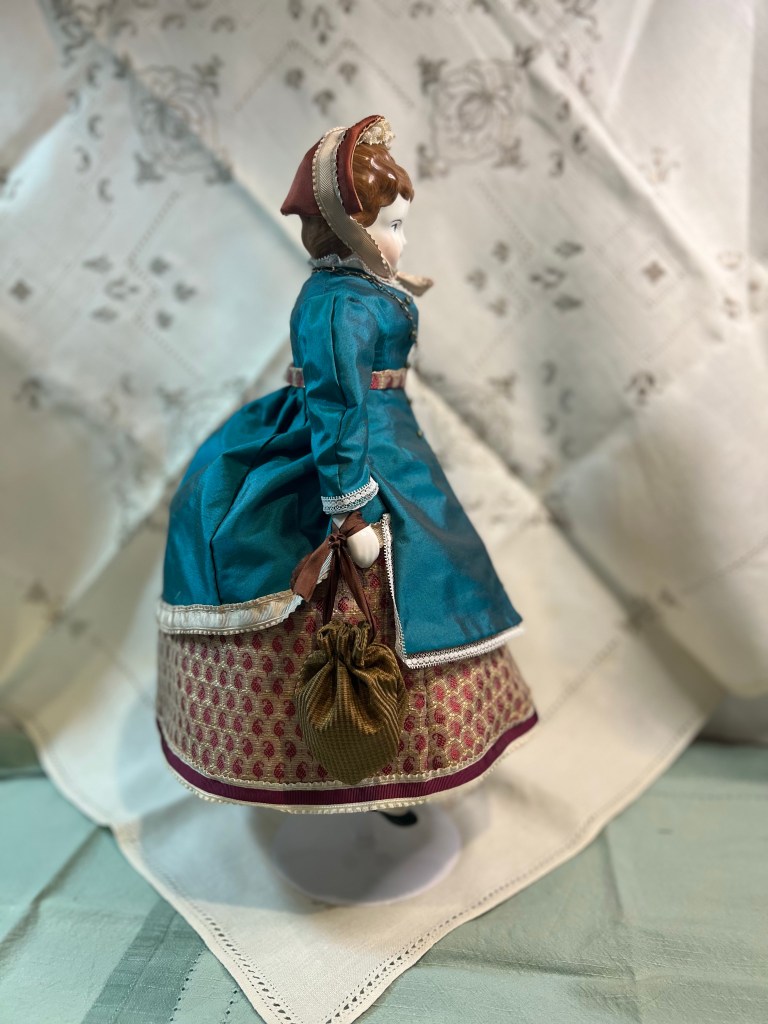
As I’m wrapping up final bits and pieces for Ruby, I’m making some accessories for her. Every Victorian lady had a fan or three, so today I made a fixed type of fan – as opposed to a folding fan that looks like a half circle when open.
This two sided fan with feathers was delightful and easy to make.
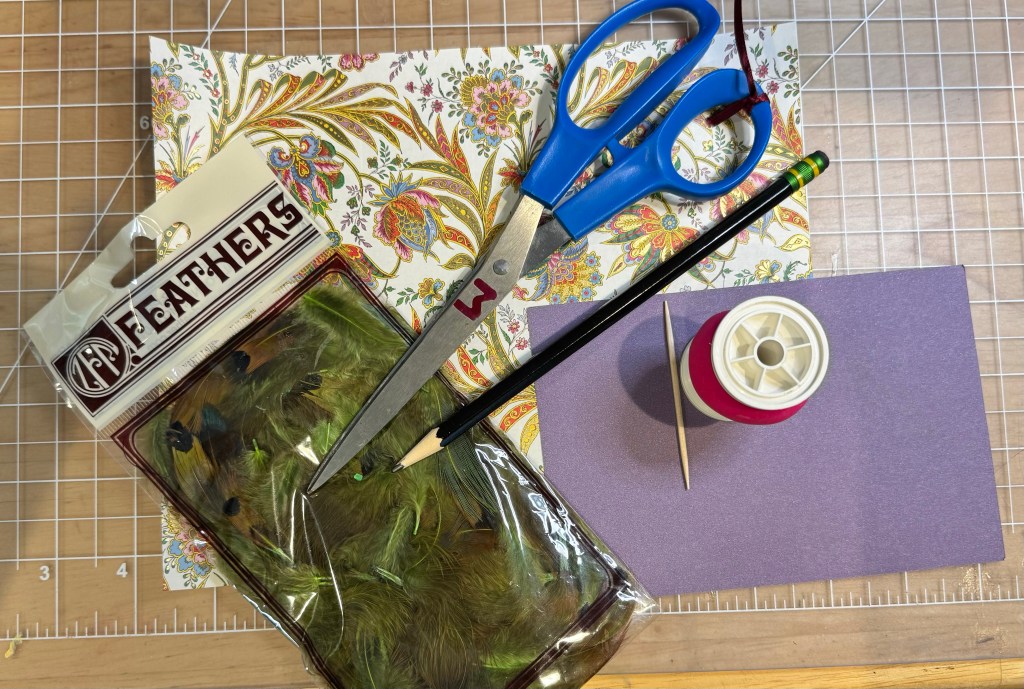
You will need:
An index card
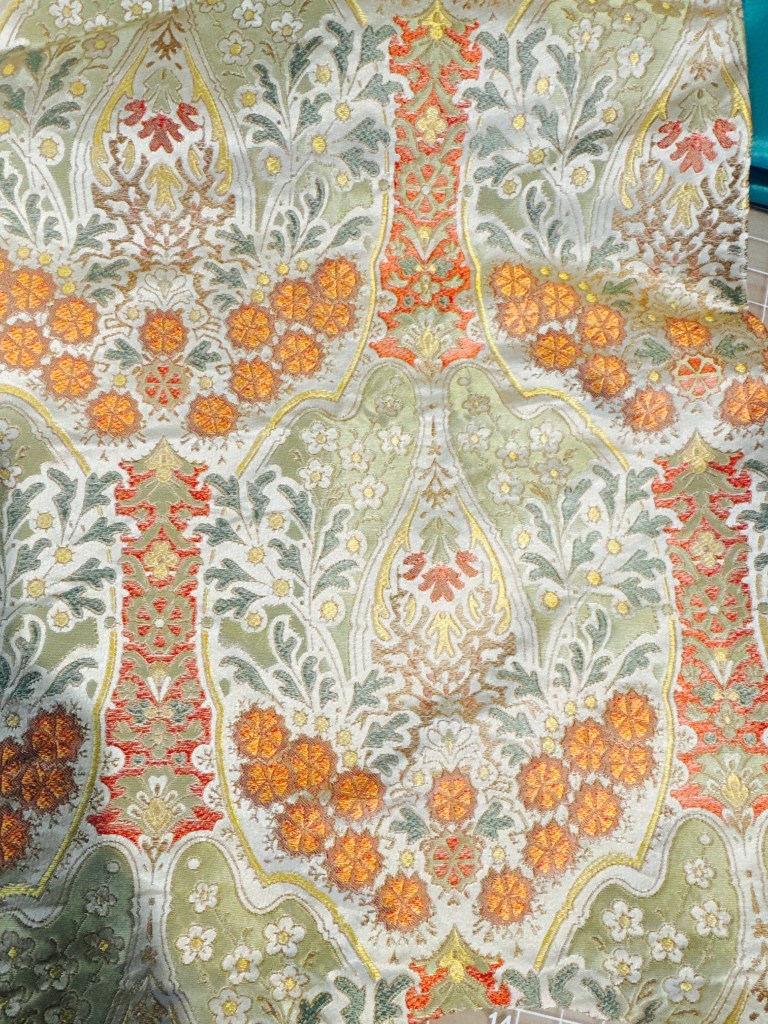
Some fancy scrapbook paper
A toothpick
Some feathers
A pencil
A spool of thread
Scissors
Craft glue – not a glue stick
Start by tracing your spool of thread on the index card to make two circles. Cut those out.
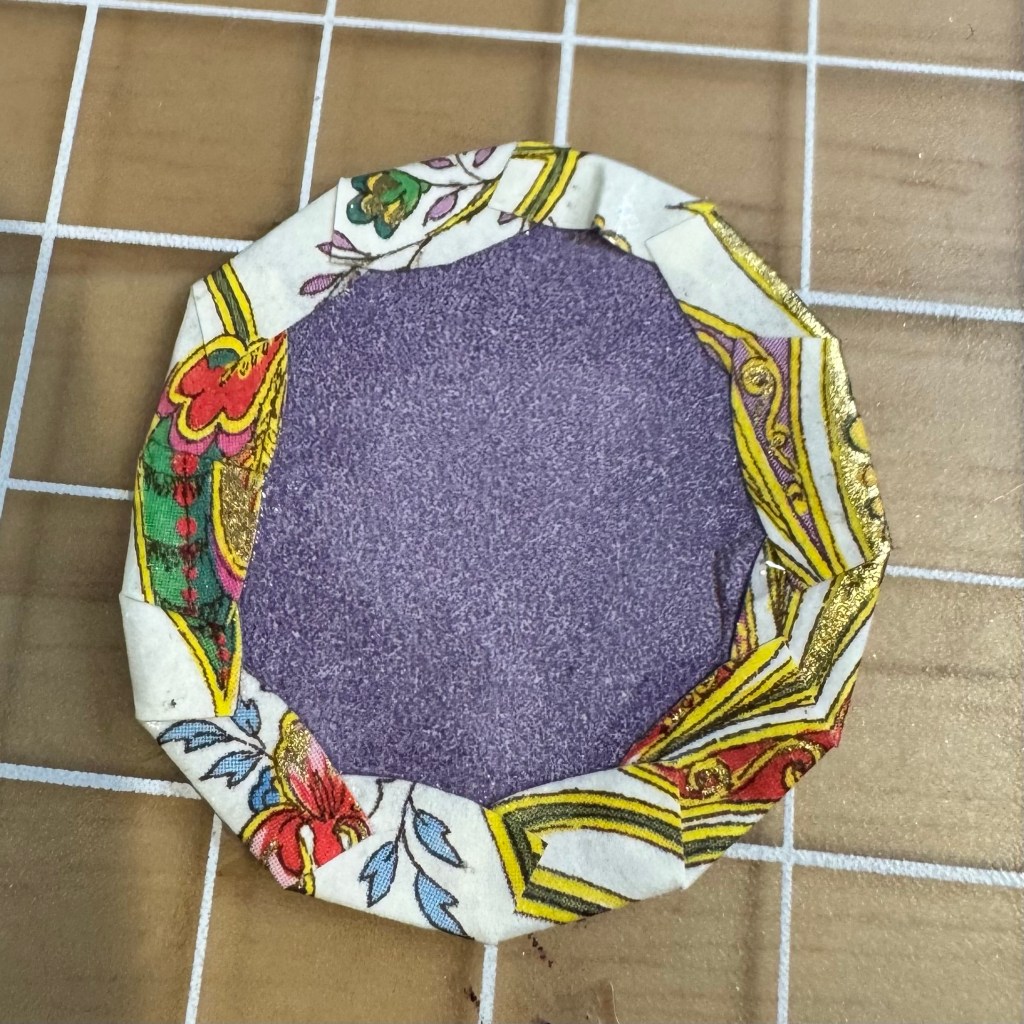
On your scrapbook paper, try to find a pretty motif that you want to be centered on the outside of your fan. Trace the spool of thread so those motifs are centered, and then draw a 1/4” margin around that circle. Cut out on the larger circle. The index card circle will fit in the inner circle. Using a bit of glue, glue that in place.

Carefully clip around the circle to make tabs in the scrapbook paper. This will allow you to fold it over the index card.

Put some glue right at the edge of the index card circle and then fold the tabs down, pressing them into the glue. Set that aside for a moment.
From your feathers, find 3-4 that you like. I chose these really fluffy feathers, but you could use some that have a design on them, really just choose the ones you like best. Lay them onto one circle in a pleasing arrangement. Clip the hard ends if necessary.
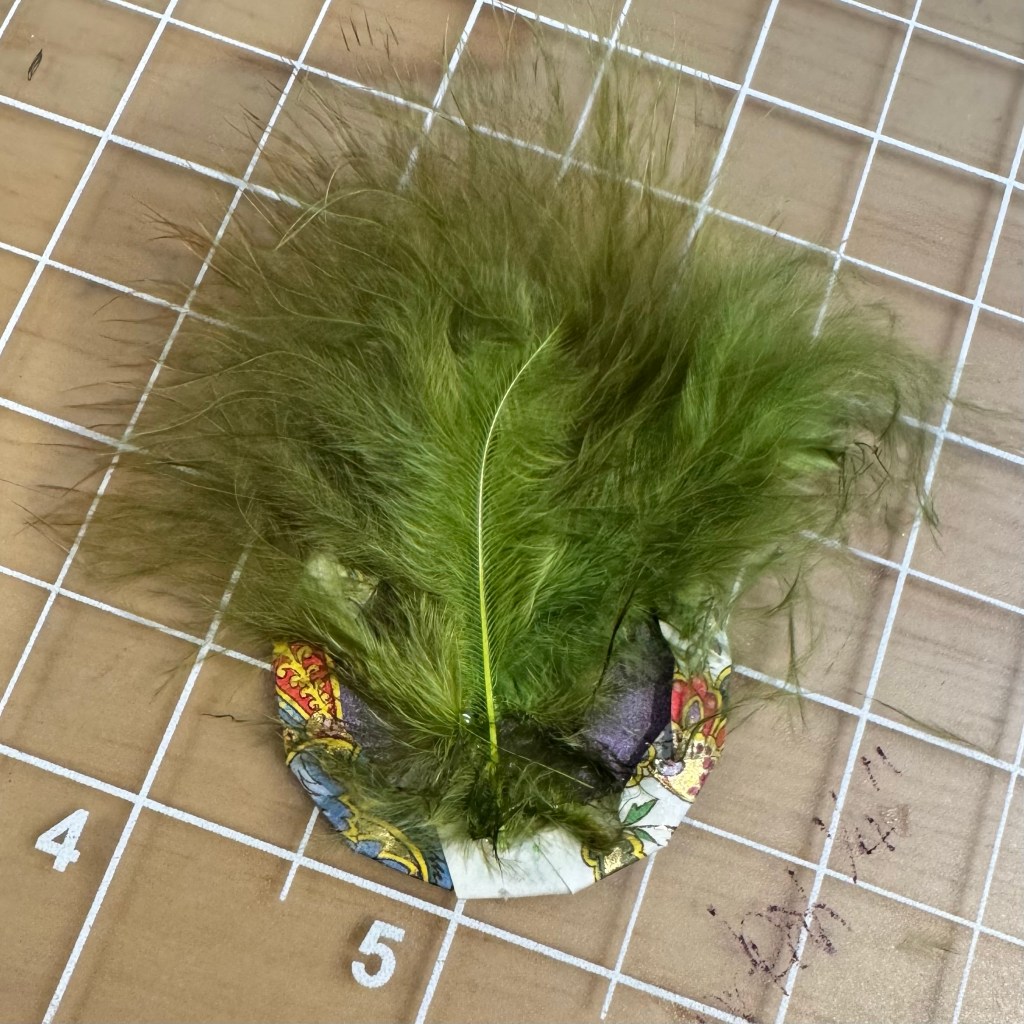
Take the toothpick and cut off one pointed end – maybe 3/8” up the shaft. This will be the handle of your fan. Put a glob of glue on top of the feathers, and then lay the pointed end of the handle in the glue – making sure it comes out opposite the feathers. In my case, one of my motifs has a stem so I wanted the handle to come out right at that spot.
Lay the other circle on top of the feathers and press the two sides together firmly. If any glue squeezes out wipe it away with a paper towel.

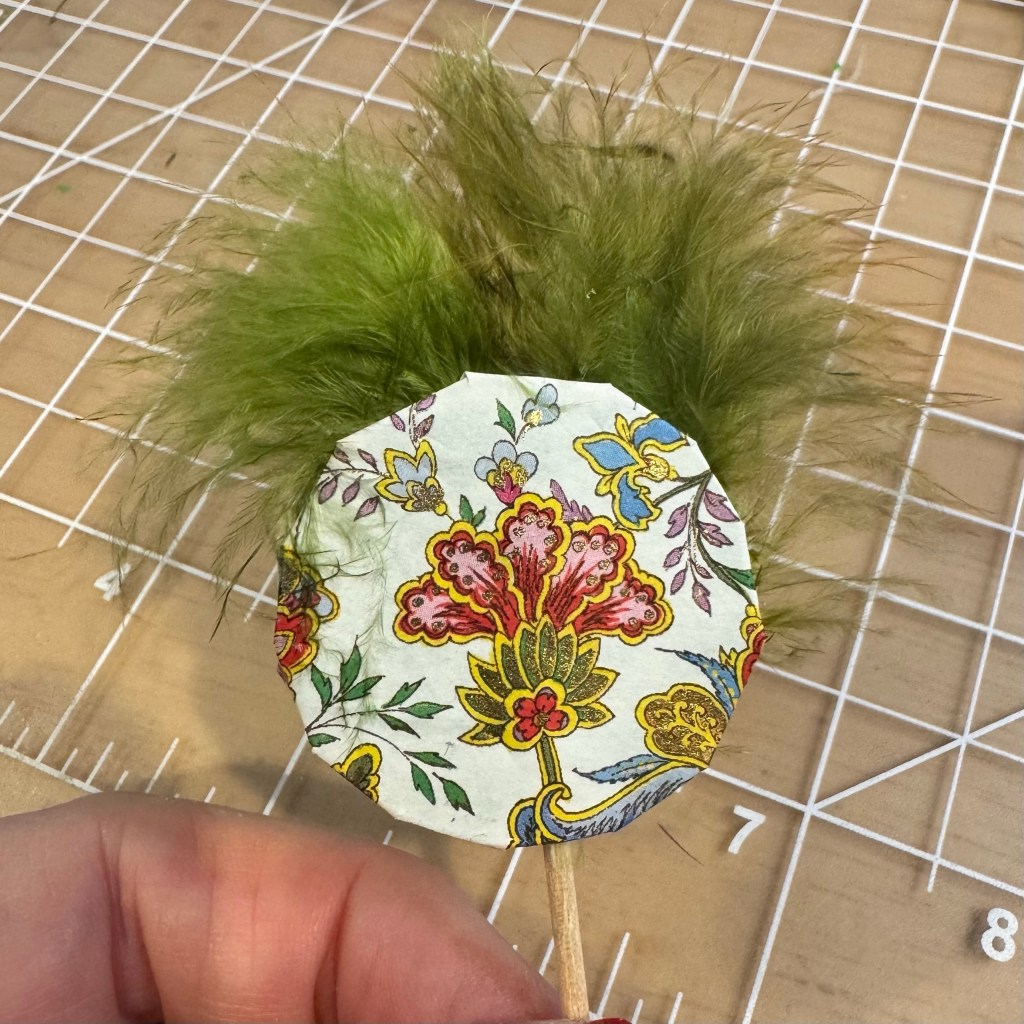
Allow the glue to dry. You can tie a 1/8” satin ribbon around the handle and then tie that to the hand of your doll if you want to display it. This fan took about 10-15 minutes to make.
I hope you will try this little project and if you do please share in the comments. You can try other shapes for the index cards as well. Let your imagination soar.