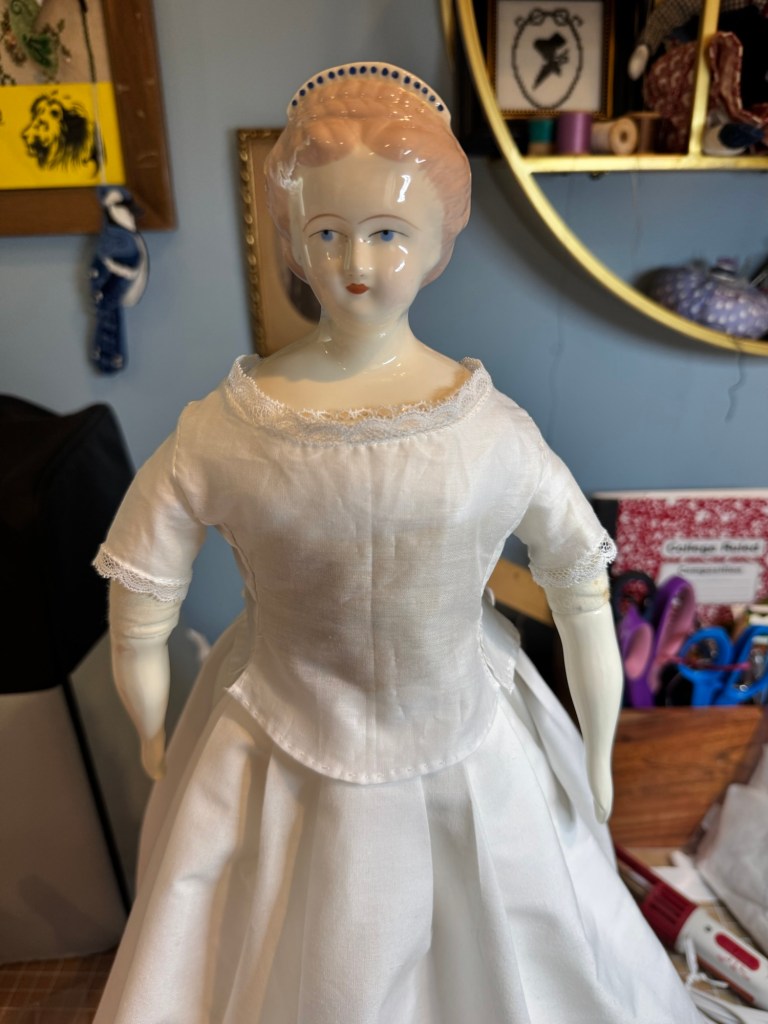
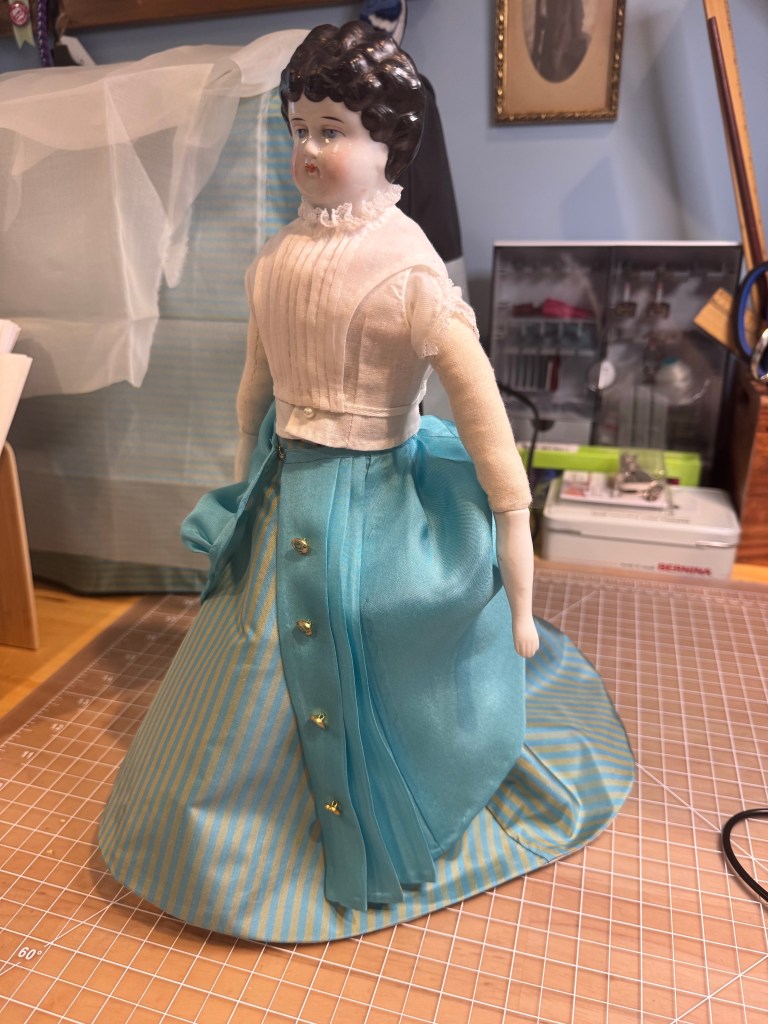
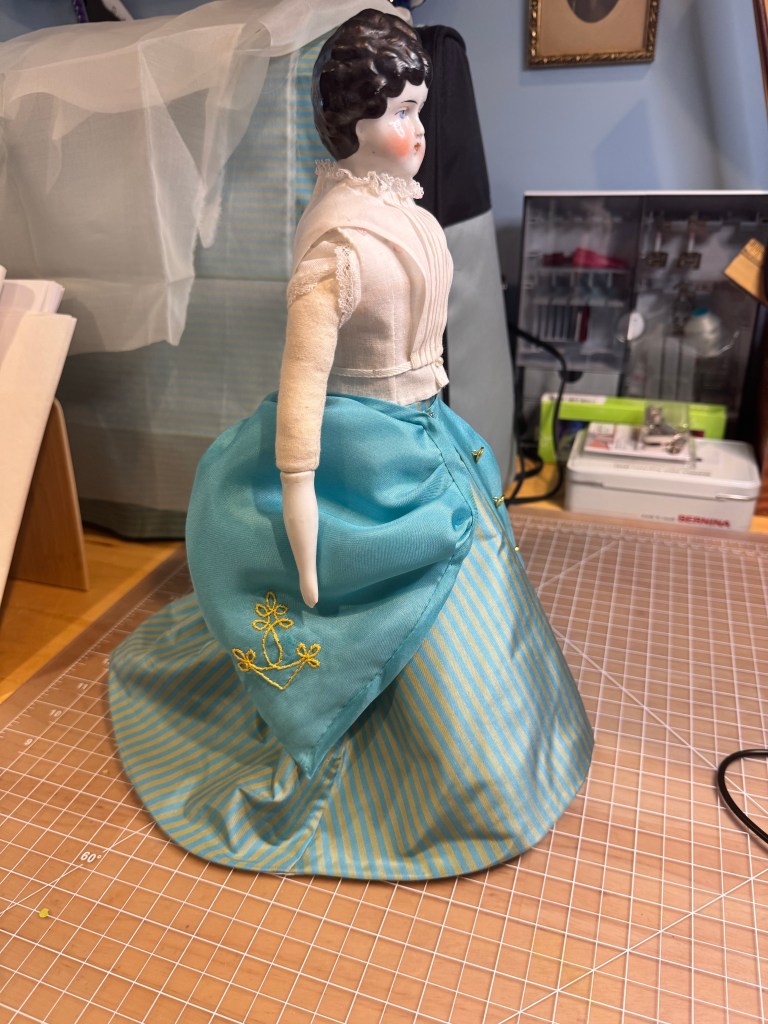
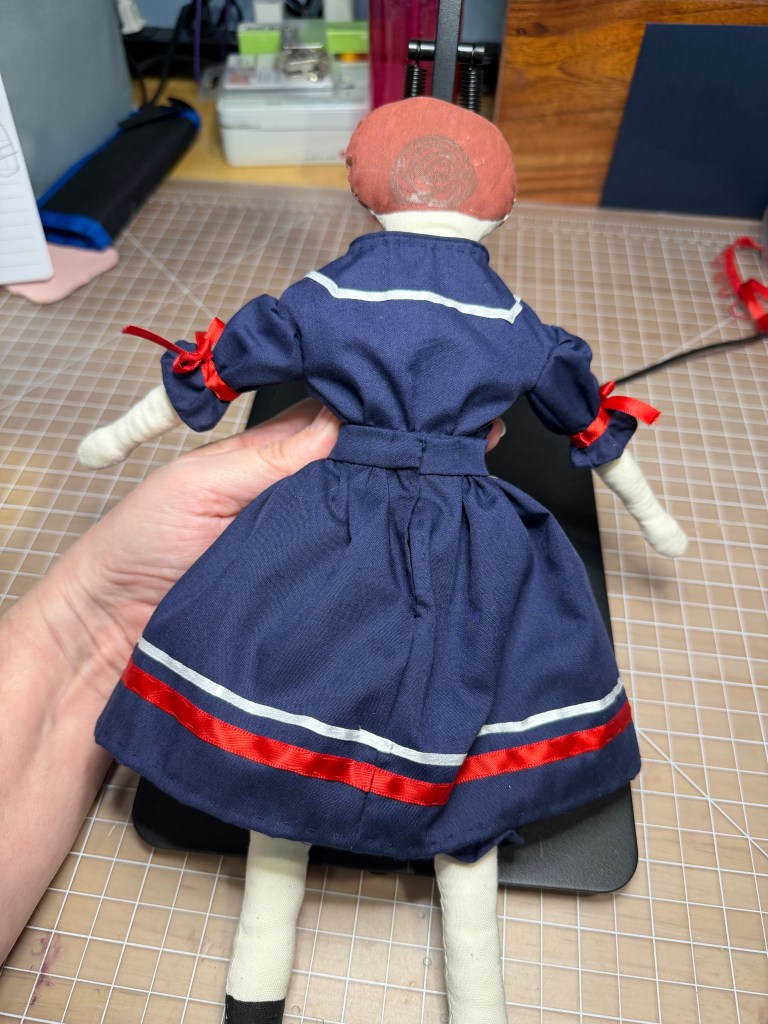
Since finishing Julia I took a short break from china dolls so I could work on Christmas. First up is Inez. In September 2024 I started this dress. Thankfully Inez is incredibly patient!
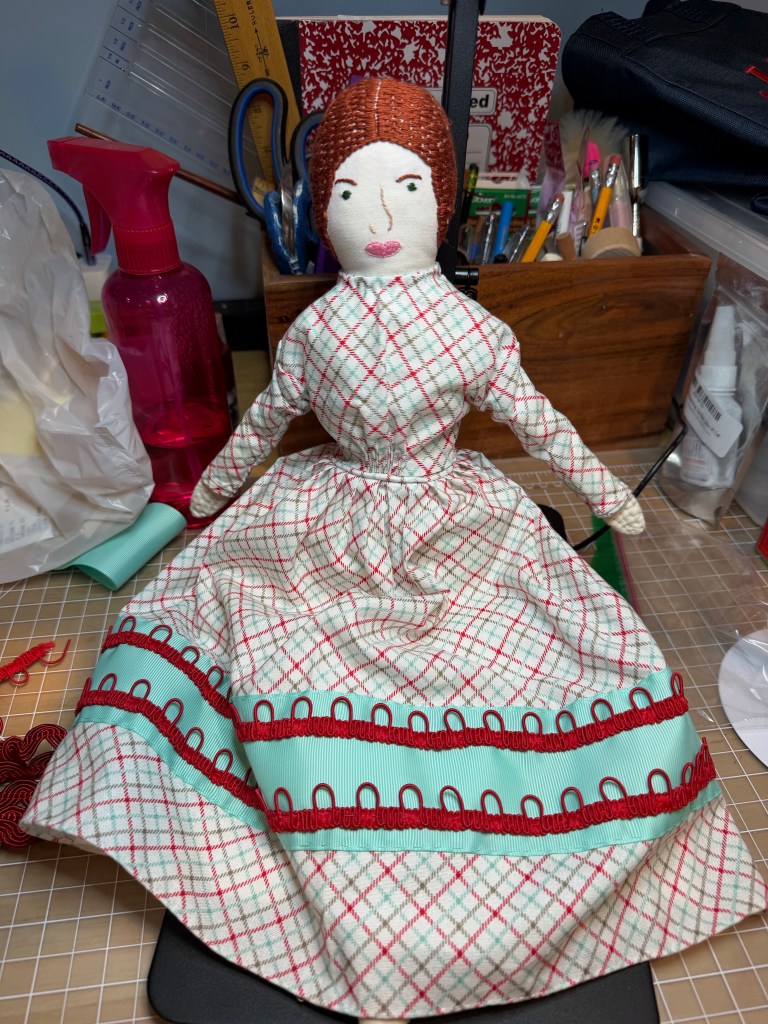
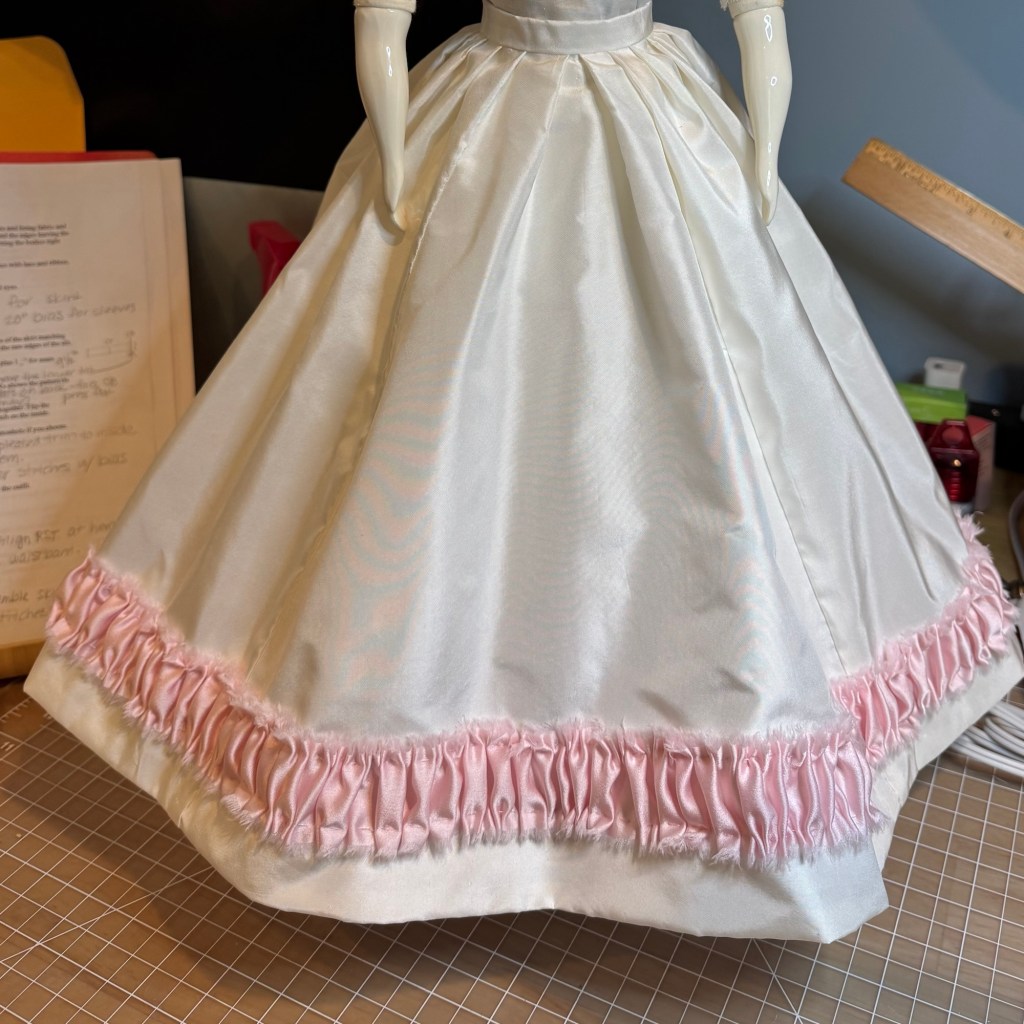
I love the bias plaid. The bodice is a gathered front bodice with long slim sleeves and a small tuck at the cuff. I had completed most of the bodice back in 2024 and then set this project aside for others. While out shopping with my sister I found this lovely grosgrain ribbon to adorn the skirt, but it still needed something. I then found this perfect red trim. I love the festive colors all together. I actually have two additional holiday dress cuts so maybe by 2030 Emalie and Mernie will have Christmas dresses, too.
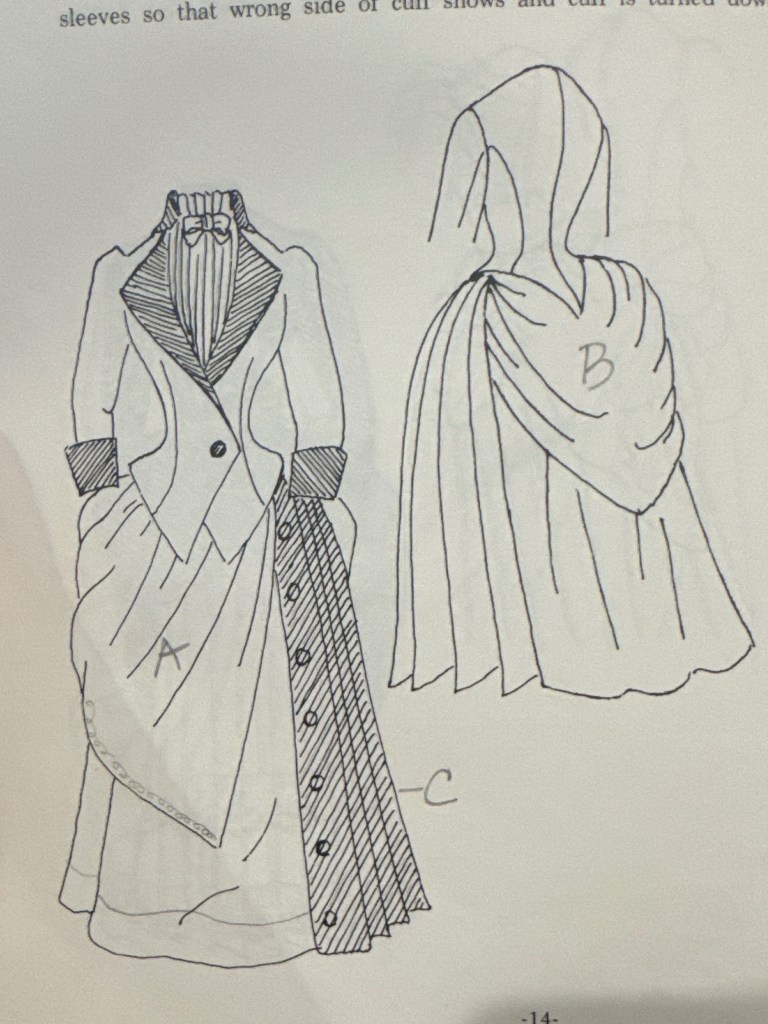
Next, for a Christmas gift, I have been planing this cute bathing costume for my sister’s doll, Dottie.

Emalie of course is the model because it’s a gift. Many years ago, my sister and I and another friend made ourselves Victorian bathing costumes. My sister’s was this color scheme and I thought it would be so cute for her and Dottie to match.
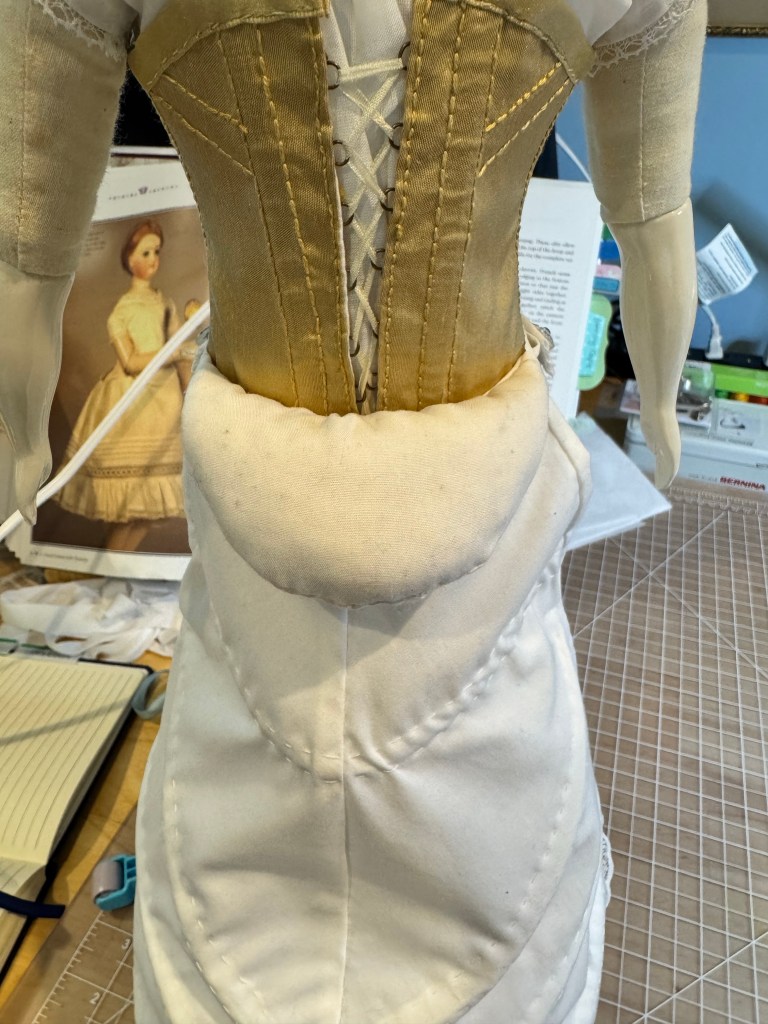
I used the Elizabeth Stewart Clark patterns as a base, but made the standard back opening bodice into a front opening. Then, I used the drawers pattern, cut short, and joined the top and bottom with a waistband.

It’s kind of like combination underwear. I gathered the sleeves and legs, then added the red ribbon trims. The buttons aren’t functional, it closes with hooks and eyes.
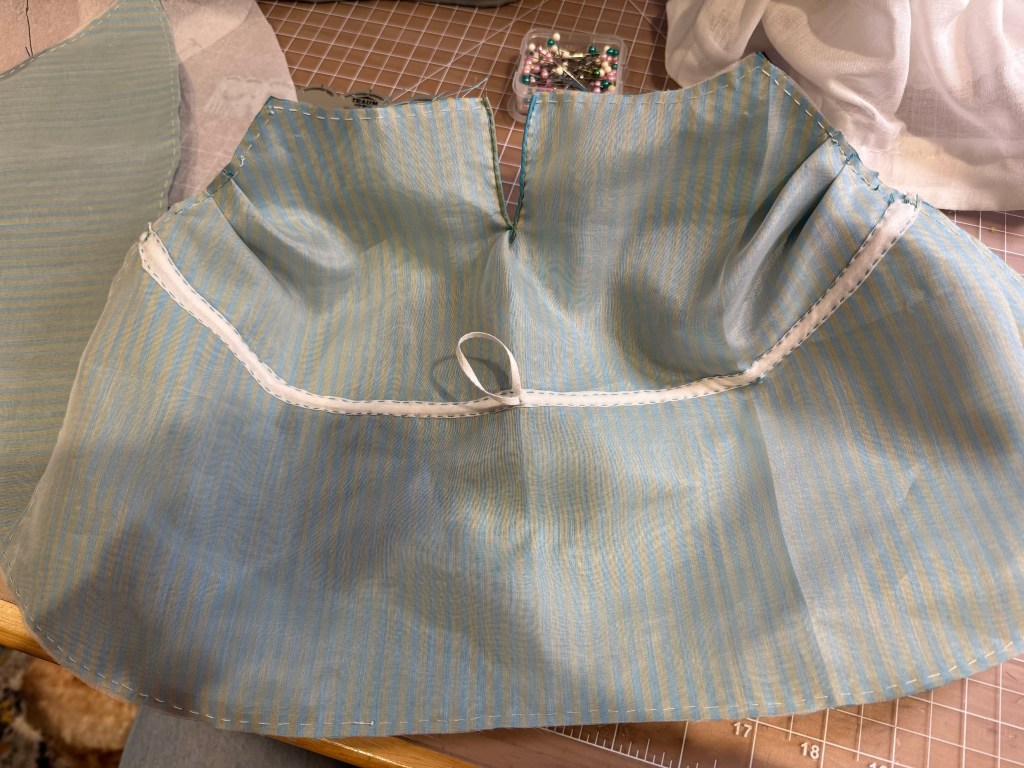
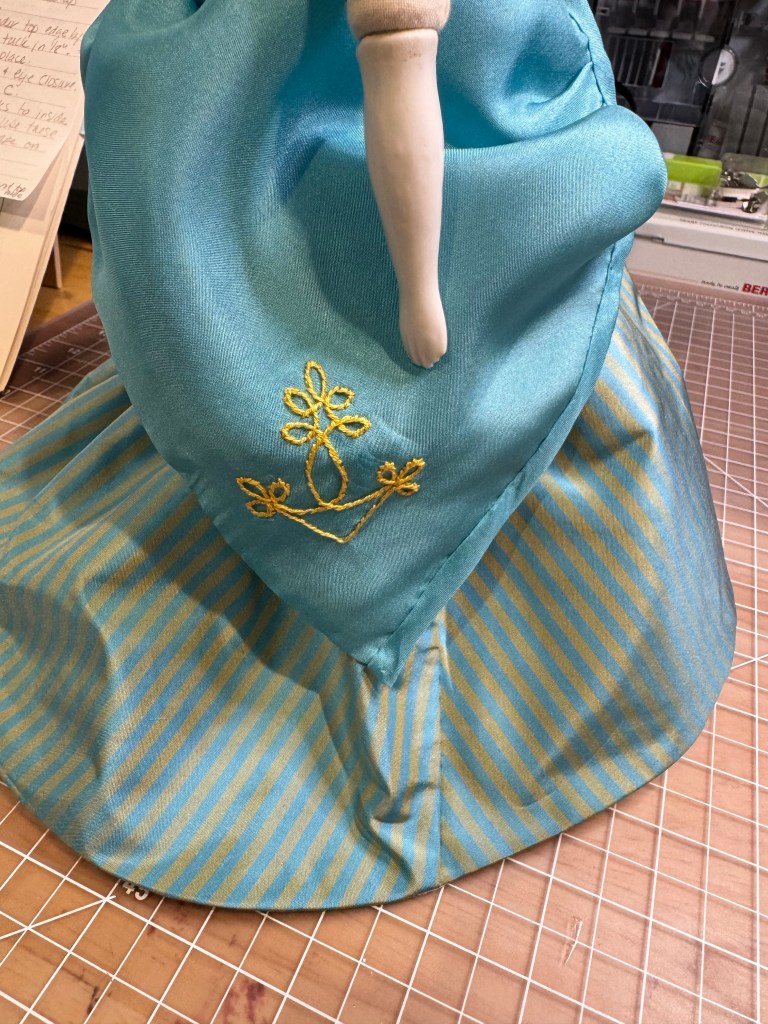
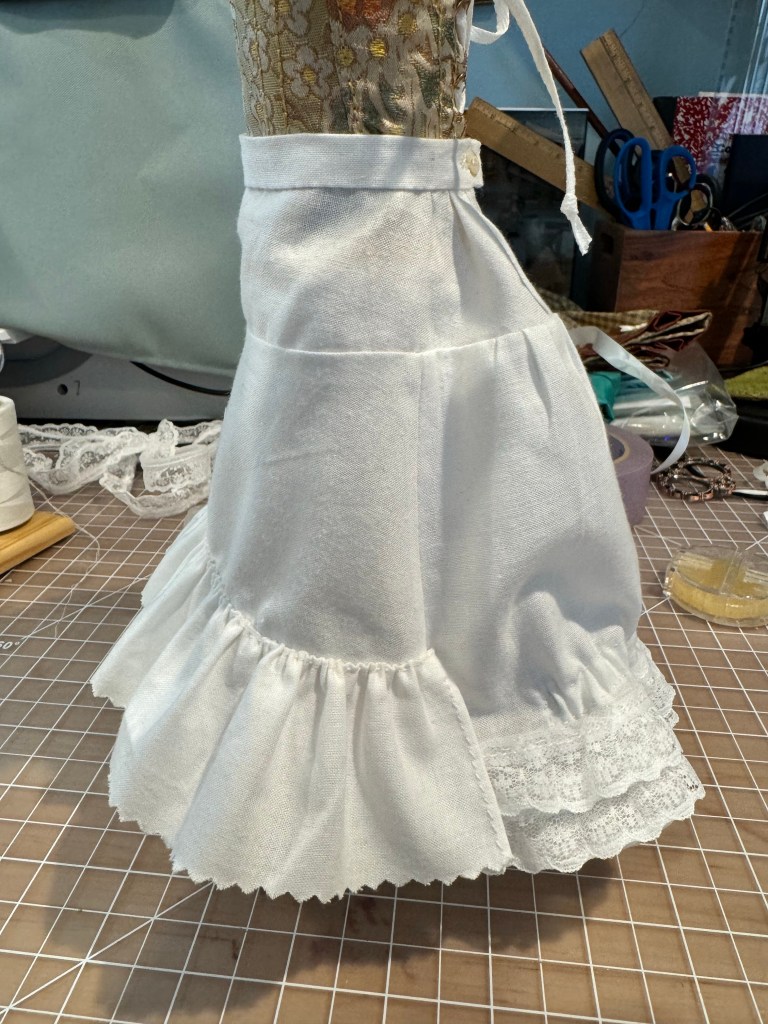
Finally, I made a sweet little skirt, not as full as the standard dress pattern calls for. This is gathered to the waistband, then the skirt buttons to the center front of the bathing costume and has a center back closure.
I’m really pleased with this gift and I hope Dottie likes it too.
Finally, one funny little thing for me! With my hand sewing, I felt that I would like a pin cushion to keep handy. On eBay I was seeing half dolls made into pin cushions, then one day I saw these legs. I thought this was just hilarious and I knew exactly what I wanted to do!
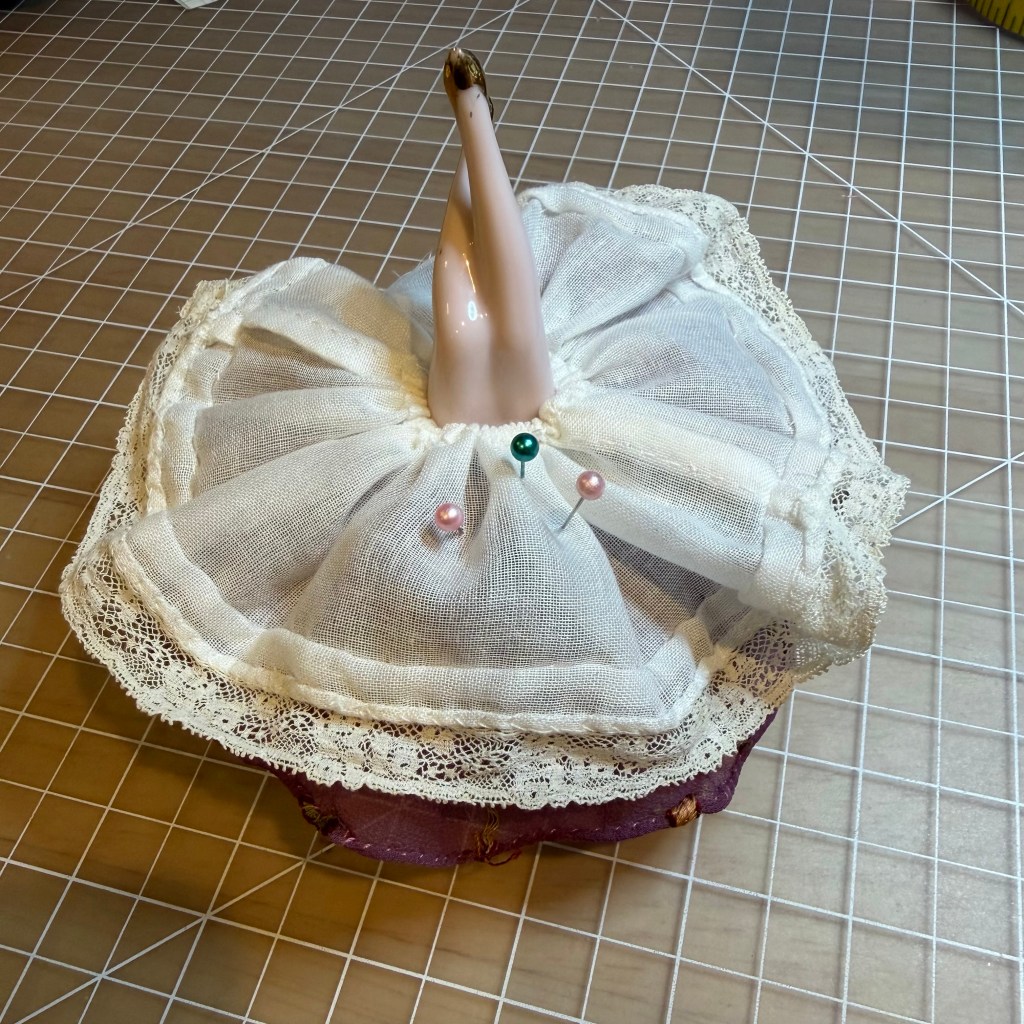
I pictured her with frilly skirts all around, but in all honesty that would not be very practical for a pin cushion. She does have a purple silk skirt and a batiste petticoat, and that’s probably just fine. The pin cushion itself is a cotton base with emery inside.
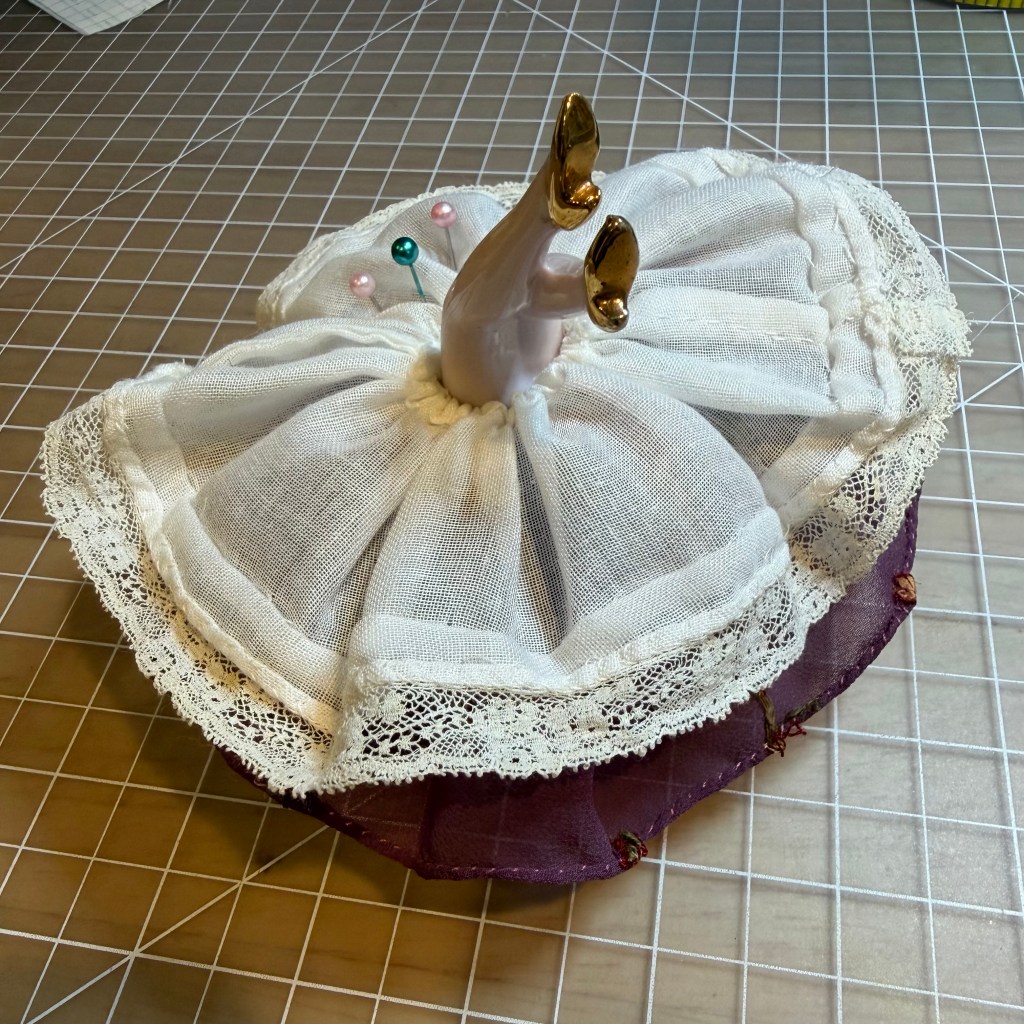
I say that Leggy Linda the Lush had a bit too much eggnog and fell into a snowbank. Her legs are about 1.75” btw, she’s tiny.
That’s the latest for now. I am working on drafting patterns for Martha Tudor after finding a perfect 18th century inspired fabric. Stay tuned for that project coming soon!