I’ve finally dedicated some time to work on Ruby’s drawers and they were so fussy and fiddly! I decided to use the Susan Sirkis Wish Booklet WB 23 Fashions 1880-1885.

The Wish Booklets are wonderful with lots of patterns that are relatively easy to follow…if you understand garment construction and have some knowledge of period techniques. The original chemise I made was based on a different pattern because I wanted something closer to what is shown in the Bloomingdale’s Illustrated 1886.
The drawers however are a sweet design and just fine for Ruby.

Many of the reproduction doll patterns I have seen and used include some errors, omissions and sometimes just confusing instructions. I remind myself they are written by humans (fallible as we may be) and rely on my sewing experience to fill in any gaps. In these drawers for example, there is no instruction to hem them or to add the lace trim.
Should you wish to make these drawers, I suggest you make a rolled hem before starting, and then make your pin tucks, or adjust the placement of your pin tucks up a quarter inch so you have space to hem and add the lace at the end.

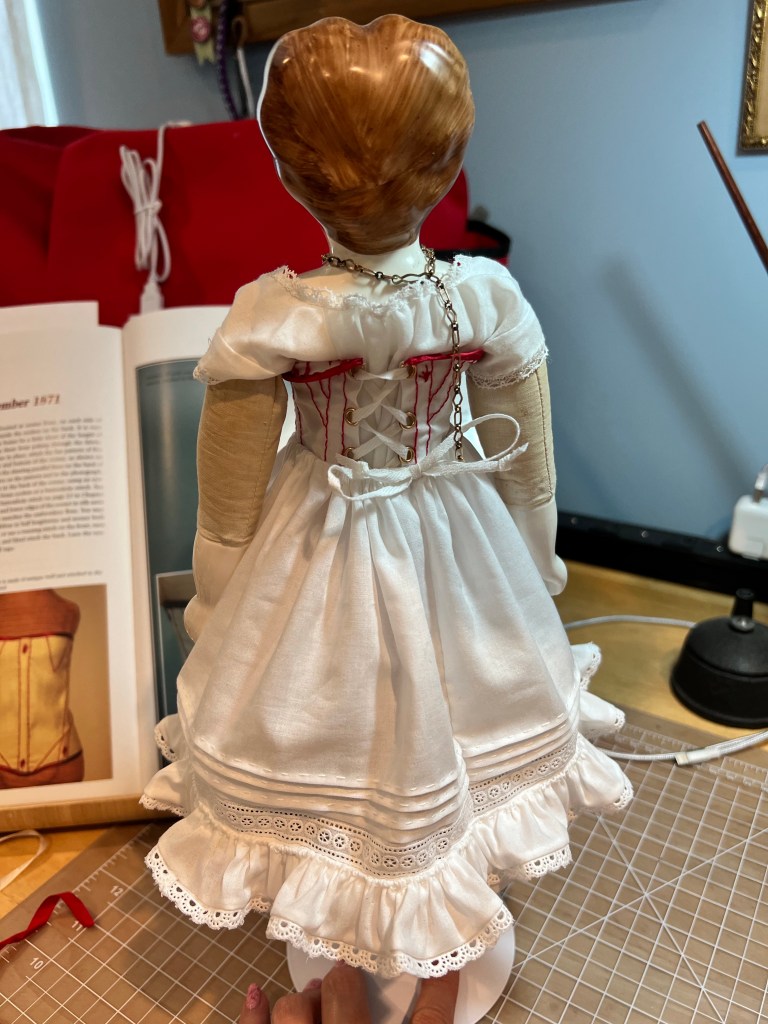
Also, there’s no mention of added the bows shown in the drawing but that could be put down to it just being a suggestion. I liked the look and added silk ribbon bows.

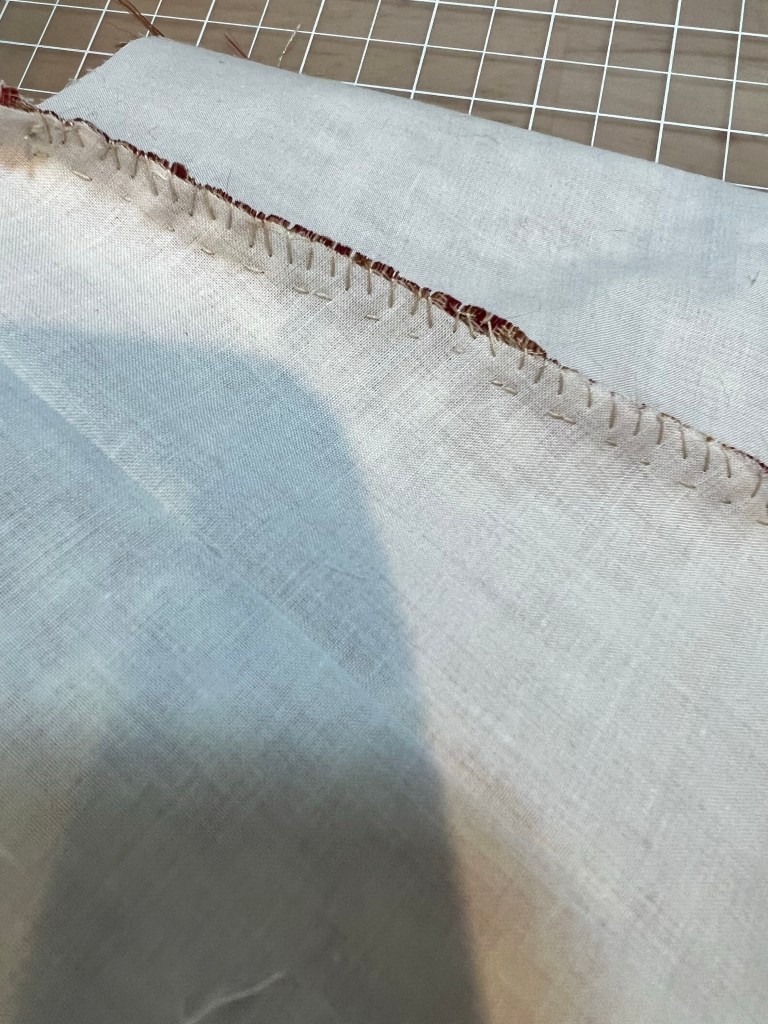
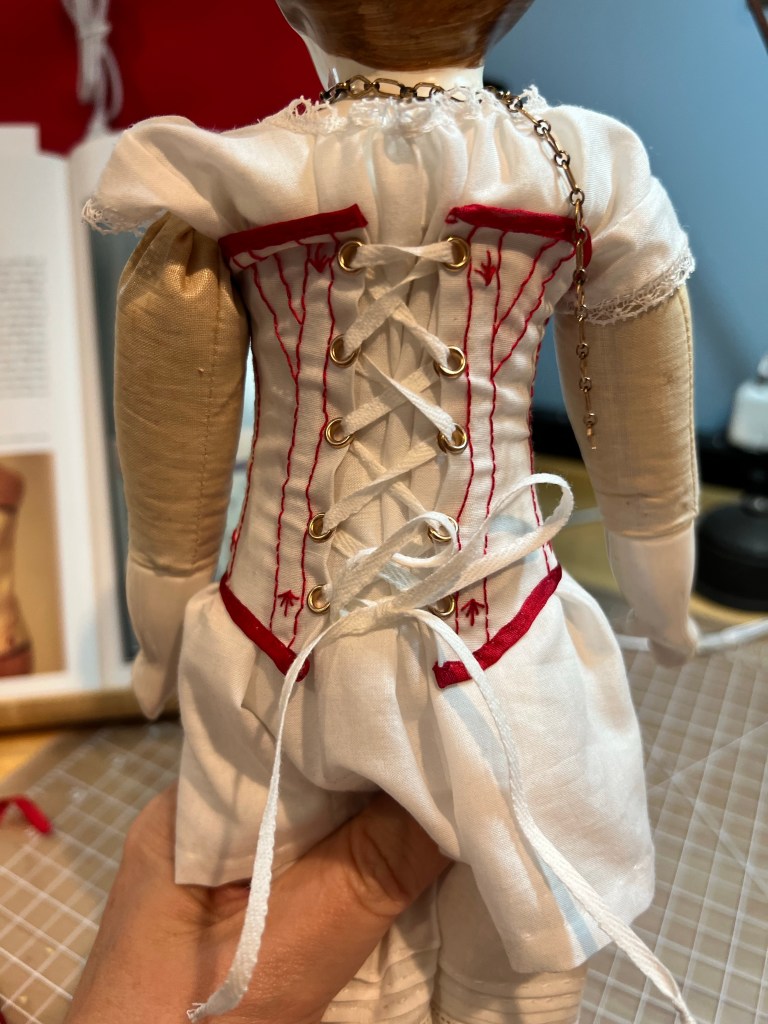
I also chose to use French seams since voile can fray just as badly as silk! Being such a fine fabric it is very delicate, but gives such a lovely result. Another step not really mentioned is the waistband. While the instructions do indicate the yoke should be set to a narrow waistband, there is no mention to add ease stitching since the yoke has bias edges. Again, not too difficult to figure out.

They fit Ruby nicely and I closed them with a hook and thread bar. I think a button would add unnecessary bulk.

Ruby is pleased to have drawers again!