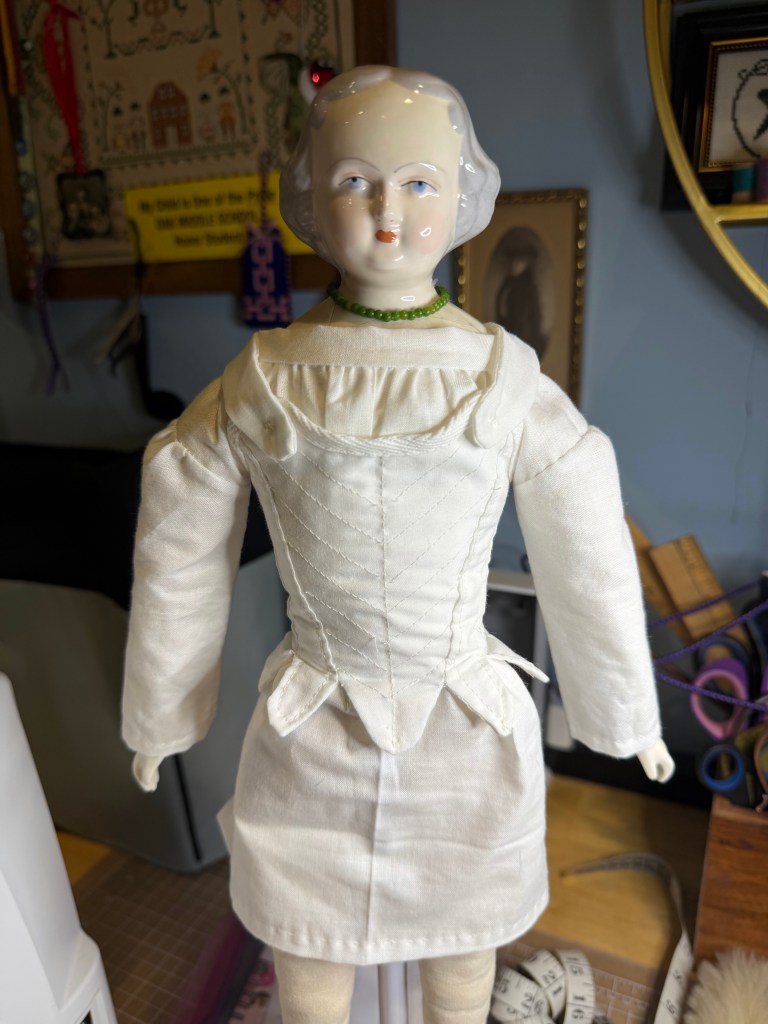
Melody asked me to make her a purple princess dress for her birthday, since we are having a princess themed birthday party for her upcoming 6th birthday. We looked at different pictures, I assessed just how crazy this might be, and went over to Joanne’s to buy fabric.

Princess dresses galore
Melody selected view A, which is the blue one shown above. The pattern calls for many yards of tulle and satin, plus some tissue lame for the inset and sleeve puffs, and a little trim. Right out of the gate I ran into difficulties, because Joanne’s had two completely different lavenders – one a pink lavender and one a blue lavender. After much deliberation (no joke, easily 30 minutes) I decided on the blue lavender. It just has a more of a true lavender look to me, besides the fact that Melody already has a Rapunzel dress that is in a more pink lavender. Next, I was thinking of using an embellished chiffon in the collection in place of the top layer of tulle, but Joanne’s had exactly 1/2 yard too little.
Once that obstacle was overcome, the cutter discovered that they had exactly 1/2 yard too little of the coordinating lining fabric.

Say what, Joanne?
Anyway, I’m flexible, made some adjustments then went home to get this project started. I had selected an iridescent sheer instead of the tissue lame because they didn’t have a silver lame, only gold and it didn’t look good with the lavender. Let me just say, I am pleased with the results but I really regret that fabric. It was very slippery. I backed it with white satin, flatlined them and treated them as one piece. The pattern has you apply this triangle shaped piece to the bodice front in the first step, fine. But upon reading through the pattern, they have you glue the trim on at the end. That didn’t work for me because I know my daughter. That trim would be ripped off within the first day. Here’s my second regret about this dress. I picked out a really pretty sequined trim that matched the fabric perfectly; it was sold by the spool so I couldn’t open it in the store. It was elasticized! And the sequins are made from something stronger than titanium because I broke three – yes three – needles stitching it on. Now I understand that Simplicity wanted the trim to lay on top of the seam because after sewing, turning and finishing the bodice I can see that part of the trim tucks inside and it’s not a “perfect” look. However, if you use something that doesn’t have sequins, why in the world would you not sew it on? A regular ribbon or floral trim is going to be just fine stitched inside the seam and it will be a much more finished look. So there.
The rest of the dress was so easy! The puffed sleeve is a two-part sleeve, meaning you cut a small piece out of the tissue lame (or slippery annoying iridescent stuff, in my case) and apply it to a regular sleeve piece. The gathering of the fabric gives you the puff and it is really very easy. The skirt is two layers of tulle plus an underskirt. My only thought is that you really want to use fine tulle here because a rougher one might be a bit scratchy on the inside. Also, the waist is finished by turning the seams toward the bodice and top stitching. With the horrid titanium sequins I had going on, I did not top stitch that section.
I found the directions for the back opening a tiny bit confusing. They have you extend and press back 1/2″ of the tulle on the center back, but it is unclear as to exactly where it is to be placed. Looking back, I can see now it was supposed to have been folded back and placed along the zipper placement line, not the raw edge. This would allow for there to be a gap in the tulle allowing the zipper to pass through nicely and the stitching to be neat and tidy. While you won’t be able to find it on this dress, I had to do some fancy zipper foot work to make that spot work.
With those two minor criticisms, however, I’d say this is a nice pattern. It’s not a beginner pattern, but certainly not an expert level either.
But, what do you think? It fits well and I made it large so she can wear it for more than a minute. I haven’t made the hat.

Ta dah!
I’m considering going back and making one of cotton for a certain little girl who’s birthday is in July.
UPDATE: I went back and made the hat. It took about 30 minutes from start to finish, and darn if I didn’t find some regular purple ric-rac that I could have used on the dress instead of the sequins! Anyway, here are my thoughts on the hat. The instructions have you apply fusible interfacing to the inside of the hat, and the pattern requirements call for lightweight fusible interfacing. If you want the hat to flop over like one of those funny men’s nightcaps from 200 years ago, go ahead and use the lightweight. Otherwise, use a heavyweight fusible interfacing. Second, they have you hand stitch the tulle to the point of the hat after it’s finished. I don’t know about you, but my hands do not fit into that tiny diameter point. I suggest either catching the tulle in the seam when you stitch that, or attaching the tulle to the fabric before the seam is sewn. Finally, my daughter just didn’t want to wear the hat for more than a couple minutes at a time so I didn’t bother with the elastic band for under the chin, but you could easily replace that with ribbon ties stitched into the hat at the time you make the narrow hem. Way more secure, less hand sewing, and actually realistic historically speaking. :-)