I have been sitting on this pattern for several years, all while sweltering in the summer heat. I purchased my fabric easily three years ago and have been wanting a sheer dress for probably five years. Summer in multiple layers of clothing is definitely more warm than it has to be! So, this past spring, I finally decided to just do it! I have researched various patterns available on the market, including some Big Three patterns, Peachtree Mercantile, and others, but I know that Truly Victorian makes beautiful, accurate, and easy to follow patterns, which is why I settled on this one.
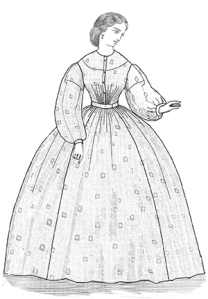
Truly Victorian TV447 1863 Sheer Dress
I chose a lovely sheer cotton in blue and white stripes that I found on clearance at a chain store. I know of more than one person who has made a sheer of this fabric. Hopefully we won’t all be at the same event together!
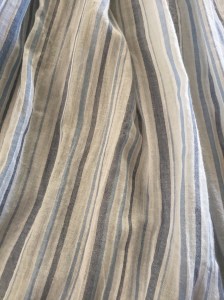
Pretty pretty
The fabric is 54″ wide, but since at the time I didn’t know what pattern I would be using I purchased 10 yards. Lucky for me, this overestimation was a good one. The sleeves on this dress are full and wide, plus since my fabric was directional, I was able to cut the stripes going from shoulder to wrist. Anyway, before any of that, I calculated my measurements and pattern size following the instructions on the pattern. The thing about the TV patterns is they allow you to custom fit your garment before you even start sewing. And once you do that, you can easily make up a muslin for a better idea on fit.

Dark image of my muslin
Sorry this is not better quality, but almost all the mirrors in my house that are big enough are impacted by light diffusion. What I learned here is that the waist of the under bodice was a little too full but the bust was a pretty good fit. So I took in the darts a bit and retested it. I did not do this all by myself, by the way. I submitted my questions to the Civilian Civil War Closet group on Facebook for hints and help – there are clothing historians, professional seamstresses and experienced clothiers there who are willing to help for free. I just couldn’t overlook that knowledge base. I also asked my friend Shelley Peters for real world tips as she has made this pattern a lot. Had I needed it, the amazing Heather McNaughten at Truly Victorian would have helped too. As an aside, this just confirms for me that this community really wants its members to succeed!
Anyway, after the changes to the muslin, I traced that as my new under bodice pattern piece and went forth to sew! This is the first time I have made my own bias and bias piping, which was used on the neckline facing and armscyes. I found the instructions sufficient, but had used better instructions on a Simplicity costume pattern and did that instead. They just made a bit more sense to my thinking, the result is the same.

Piped facing to finish the raw edges of the under bodice.
Piped armscye
The construction of the garment is for the most part very easy. I found the TV method of inserting the sleeve into the armscye backwards to what I am used to so I just adapted and made notes on the pattern.

Hand buttonholes
I sewed this in a combination of machine and hand sewing. My fabric was so very delicate that even though I have a high quality machine, it sometimes would bunch up in the feed dogs. I wound up hand sewing much of the finishing stitching, such as on the piped facings, and also hand sewed all the button holes. My reasoning here was twofold – I wanted historically accurate buttonholes and since the fabric was so delicate it was impossible for me to machine sew them to the standard I desired. I used silk thread for the buttonholes. The buttons are vintage shell buttons, much higher quality than the cheap flaked mother of pearl available these days. They were purchased through Farmhouse Fabrics.

Sleeve band
For visual interest I cut the sleeve band on the bias. Maybe there is a chance of this stretching over time, but the band is so generous around the wrist that I don’t expect that to happen.

Finished bodice
At this point, I went back to the Civilian Civil War Closet for help. The pattern does not include a collar pattern. I don’t care for my look without a collar, so I googled for tutorials. The best suggested laying the pattern pieces for the bodice front and back together as though they were sewn, then tracing the curve from center front to center back, next extending that to a simple collar width. I did that, but found mine to be fluttery and off. The amazing Liz Clark of the Sewing Academy helped me immensely with tips on how to correct this and redraft the collar. I’m delighted to say that I was successful!

Finished collar
I added the fine tatted lace which I purchased at Farmhouse Fabrics.
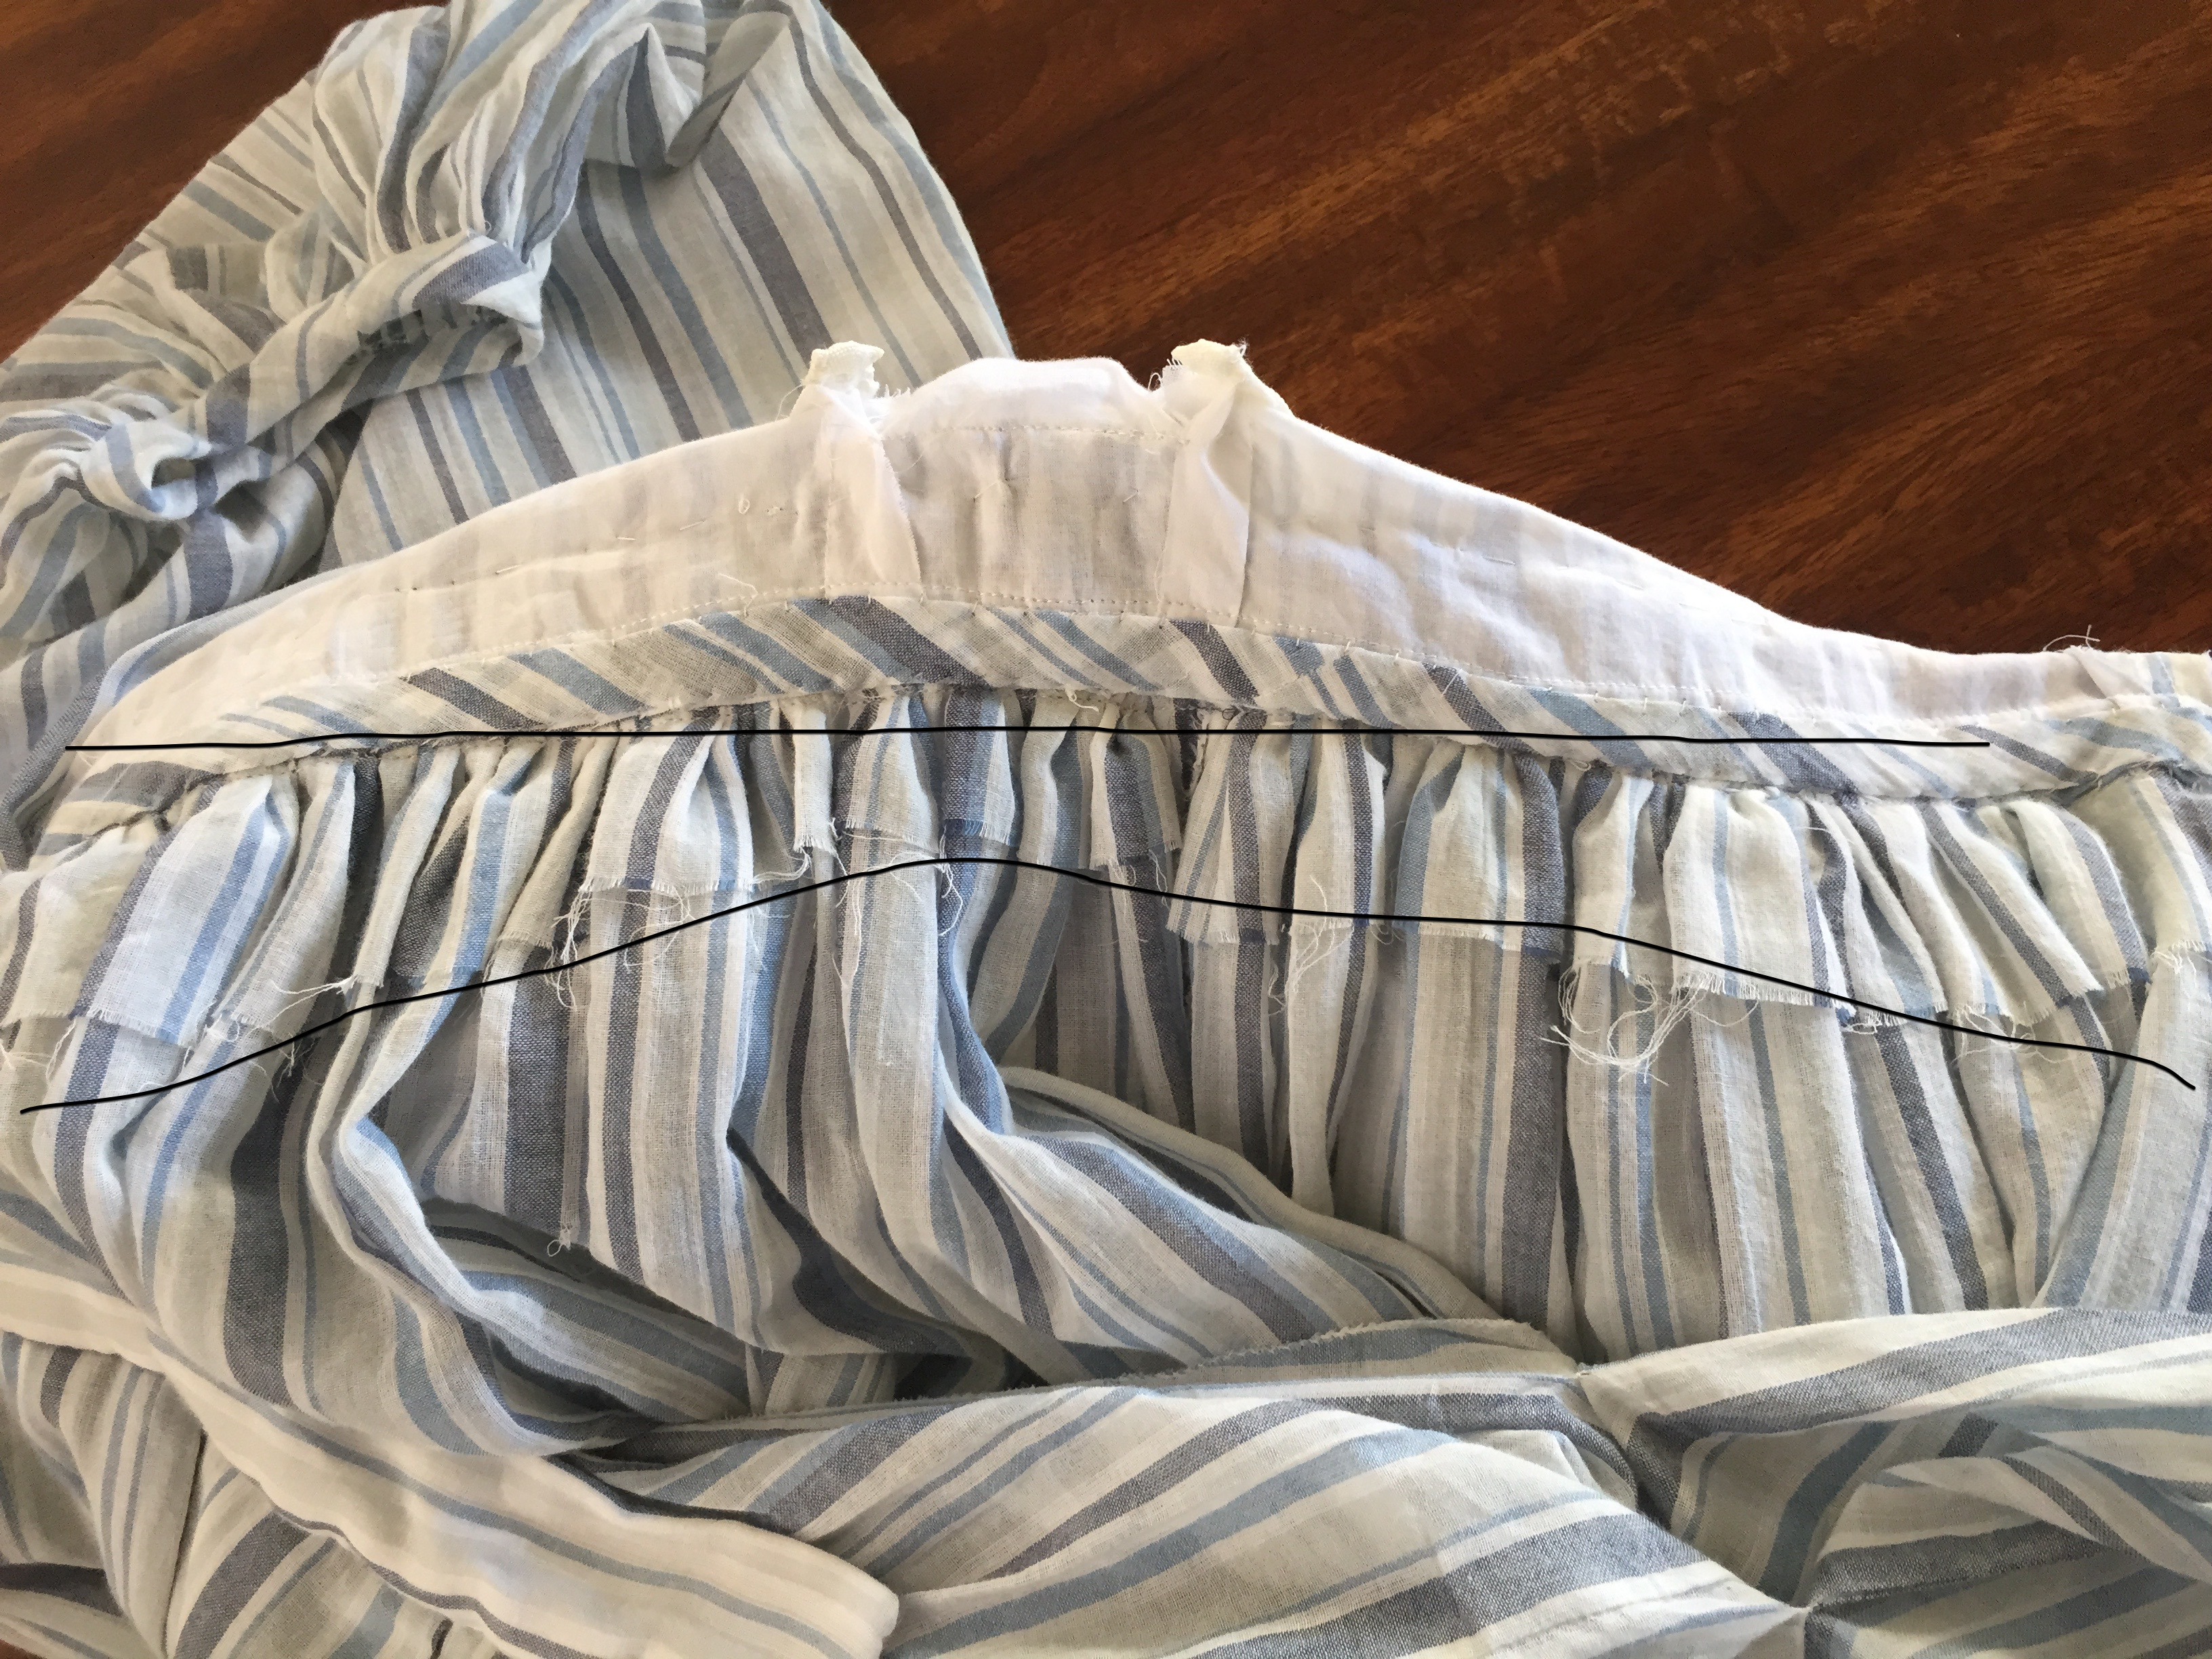
Next, waistband finishing. Since my fabric is 54″ wide, I didn’t want to cut it down to four 40″ panels to follow the TV skirt instructions. I retained the selvages as was done in historical garments, and used three panels instead of four. The skirt has a very deep pocket at the center left where the skirt pieces overlap with the waistband. Each panel was cut to the same length, but since your skirt front and skirt back are different lengths, there has to be a way to do this without cutting your fabric. Again, drawing on the Closet knowledge, I did as was suggested and folded over the waist edge of the fabric. This gave added stability to the fabric as well as achieving the lengths needed. The pattern instructions have you cut your fabric at the waist to the desired angle which will give you your length. I don’t recommend that on a sheer just because of the off chance of it tearing.

Waist inside
You can see in this very amateurly photoshopped picture the angle of the folded-over fabric. This is center back where the skirt is a bit longer than in the front.

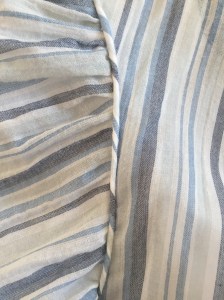
Double box pleats
For the skirt attachment, the pattern gives you liberty to choose your preferred pleating or gathering method. Here I am showing you the double box pleats I used to pleat the skirt onto the waistband. Originally I had knife pleated the front and cartridge pleated the back, but I didn’t get enough fabric taken up in the front. So I went to the double box pleats in front and cartridge pleats in back. I’m quite happy with this look as it’s smooth and polished.

Yes that hem is hand stitched
I wanted to make sure that the hem folded straight up so the lines didn’t go off kilter, so I ended up hand sewing the hem. I used a single thread and every fourth stitch went through all layers. Every 8th stitch was taken twice to keep the thread from coming undone if it were to break for any reason. If you kept up with my thinking on the skirt width, you will realize that’s a 178″ hem. It took me a couple hours to do it.
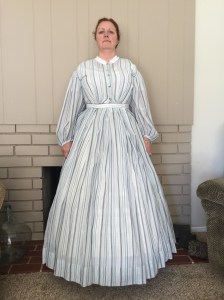
Picture taken by an 8 year old
This is the finished dress, although it’s not the best picture of me lol. I’m looking down toward my daughter haha. Also, I realize that I must not have been laced as tightly in my corset as usual because I couldn’t fasten the waistband correctly. I wasn’t going to mess with it today and I’m certainly not taking the dress apart, so I’ll have to lace better next time.

Side image
Here you can see the under sleeve just below my shoulder. This makes the dress very cool and airy. I had considered adding a silk stripe down the sleeve for interest, but I decided against it as it might weigh down the fabric. I may make a belt, as the silk I have is the exact color of the darkest stripe in the fabric.
You can also see the shadow of my petticoat under the skirt. I have an eyelet petticoat with two large pleats in it. This isn’t an historically accurate petticoat and someday I will make a plain cotton one, but for now this is quite pretty.
Overall I am thrilled with the result of the Truly Victorian TV447 Sheer Dress pattern. The instructions were easy, but true to the sewing techniques available to our ancestresses. It is not a pattern for a beginner, certainly, but if you have some knowledge of sewing, you can make this pattern truly customized to your preferences. If at times the instructions don’t make sense, just take them one sentence at a time. My mother told me when in doubt just do what the instructions say. These patterns will not take you down the wrong path, trust them and you will get something incredibly beautiful. And of course, email them, ask your friends who have made the pattern, or google for help. Truly Victorian patterns are very popular due to them being among the best on the market today, so lots of people make them! I am eager to wear this dress to one of our hottest events coming up soon, Huntington Beach Civil War Days.
Links & Resources
Truly Victorian
Farmhouse Fabrics
Civilian Civil War Closet
Sewing Academy
Huntington Beach Civil War Days