I talked myself off the ledge and I’m not making a wired bustle or cage for Julia. I really just don’t have the time and as I always remind myself, she is a doll. A beautiful doll, but a doll nonetheless.
Instead, I am using the small bum roll I previously made, the petticoat I didn’t love, a second petticoat I made a bit longer than the first, and finally a petticoat made from the skirt pattern.
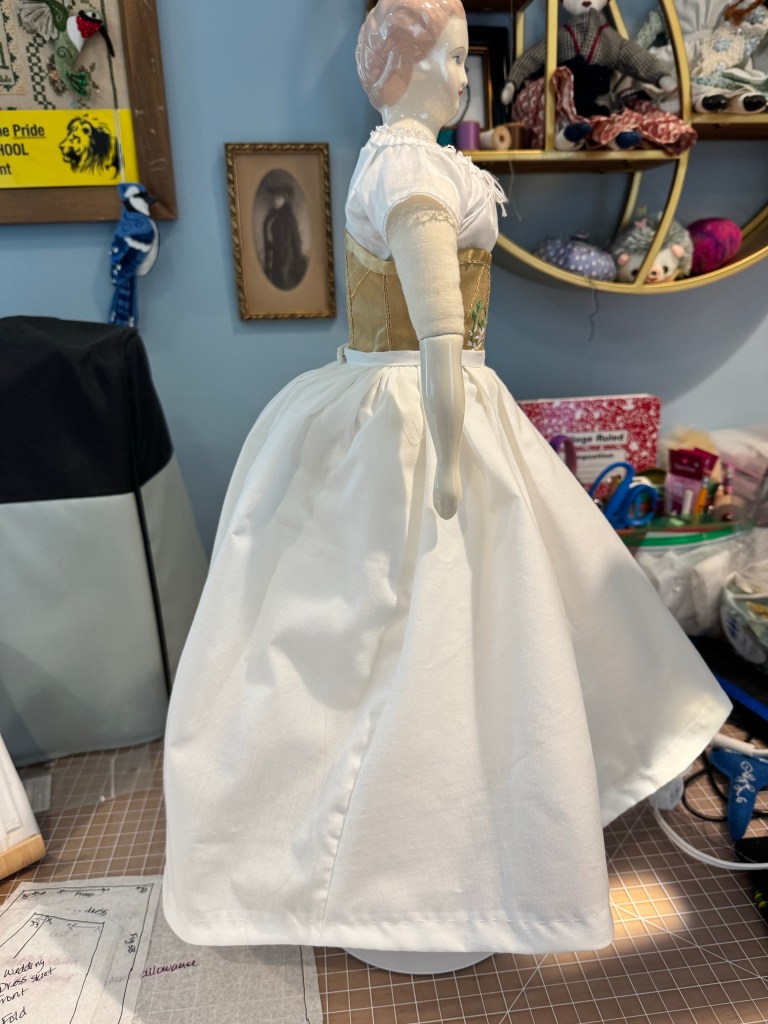
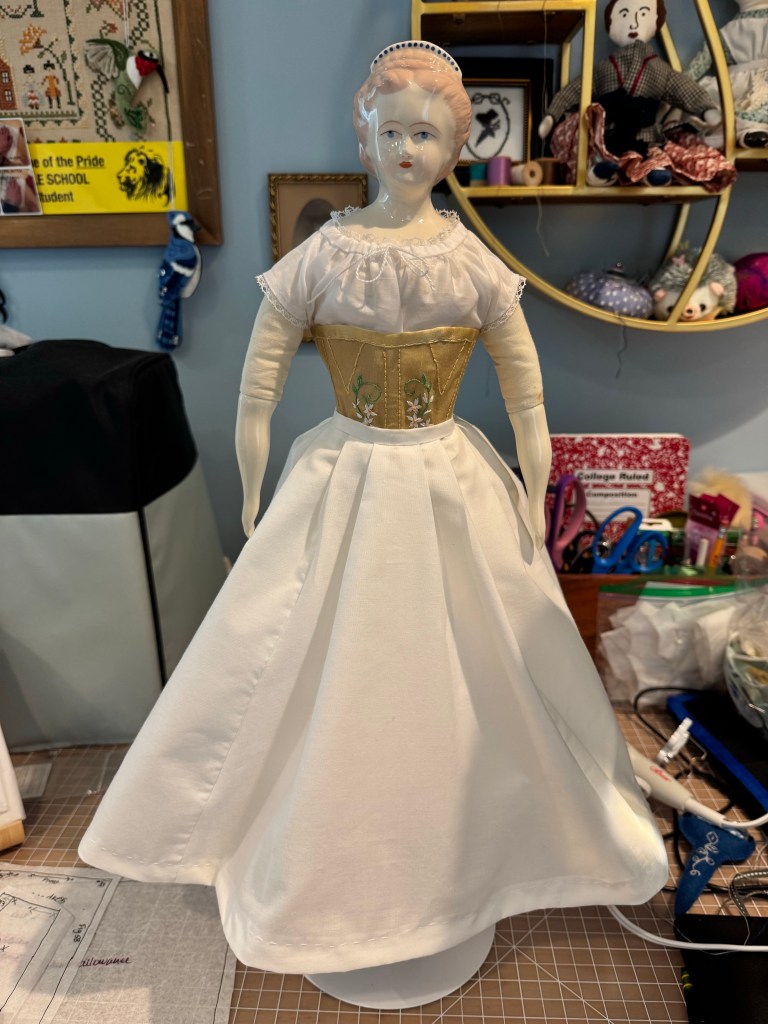


I think this gives the posterior enough fullness to achieve the look of 1872, while also giving me experience with the skirt pattern.
One thing I discovered from this exercise is that the pattern does not tell you what to do with the side-to-back fullness at the waist. And, the pleats in the front do not take up enough fabric to evenly distribute the front between the two sides.
Now, luckily, I have made human sized clothes with these same design elements but better instructions!
I added two pleats on either side of center front. This serves to take up enough fabric that the side panels of the skirt are actually on her sides. They were previously more to her back.
Second, I used 1/4” pleats on the back and then pressed them toward the center back. These are similar to cartridge pleating except the pleats are pressed toward the back, where cartridge pleats would hang from the waistband. Anyway, that’s what I did.
I used bias tape to create the hem because it is curved. You can see the nice train the finished wedding dress will have. I suppose I will start on the bodice mockup next but probably with paper towels.
