Hello again, doll loving friends! A variety of side projects and real life stuff has kept me from this particular project, but I’m so thrilled to have completed it!

This little project felt intimidating at first, but once I did up a mock up and made a couple adjustments, it came together in a few hours.
If you have ever made an IRL corset, this one will feel a bit incomplete because it is made with only one layer of fabric. IRL corsets are made with several layers and no thread tails will be visible. Since this is not in fact a real corset, there are some differences. :-)
The five pieces come together very easily. Boning channels are added to the inside with colored thread, which has the added benefit of the decor color. The flossing is added after the boning and since the instructions didn’t give any detail, I used the flossing to secure the boning in place inside the boning channel.
The book included no photos of the inside of the garment, so I’ve taken some for your viewing pleasure.

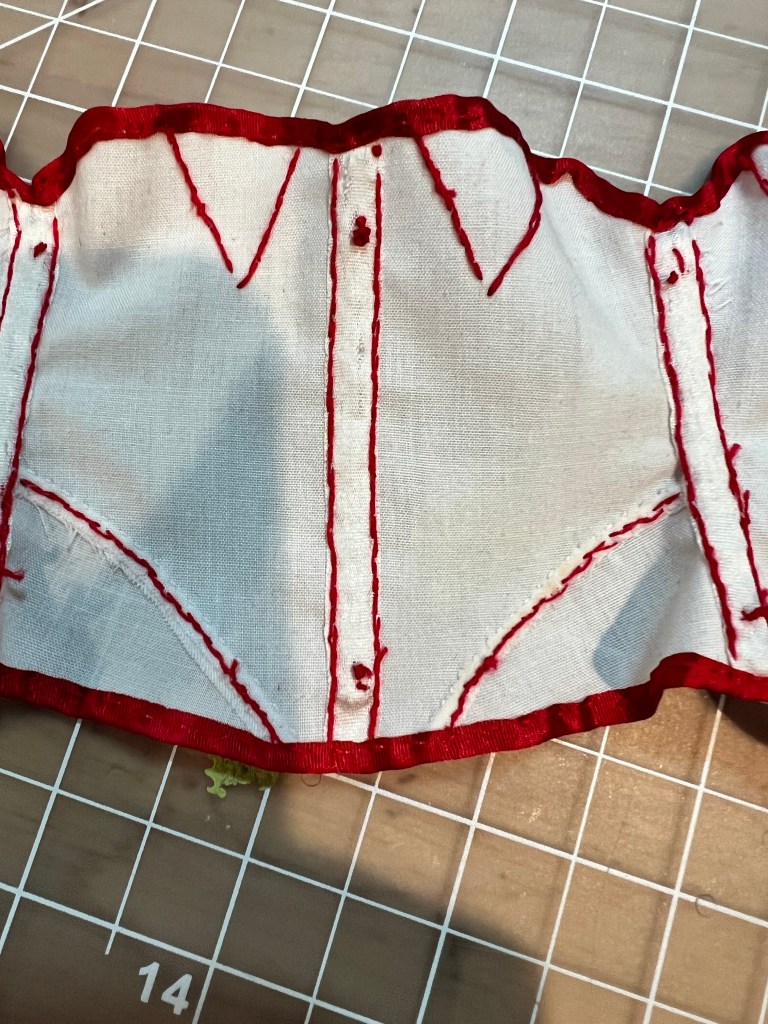


It is necessary to make the inside very tidy.
The brass eyelets were quite easy to add. I think if I were to make another of these, I’d extend the center back by about 1/8”. The boning channel is supposed to stitch down the raw edge of the fabric, but with only 1/4” folded under and the need to allow for the 1/8” eyelets, it’s a little more crowded than I’d like.
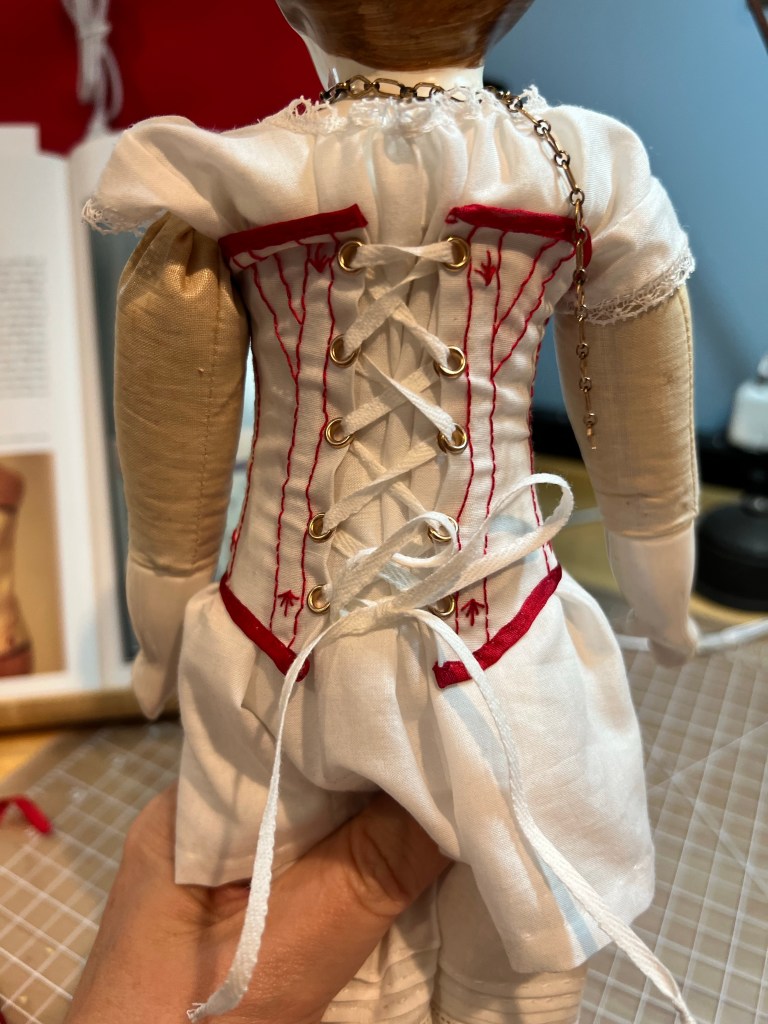
But ooh la la, it’s so sweetly pretty! This garment is particularly useful for Caroline since her body is sagging a bit from age & settling inside (sounds a bit like me, too haha). You will want to bind the ends of the twill tape ties in a faux aiglet to they will thread through the eyelets and not fray. To do that, bind them in thread several times and knot it once or twice very neatly & tightly.
Next for Caroline will be either her hoop skirt or a corset cover. See you again soon!

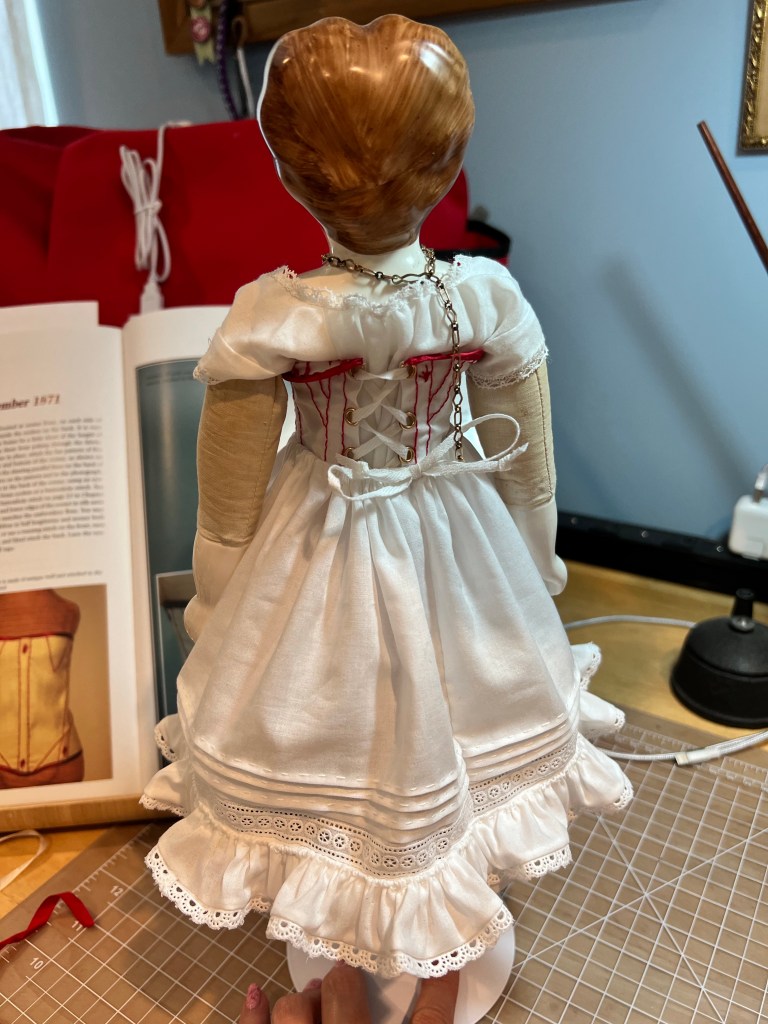

How very sweet! Caroline is a very lucky little lady – now she won’t sag and jiggle in awkward places!