My dolls Emalie and Mernie are going to visit the 1860s soon at the Huntington Beach Civil War Days, so they need to pack their things. In the “olden times” trunks were the primary form of luggage for a long visit. I found these craft boxes that are the approximate shape that was common in the mid 19th century and decided to give them some customization.
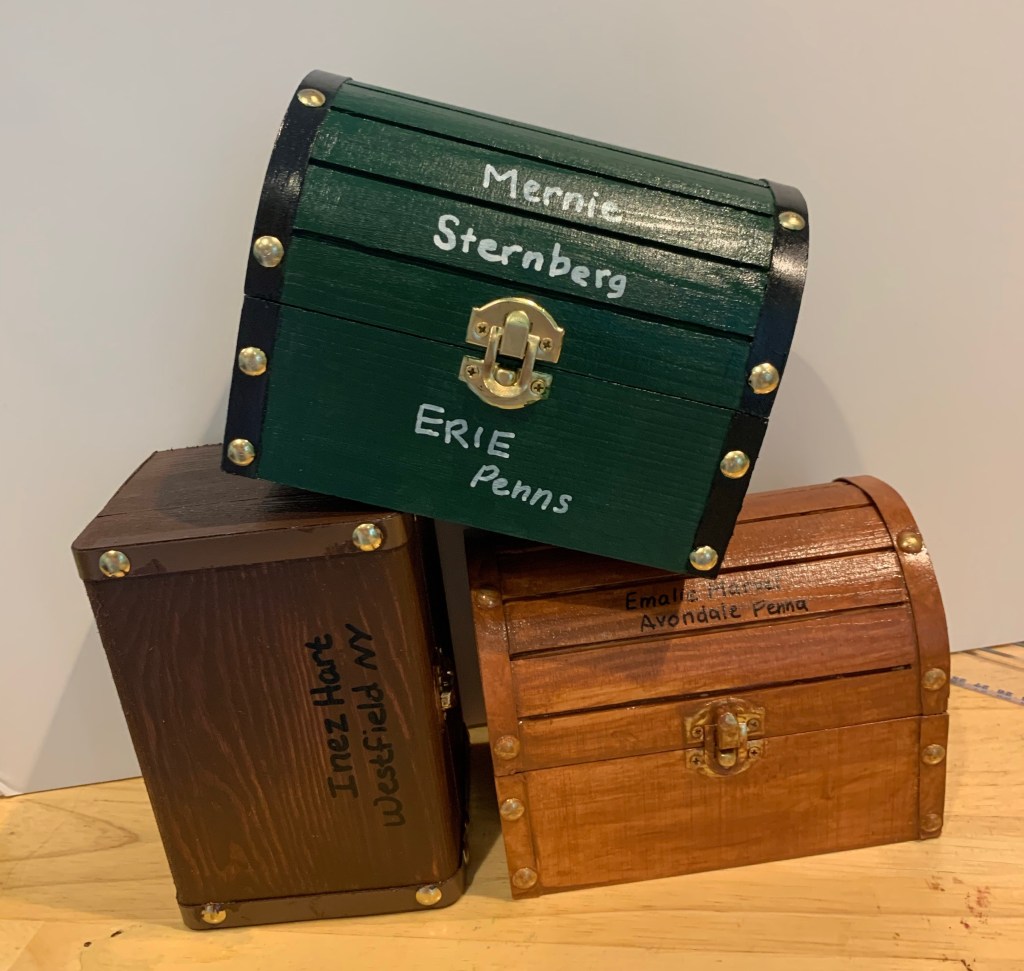
The rounded top isn’t exactly like the original trunks, but it’s close enough for my dollies.
Trunk #1 I stained maple with some MinWax stain. It is super handy for crafty people with small projects and can be found on Amazon for less than $4.

I found them both handy and squirrelly. It’s very convenient that the cloths are presaturated with the stain. They fold easily and have plenty of stain to cover a small project with left over. They were fiddly when I needed to fold them to find a new bit of stain as I used it up in one area of the cloth. Holding the project in one hand and the cloth in the other prevented me from using both hands. They also didn’t work in the small space inside the box very well and the corners were tricky. My final criticism is that they got caught going against the grain and would stop in place, so be sure to sand your work surface very smooth. Some of this may be operator error as my next attempt at staining is much better (more on that in a minute).
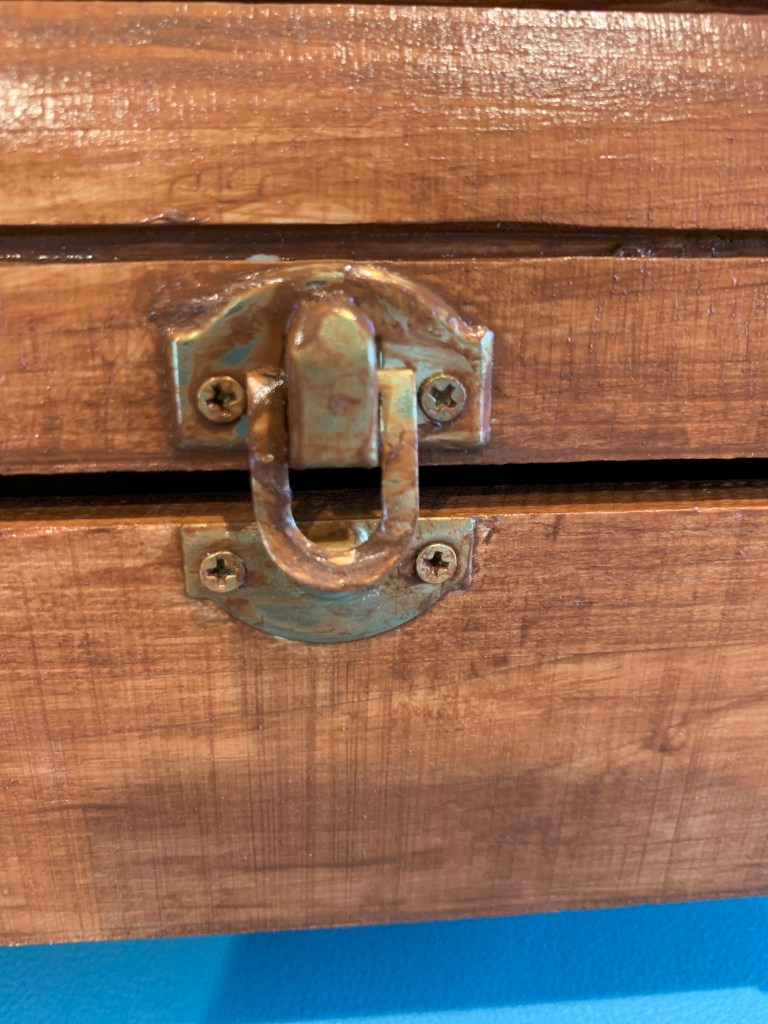
After the stain dried – in about an hour – I noticed areas where I had hit the brass fittings and was not able to rub the stain off. I don’t love that. But again, that’s operator error.
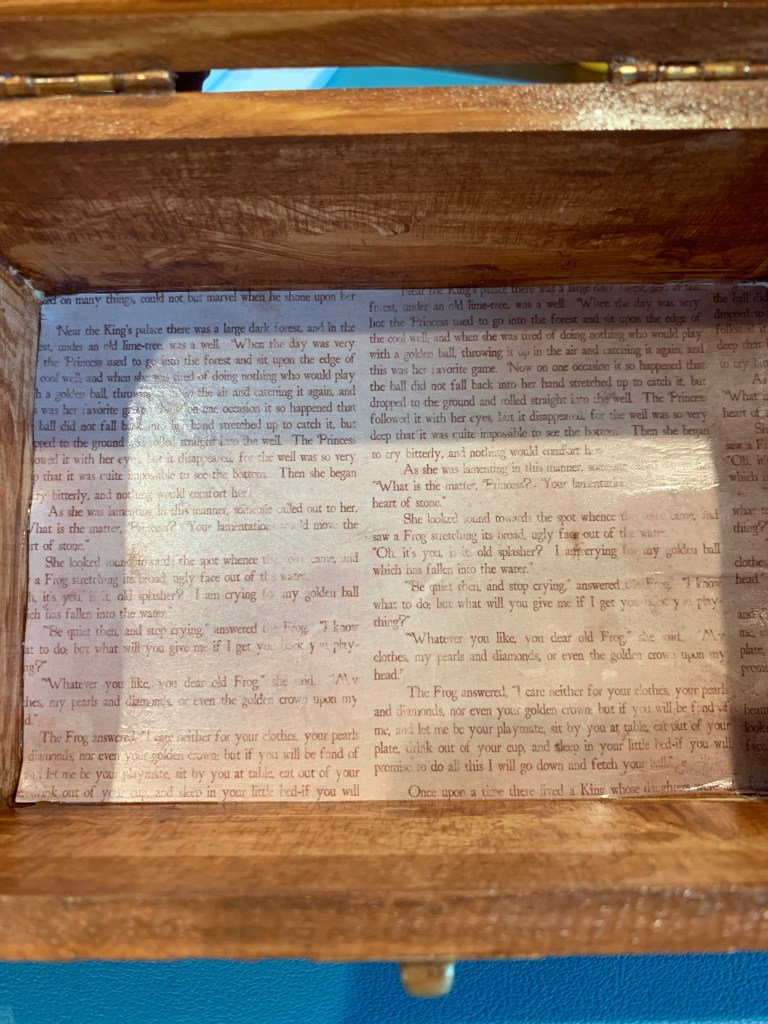
I fitted some paper in the bottom that looks a bit like newspaper and then wrote Emalie’s direction on the front.
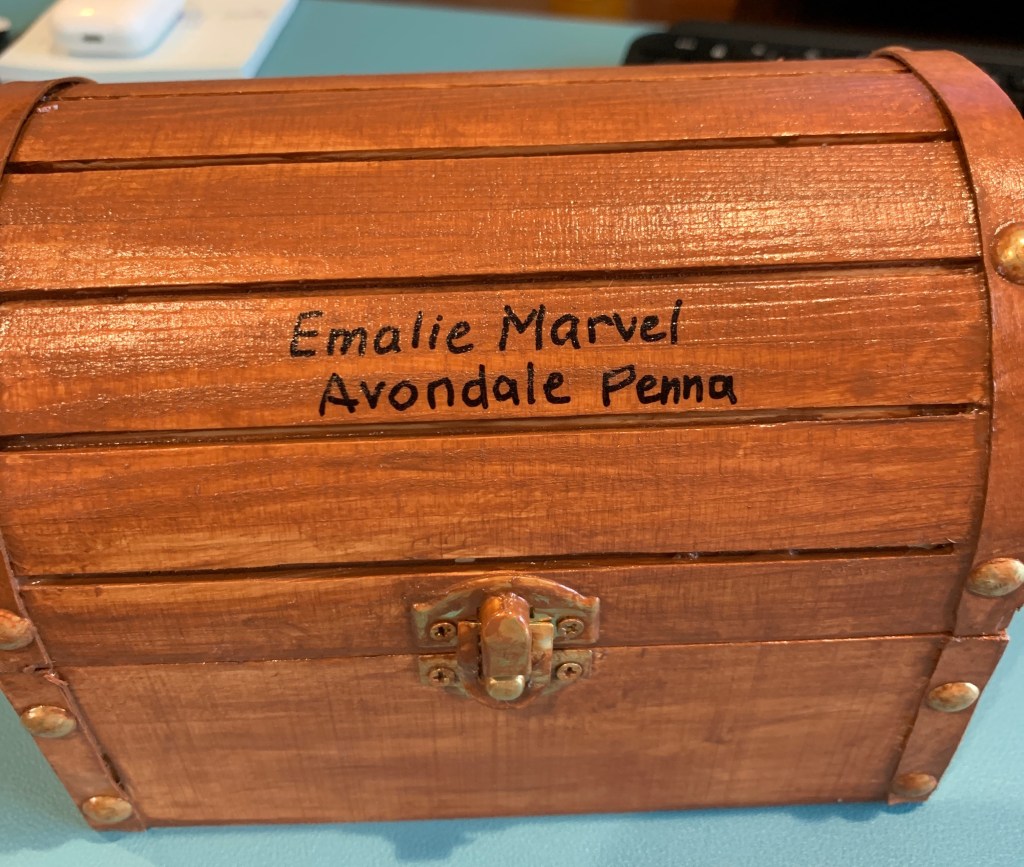
Finally I applied a clear varnish from DecoArt to protect it while in transit. I’m looking forward to putting all of Emalie’s belongings into the trunk. Note to self: make some more belongings.
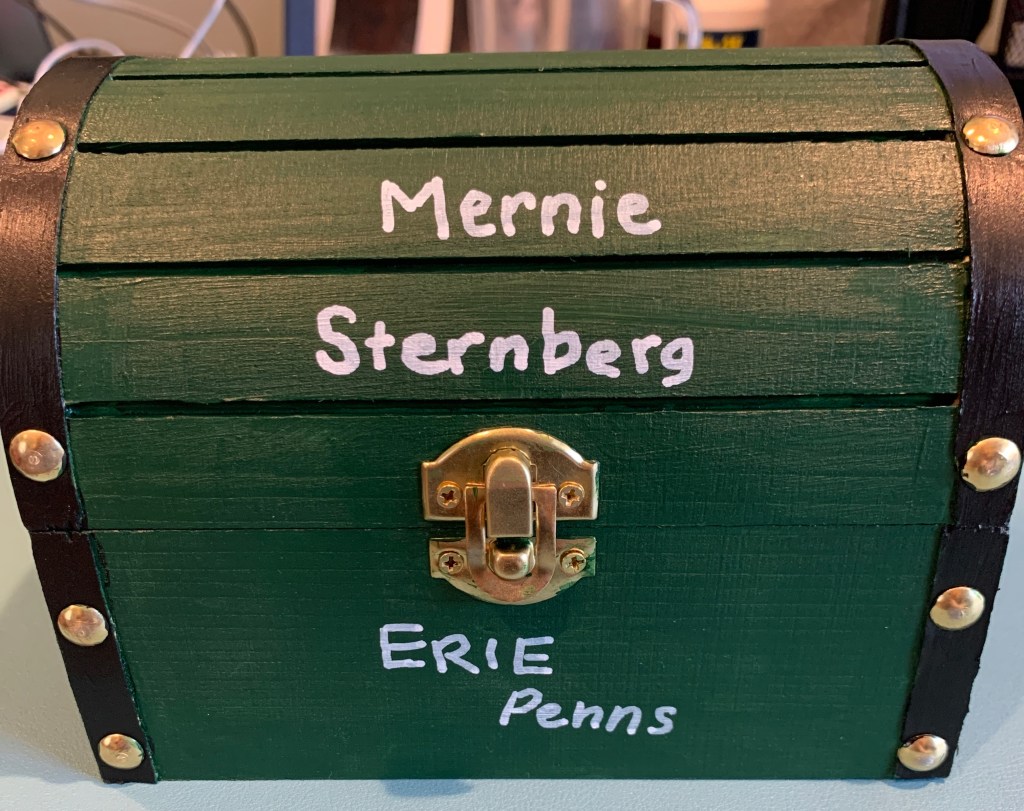
The next trunk is Mernie’s. I decided on this one I would try painting. This gave me much more control and I realized it would be better to break the painting into smaller sections. First I painted the inside black, and then part of the outside was painted green.

It was much easier to keep the paint off the fittings although I’m not a pro so I still got a little bit on the hinges.

Finally after putting a fancy paper on the inside of the lid I added Mernie’s hometown to the front. the straps are painted black and this trunk is finished with a Krylon spray finish.
Trunk #3 might be used at the event or might not. I haven’t decided if Aunt Inez will be made by then – or if I will have time to make Aunt Inez haha. Regardless, Inez has a very nice trunk, probably because I practiced on the first two.
This trunk I used the same staining cloths from MinWax but in the mahogany stain. It’s lovely. Kind of like with the green trunk, I broke it up into smaller sessions and I attempted to tape over the fittings to best protect them.


I also discovered I could use a fine paintbrush to get into the cracks. I just pressed it against the stain cloth to soak up some stain. This gave me the most control over the tricky spaces.
I’m pleased with these trunks for my dolls. They are available on Amazon or probably craft store sites. I hope you can learn a little bit from me and have a nice outcome too.


Leave a comment