I think this might be part 4 but who knows! :-) I decided to make Anna Tudor a corset because her cedar sawdust filling is settling and doesn’t stand up like a firm cotton filling. I think this will help her stand up straight.
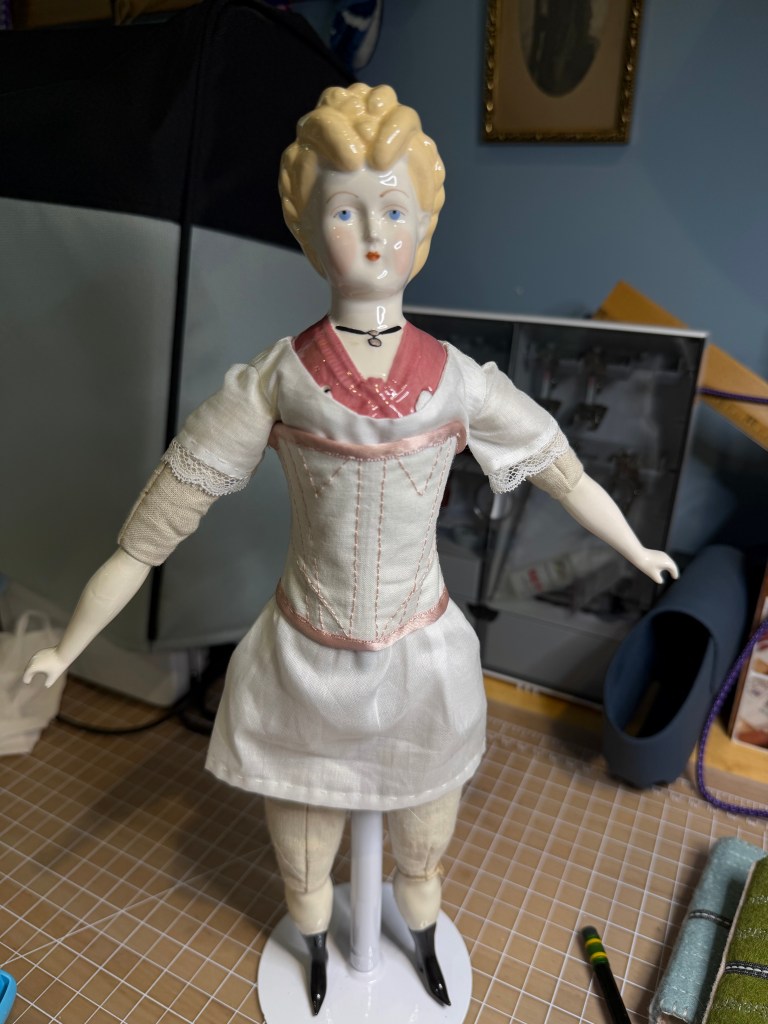
I have made this corset 4 times now and I think I have finally worked out a good method. Even though the original pattern has this as a single layer of twill and uses 1/4” ribbon on the back to create the boning channels, I find that the corset can be a little more sturdy when constructed as a two layer item.
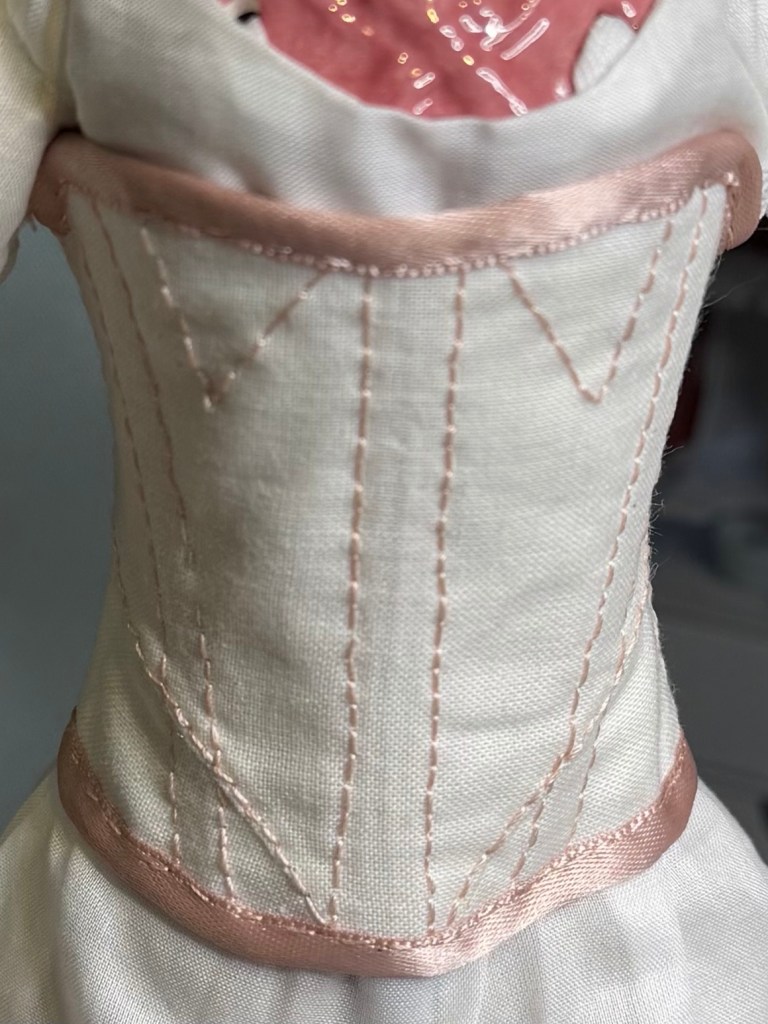
The boning channels are stitched through both layers. Once the bones are inserted, I added the top stitching on the hip gussets. This holds the two front side bones firmly in place.
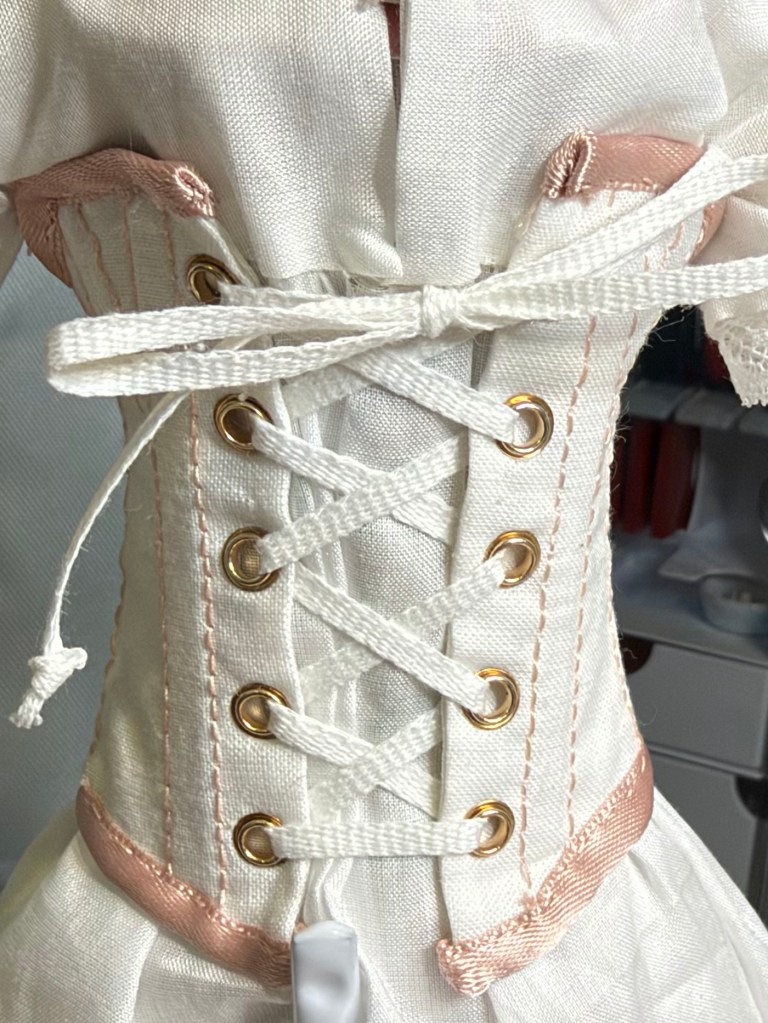
On the back I add 1/8” at center back. That allows a little more room for the grommets.
I love the blush pink thread. I found a bunch of silk buttonhole twist that a friend of my mother’s had given me. It perfectly matches this ribbon I saved off of an order from Farmhouse Fabrics.
The corset fits perfectly and helps Anna have perfect posture.

 Notes from the Melody Maker
Leave a comment