Skip to content
About me
Archives
Dolls
Tasha Tudor Dolls
Search
Notes from the Melody Maker
Archives
Menu
Close
About me
Archives
Dolls
Tasha Tudor Dolls
Category:
Sewing
Adventures in Petticoats
Doll Corsetry, Part Two
Some Fiddly Drawers
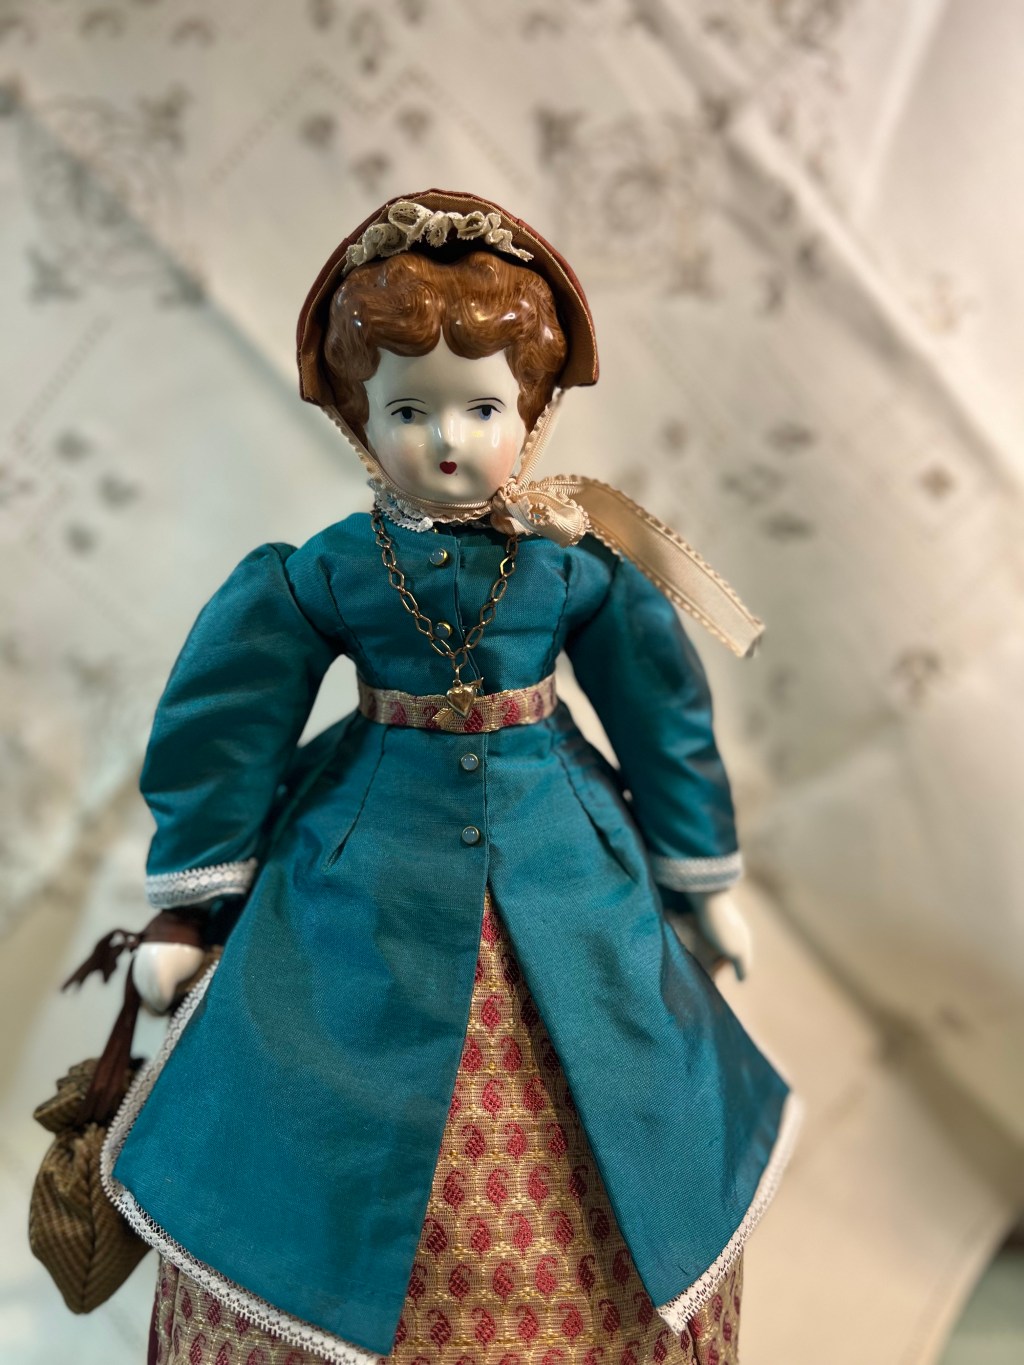
Ruby’s Body & First Garment
An 1860 style doll quilt
Well, that was easy!
Dora’s Rebirth
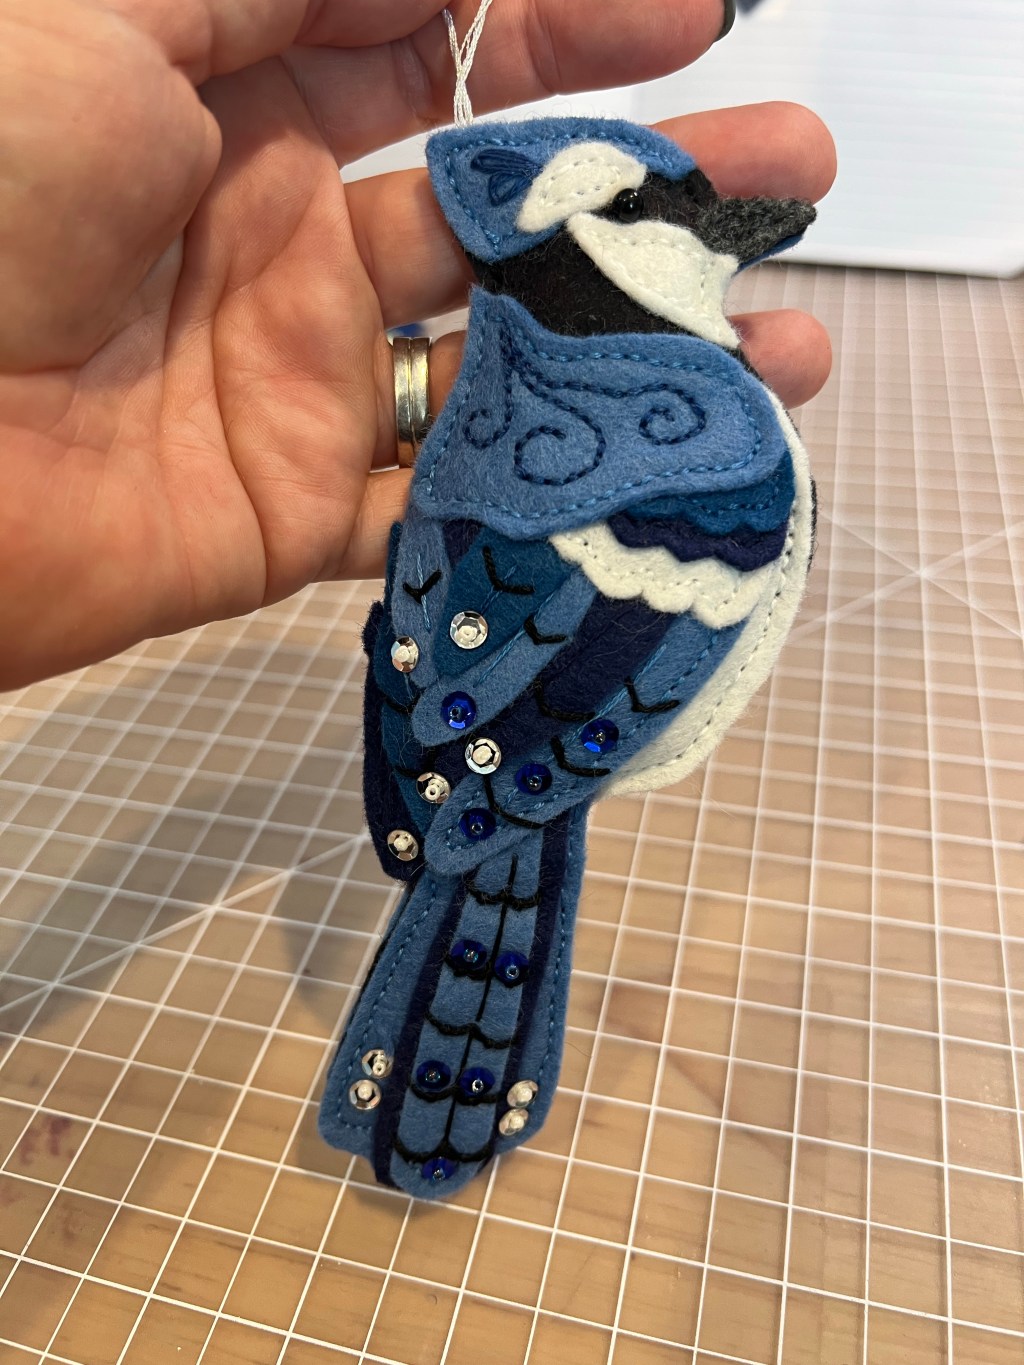
Blue Jay
Follow along: Caroline’s Reveal
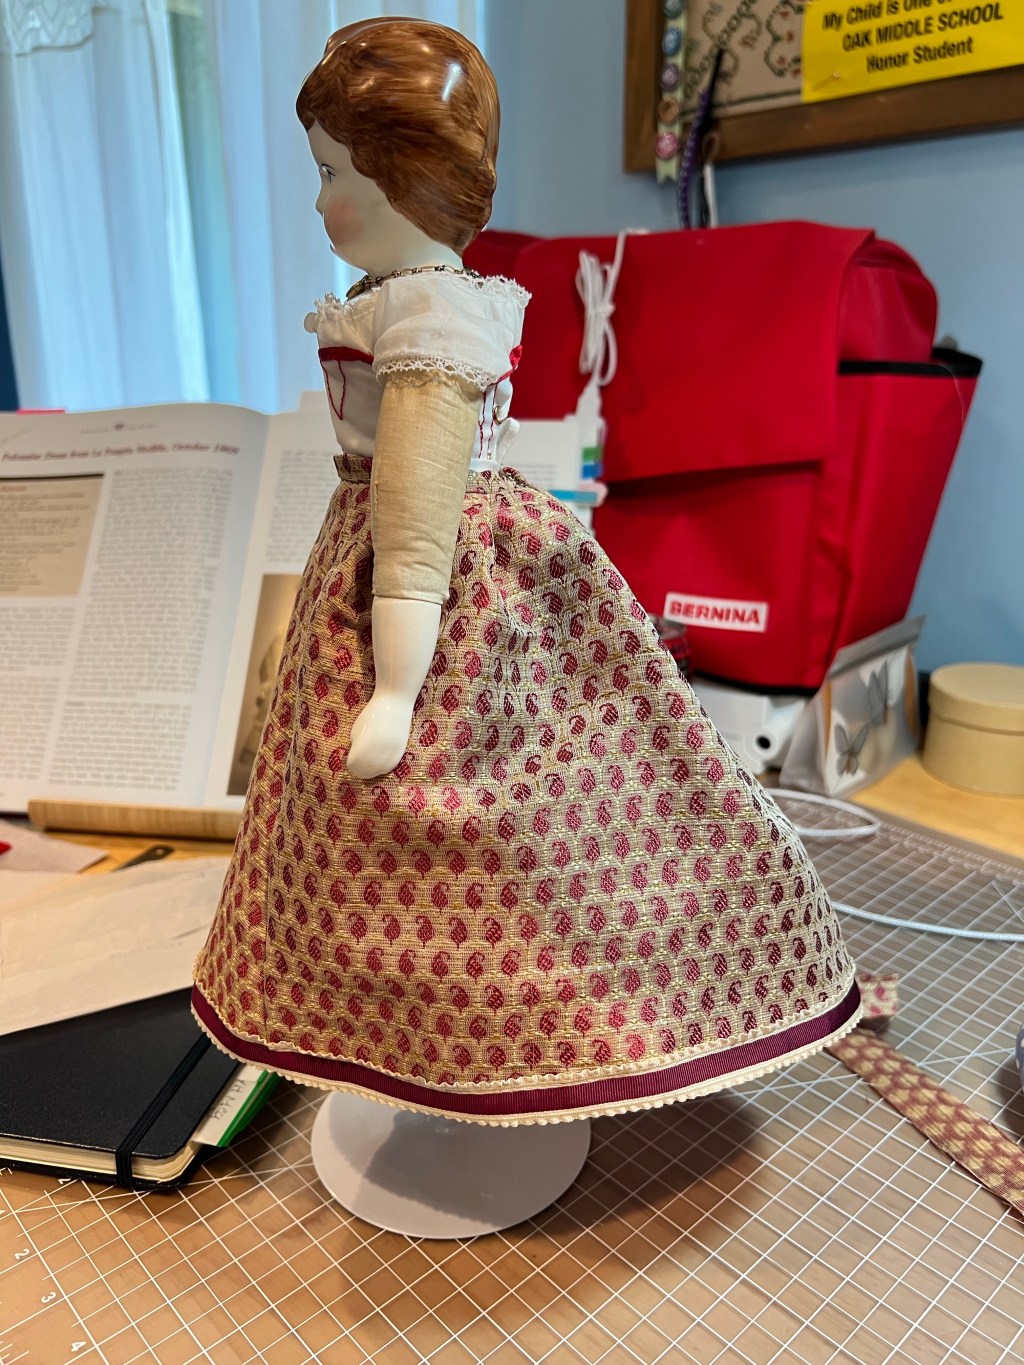
Follow along: A Finished Skirt
Previous Page
Next Page
Subscribe
Subscribed
Notes from the Melody Maker
Join 68 other subscribers
Sign me up
Already have a WordPress.com account?
Log in now.
Notes from the Melody Maker
Subscribe
Subscribed
Sign up
Log in
Report this content
View site in Reader
Manage subscriptions
Collapse this bar